Installation
You can install the APEX Office Edit plug-in in two ways:
-
by installing the AOE sample application
-
by running the DDL script and installing the region plug-in in an existing application (manual installation)
Sample Application
Importing the Sample Application
-
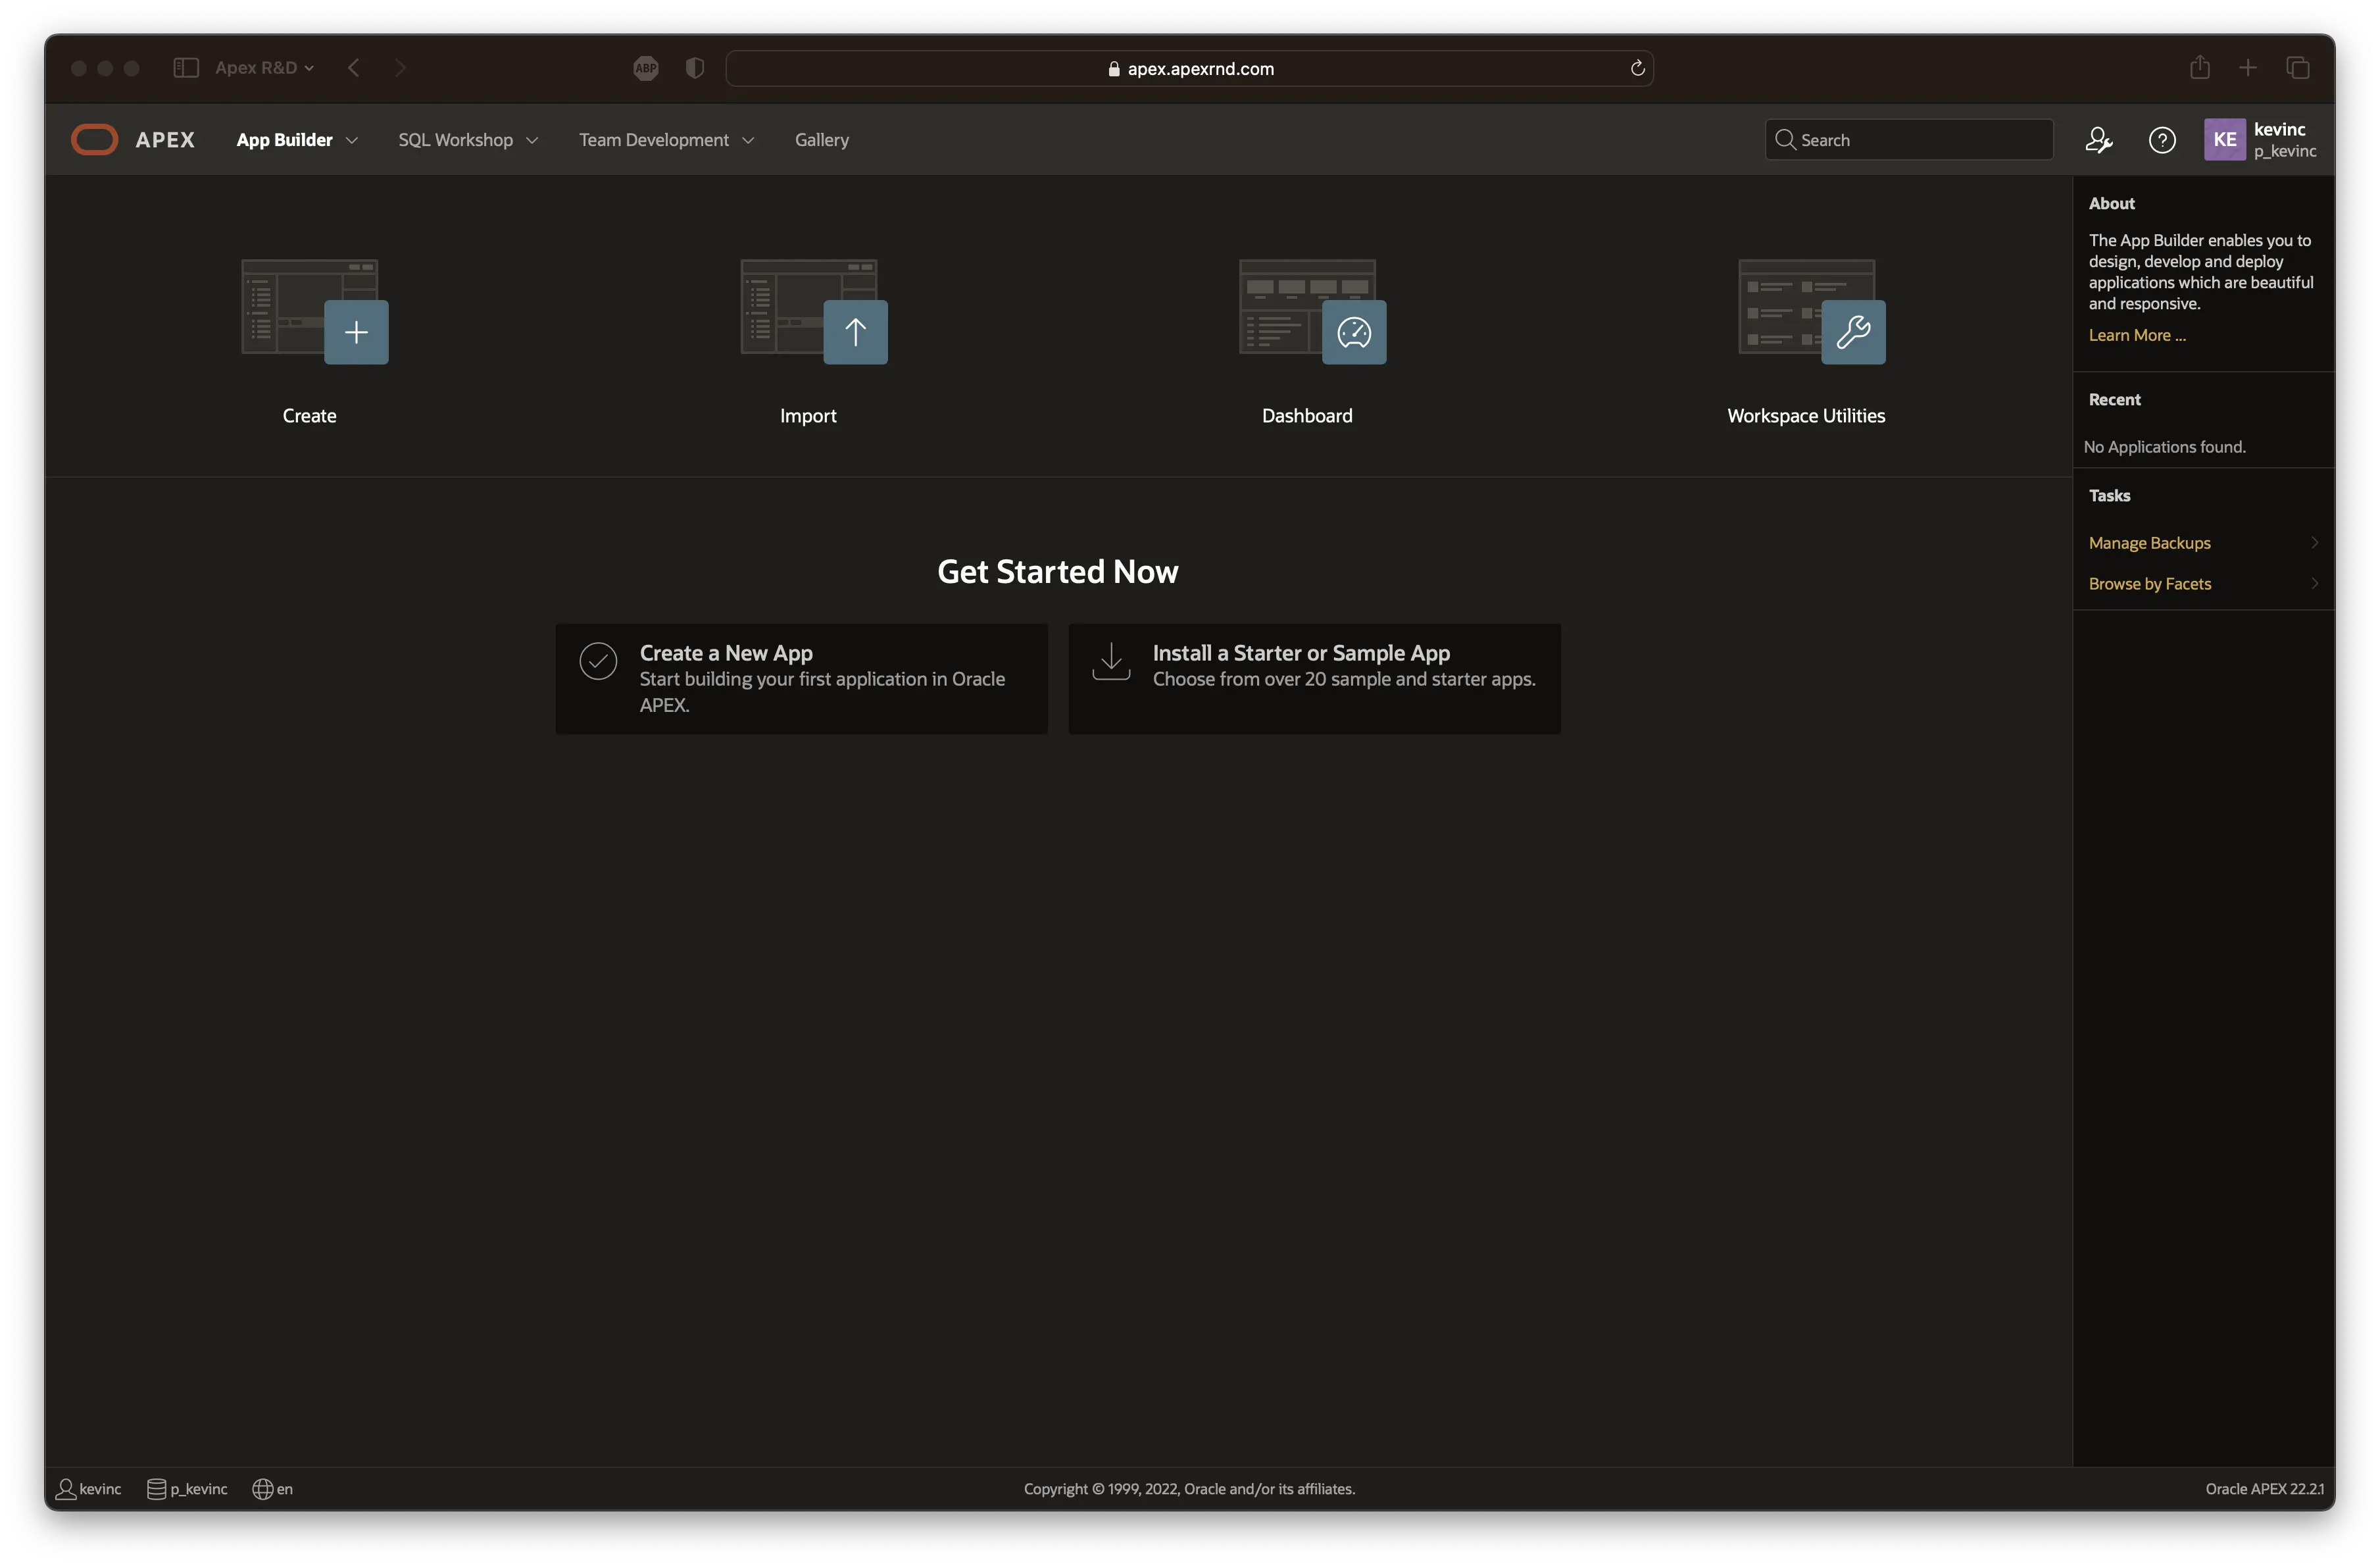
Log into your APEX application builder
-
Click on the Import tile to start the APEX application installation wizard from the installation file
-
Make sure the schema in which you want to install the sample application has REST enabled
-
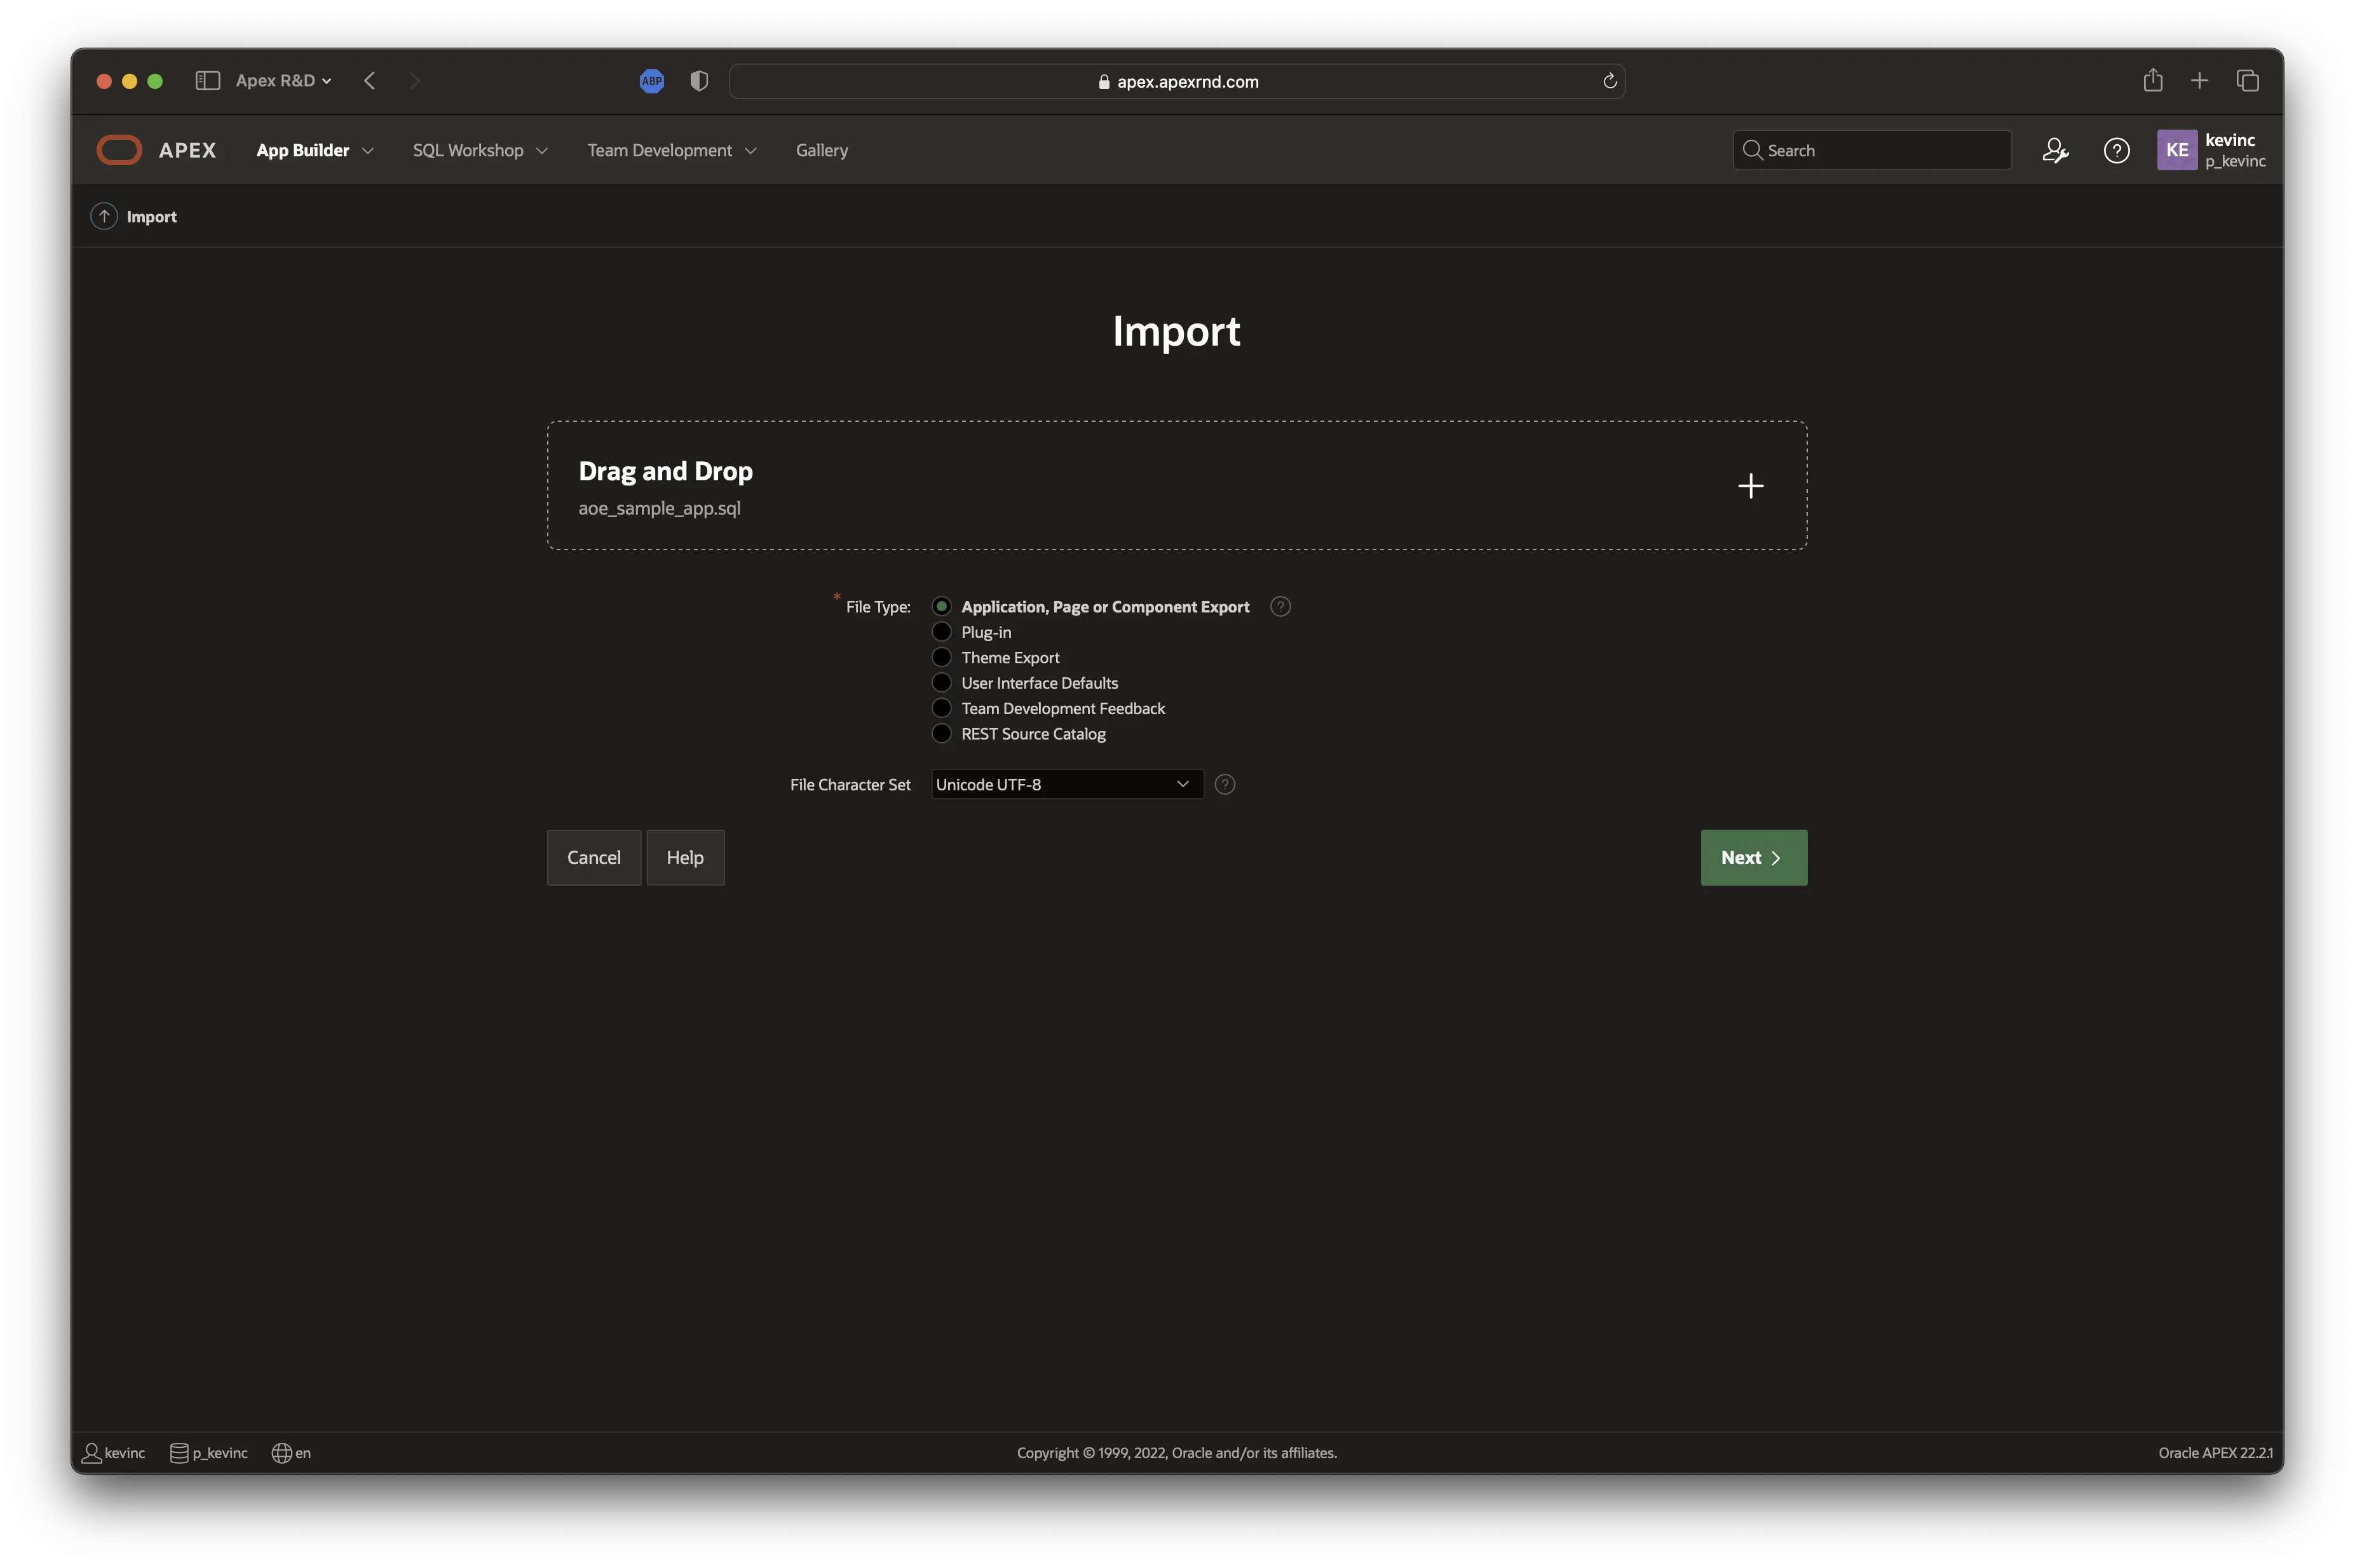
Click on the Drag and Drop region
-
Select the sample application file
-
Click the Next button
-
After successfully uploading the application installation file, you will see a file import confirmation. Click the Next button

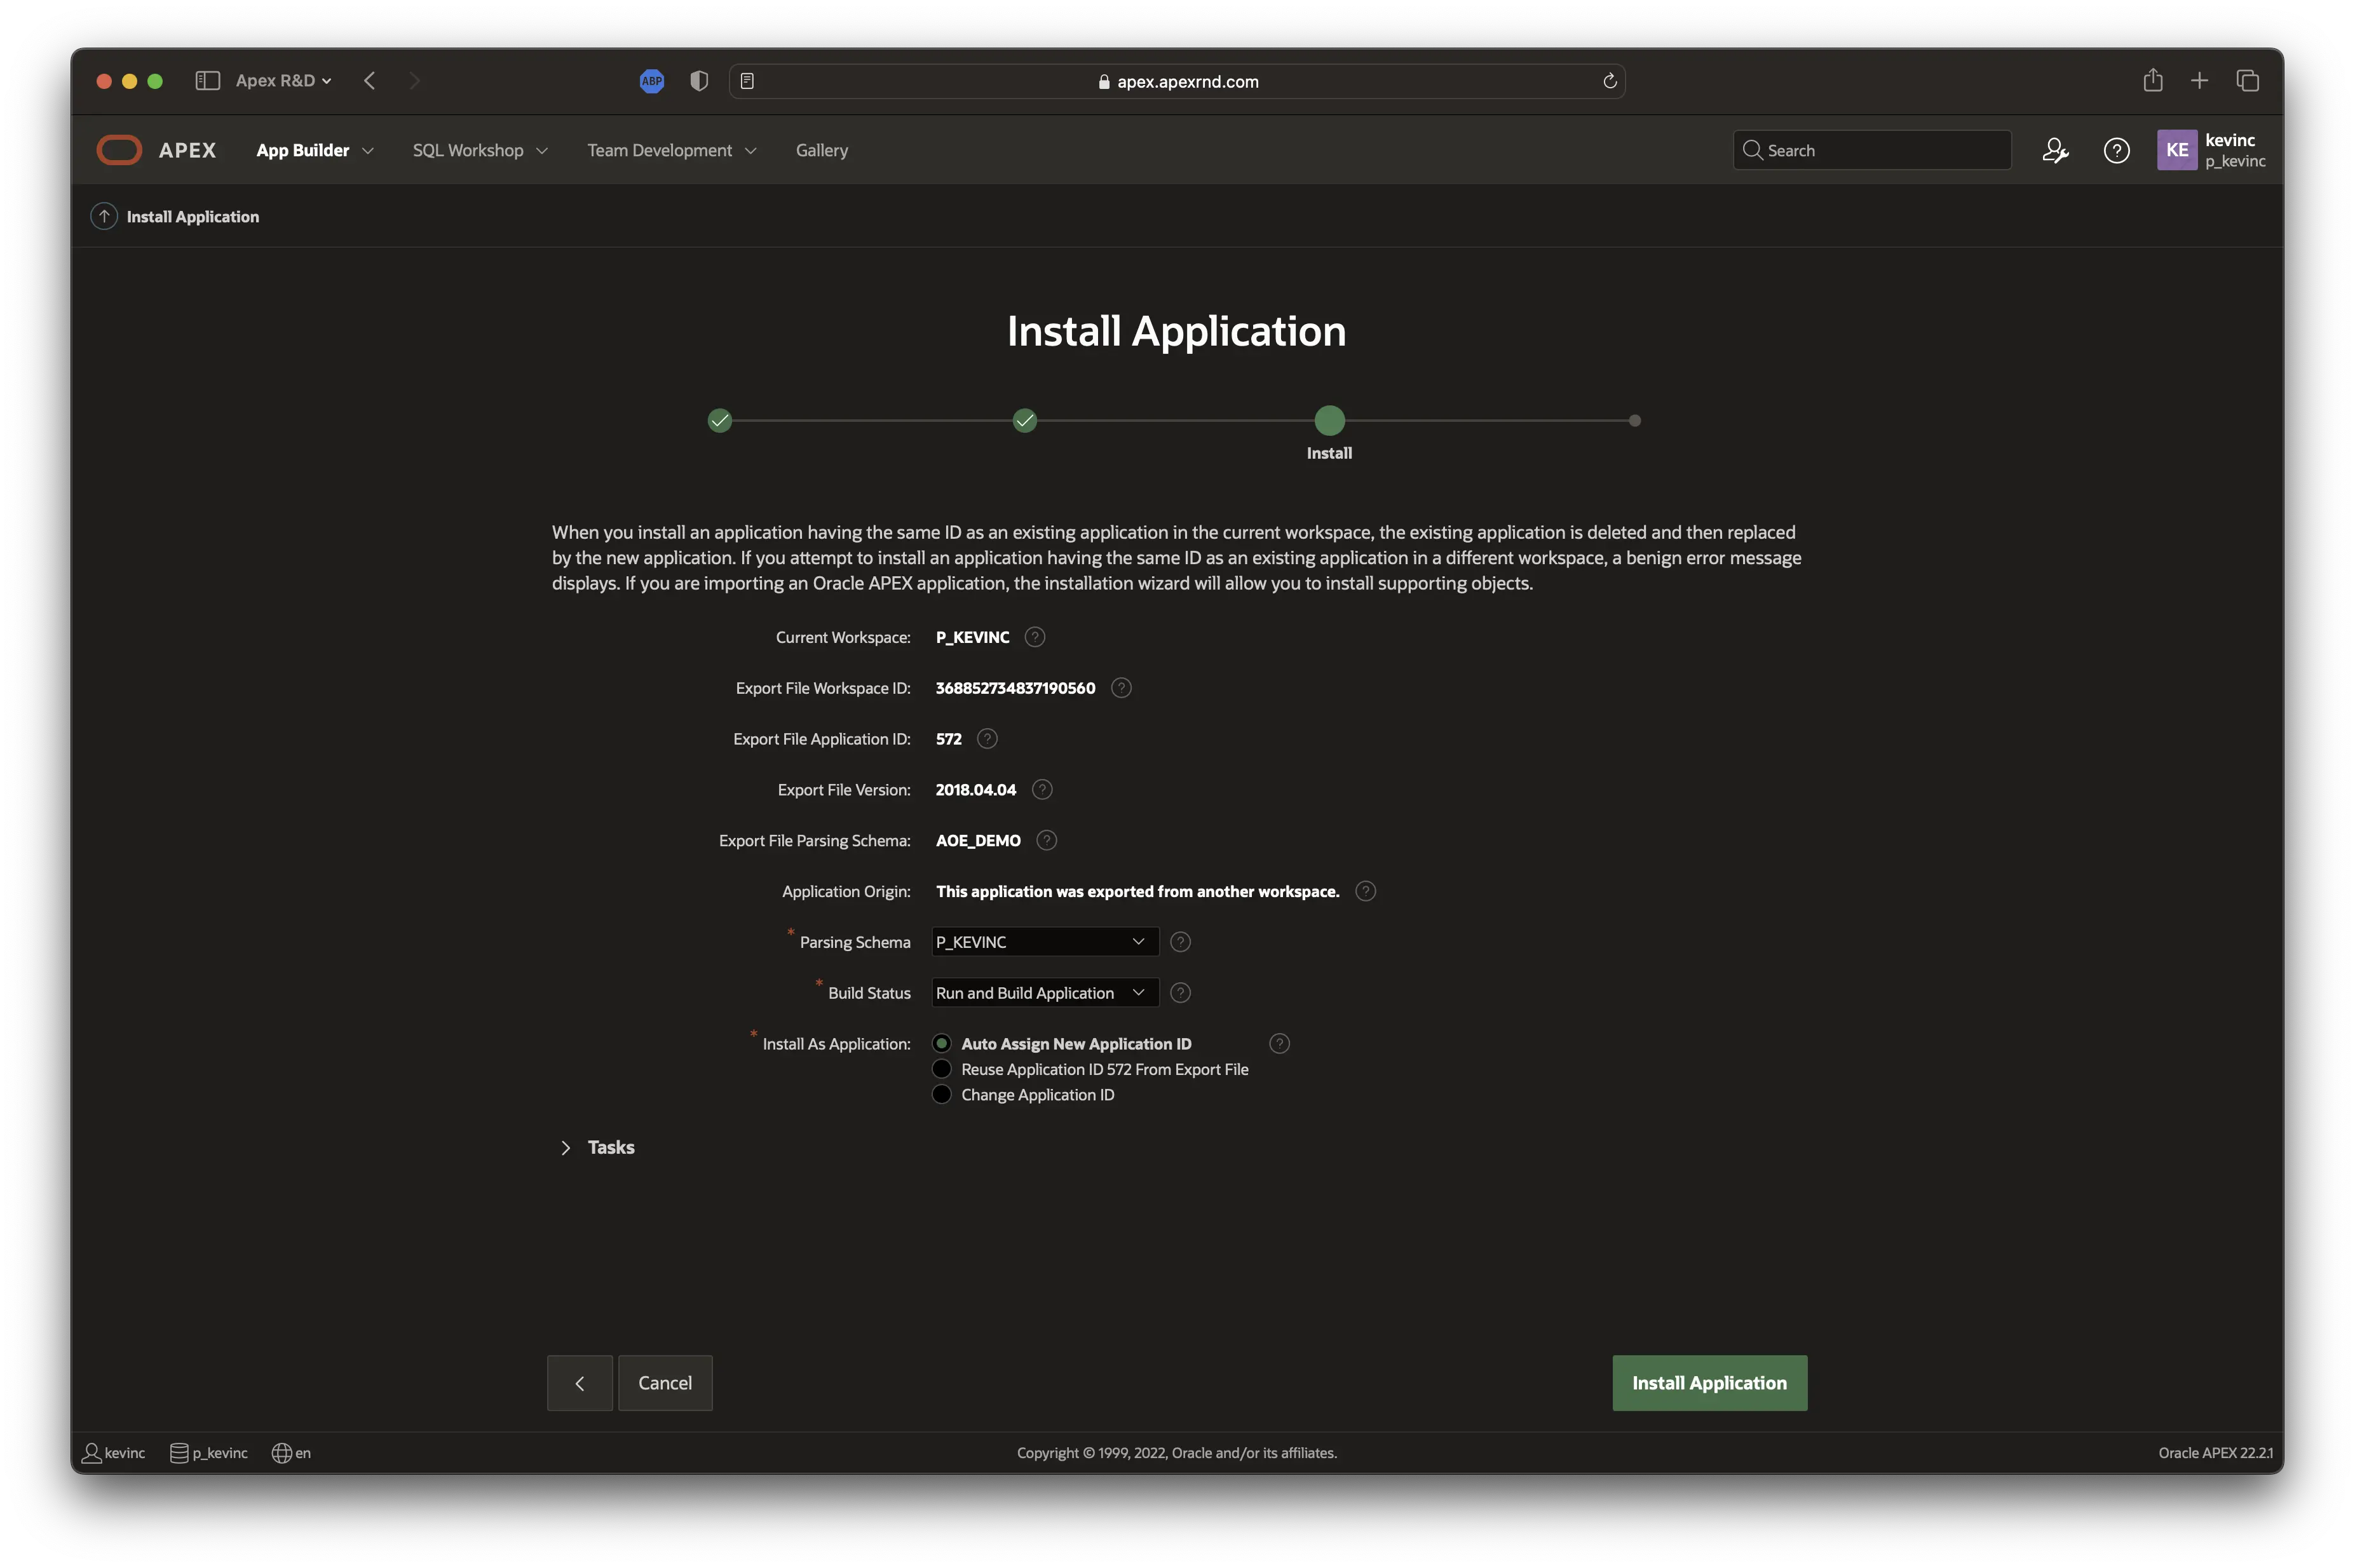
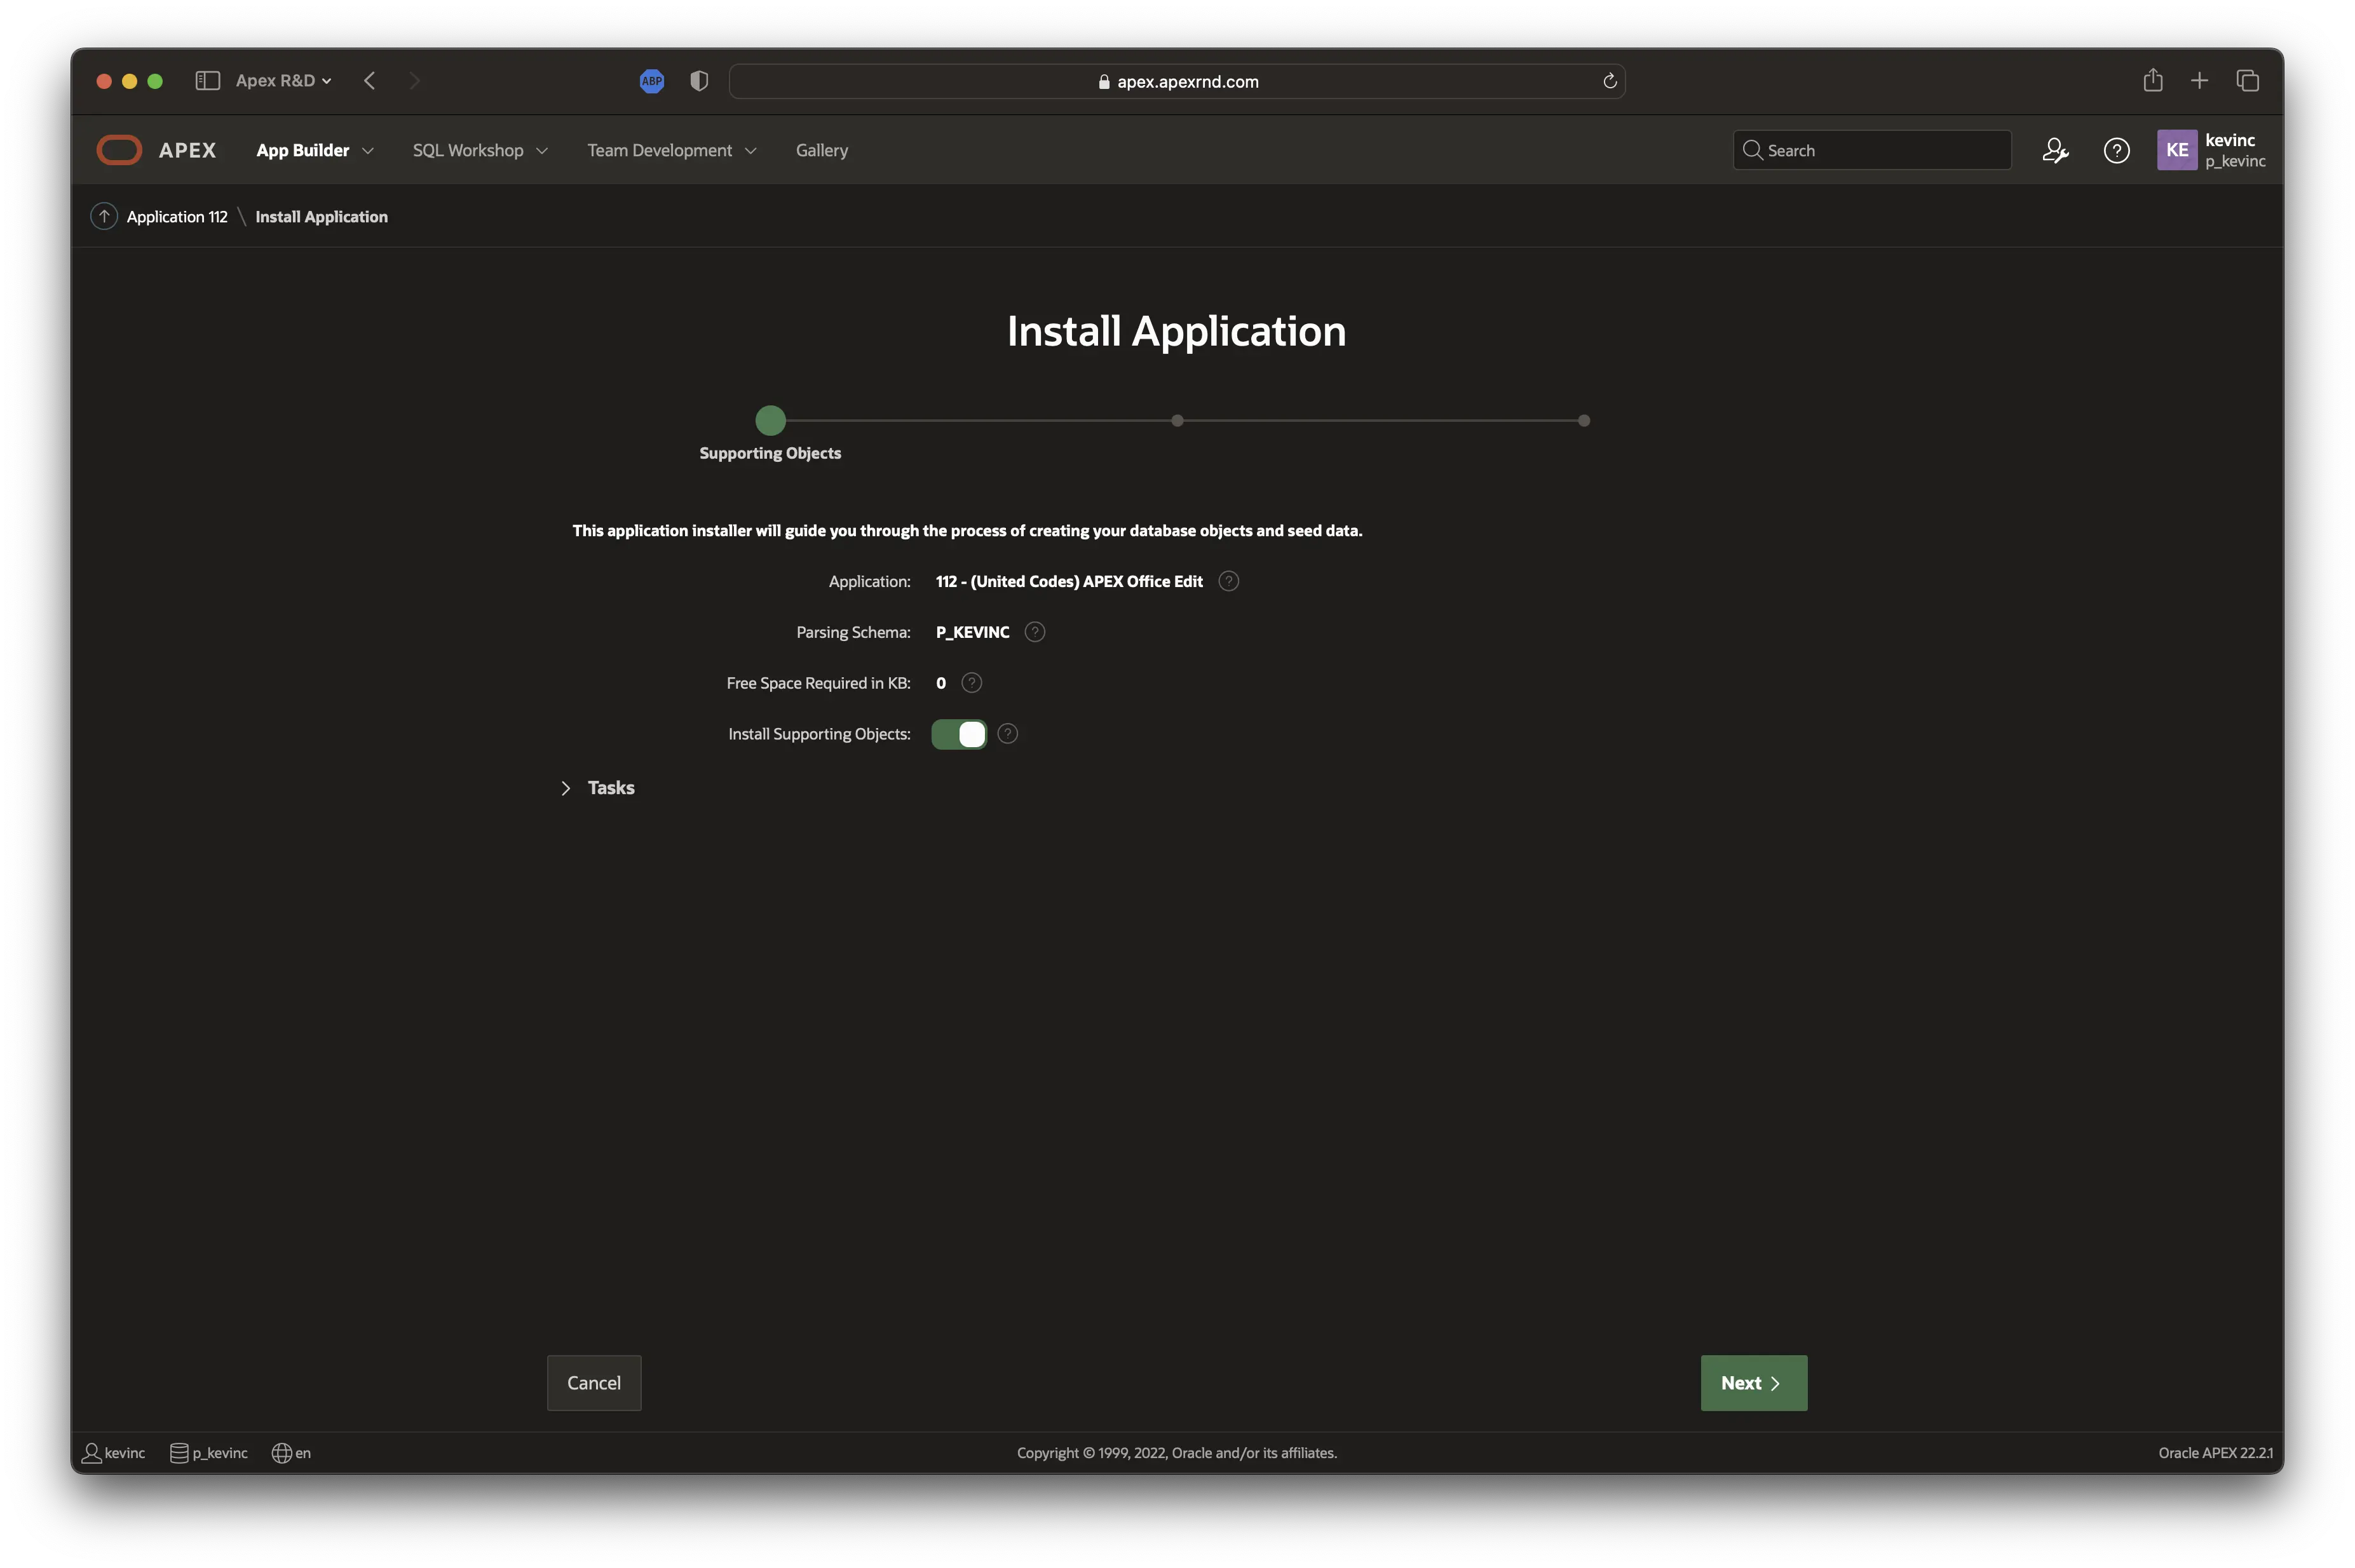
Set the application installation settings
-
Configure or use the default values in the form
-
Click the Install Application button
-
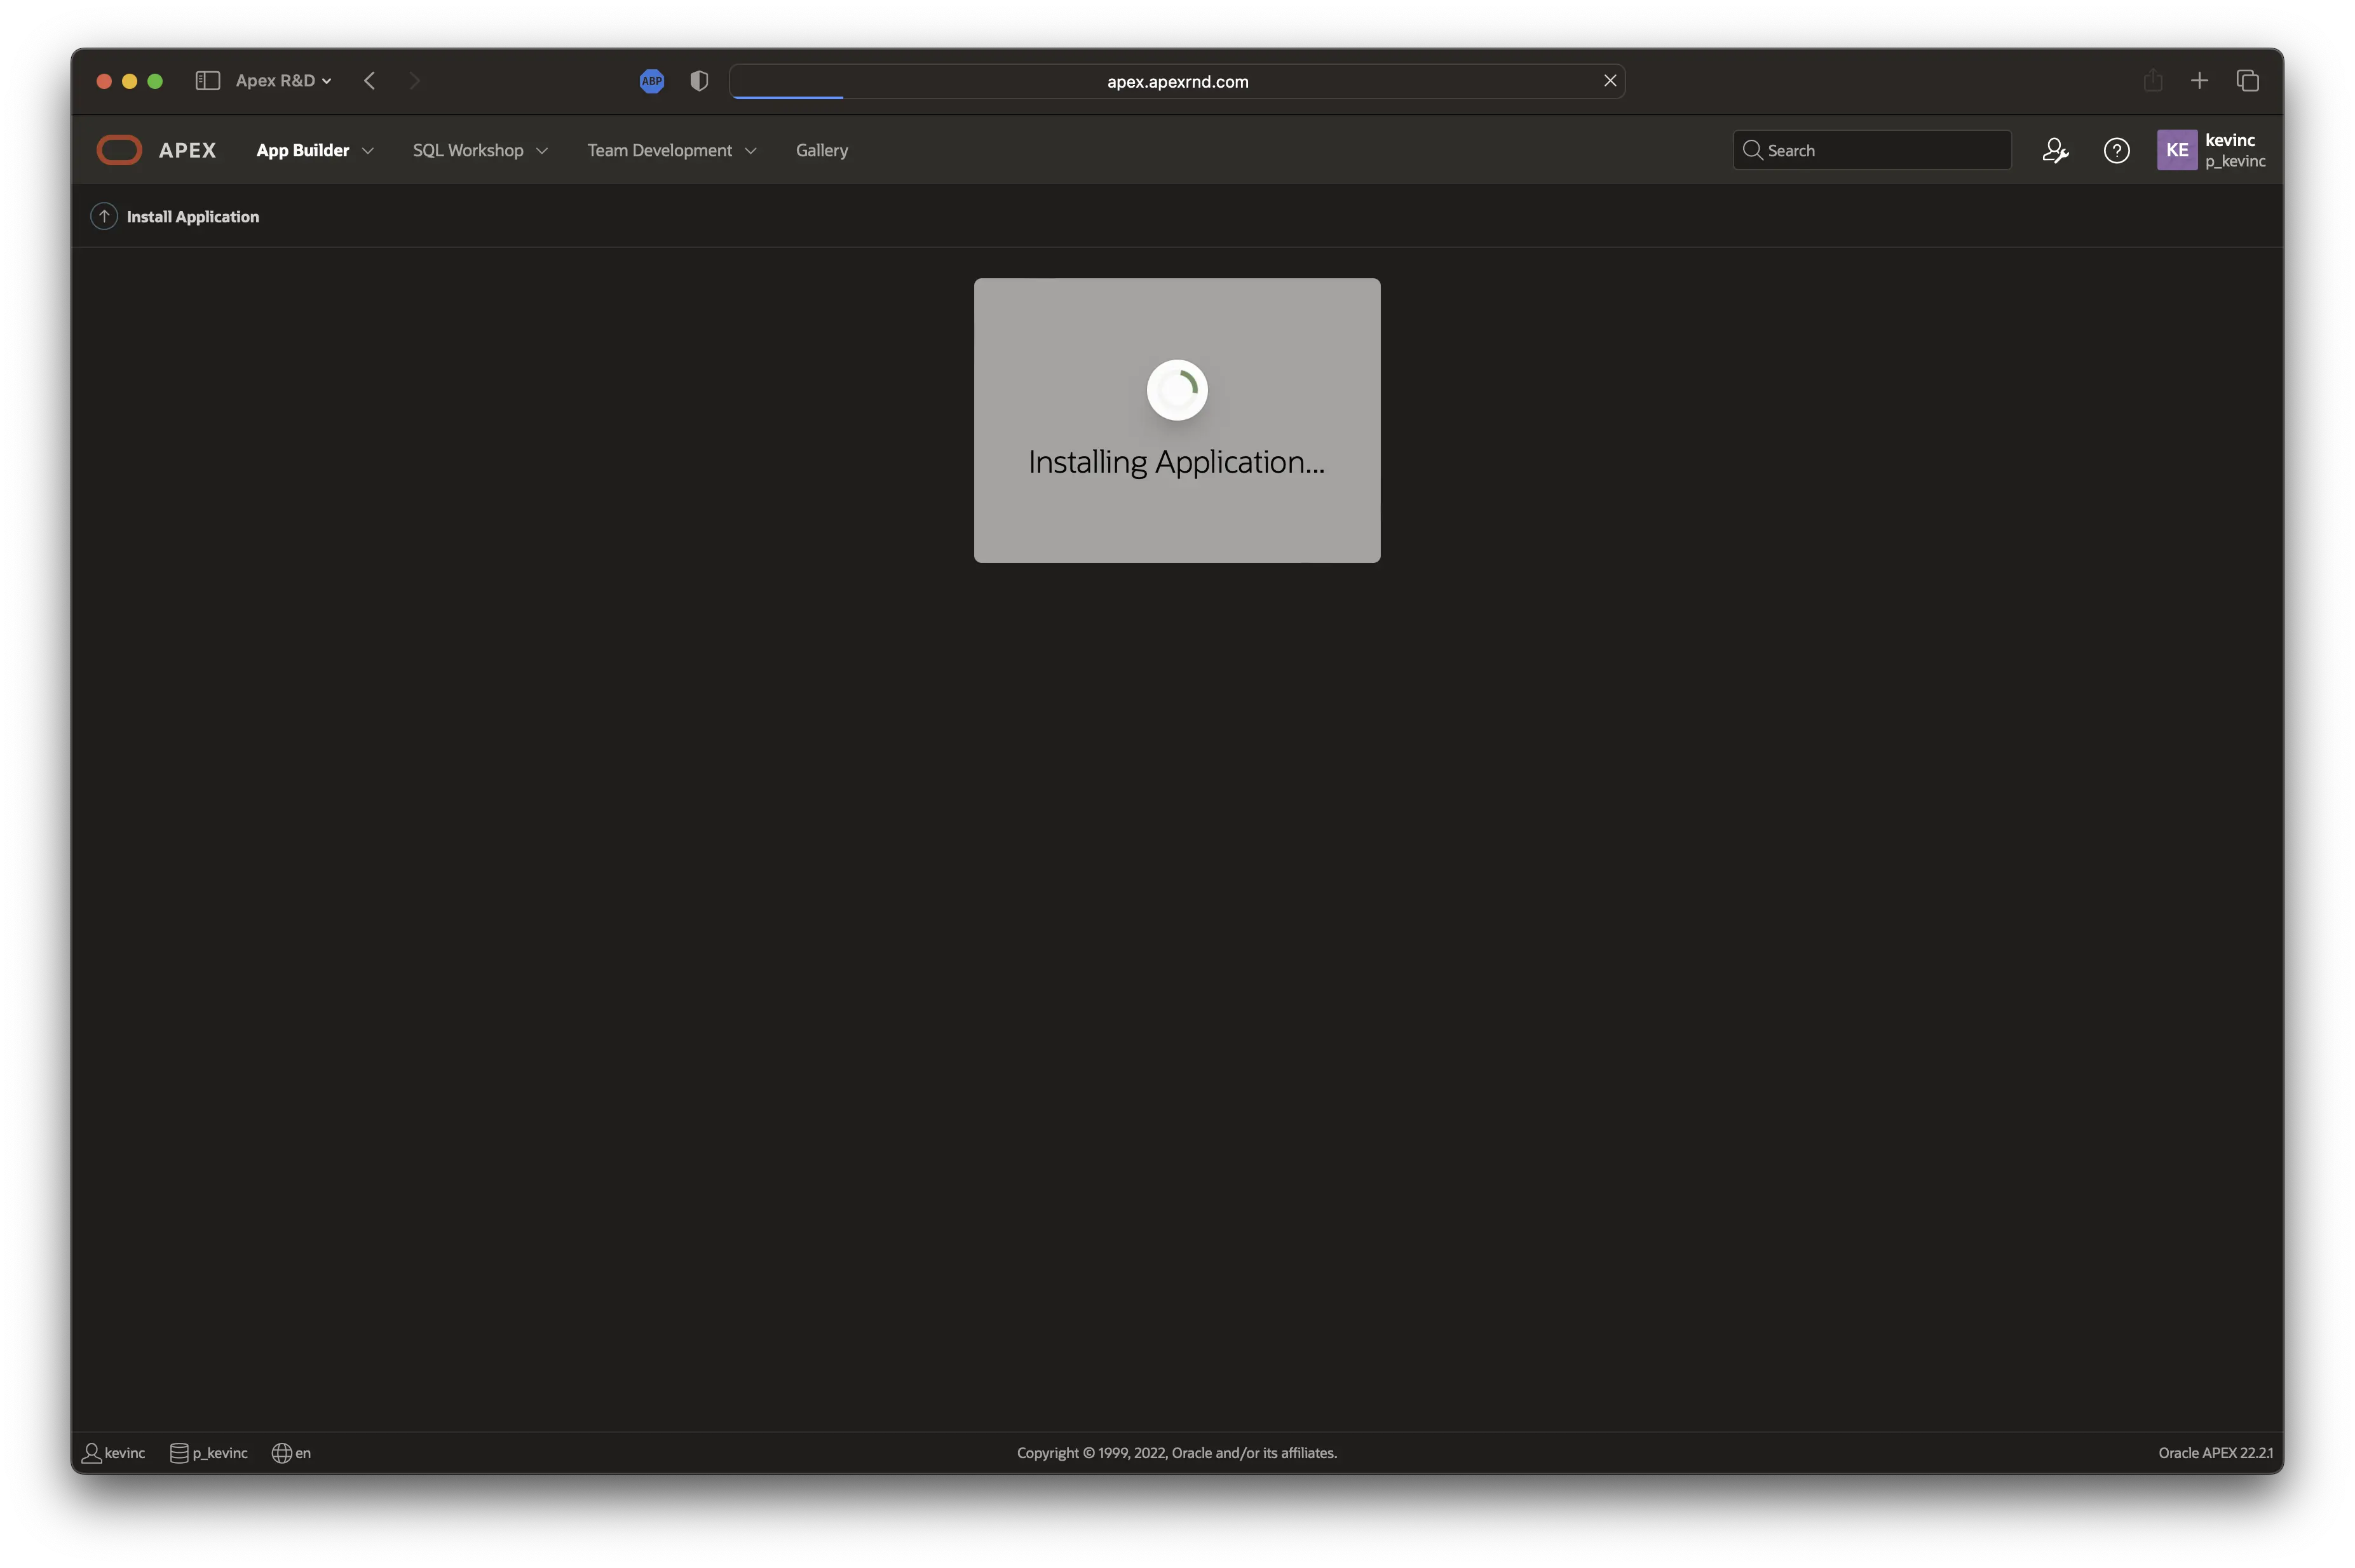
Don’t close the page - wait until APEX finishes installing the application. You will be redirected to the next step when the application installation is complete.
-
Make sure Install Supporting Objects is checked - to install the sample application, all sample application supporting objects must be installed successfully
-
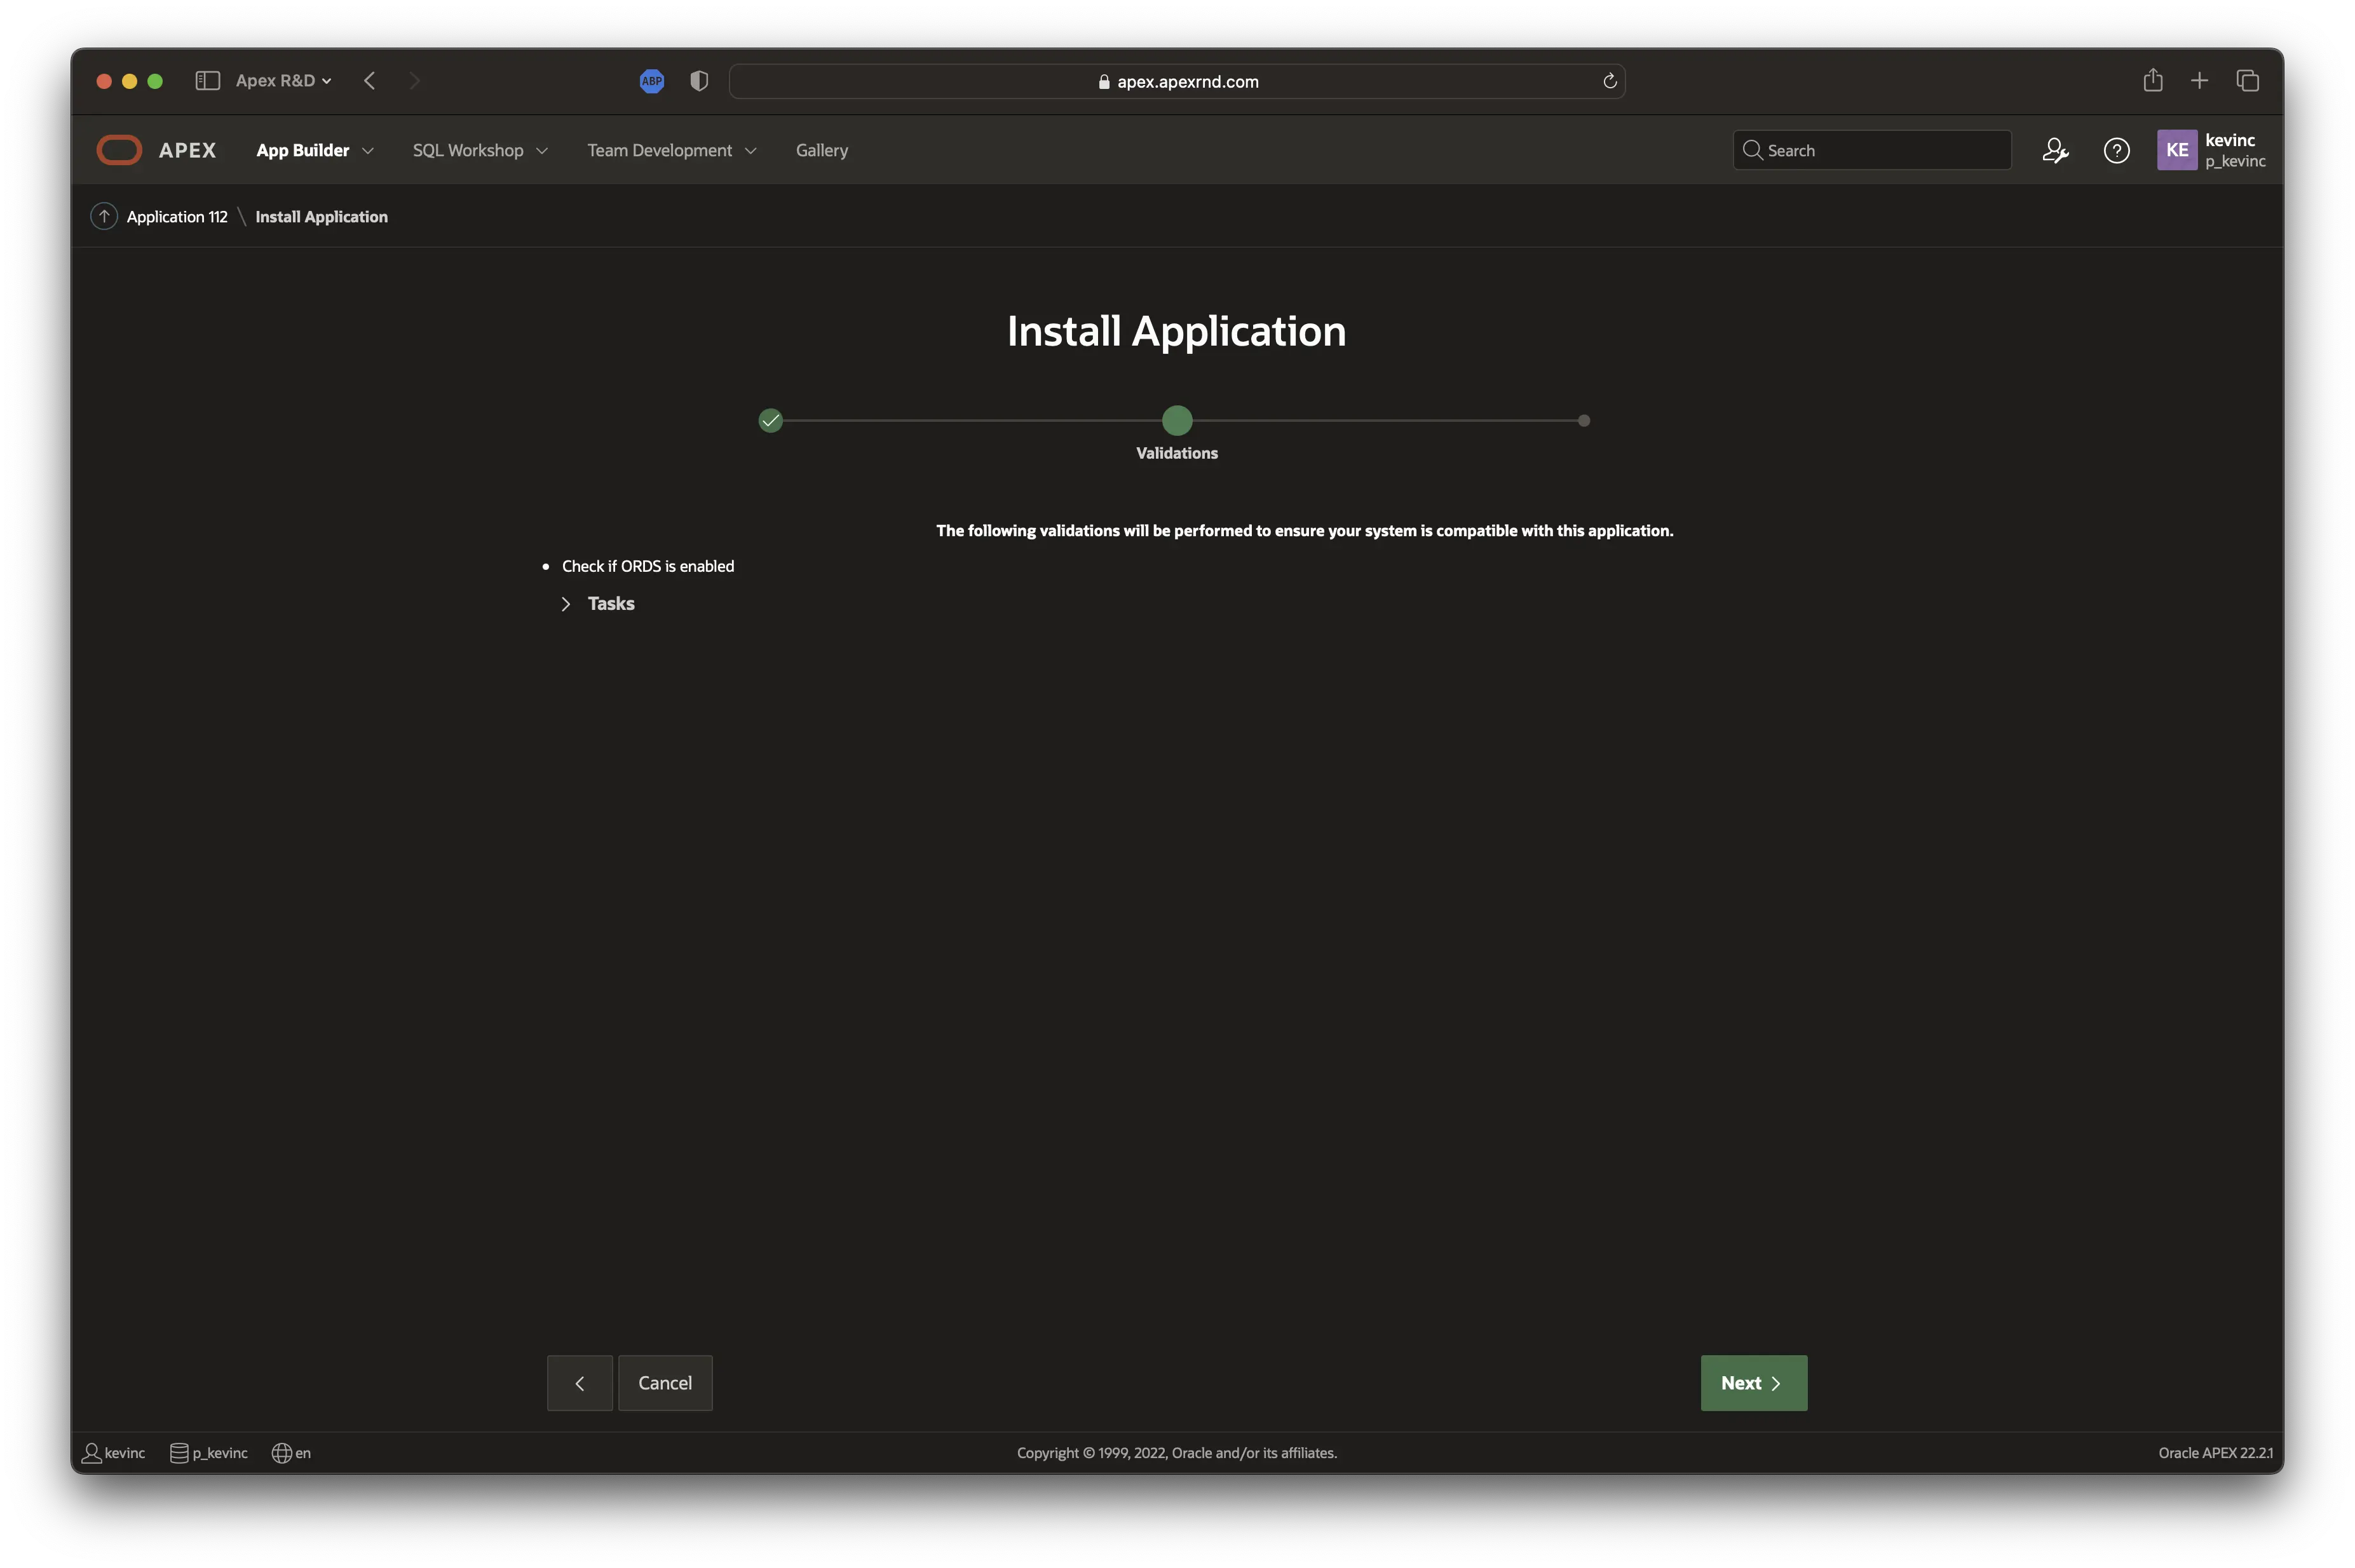
Click the Next button
-
Click the Next button
-
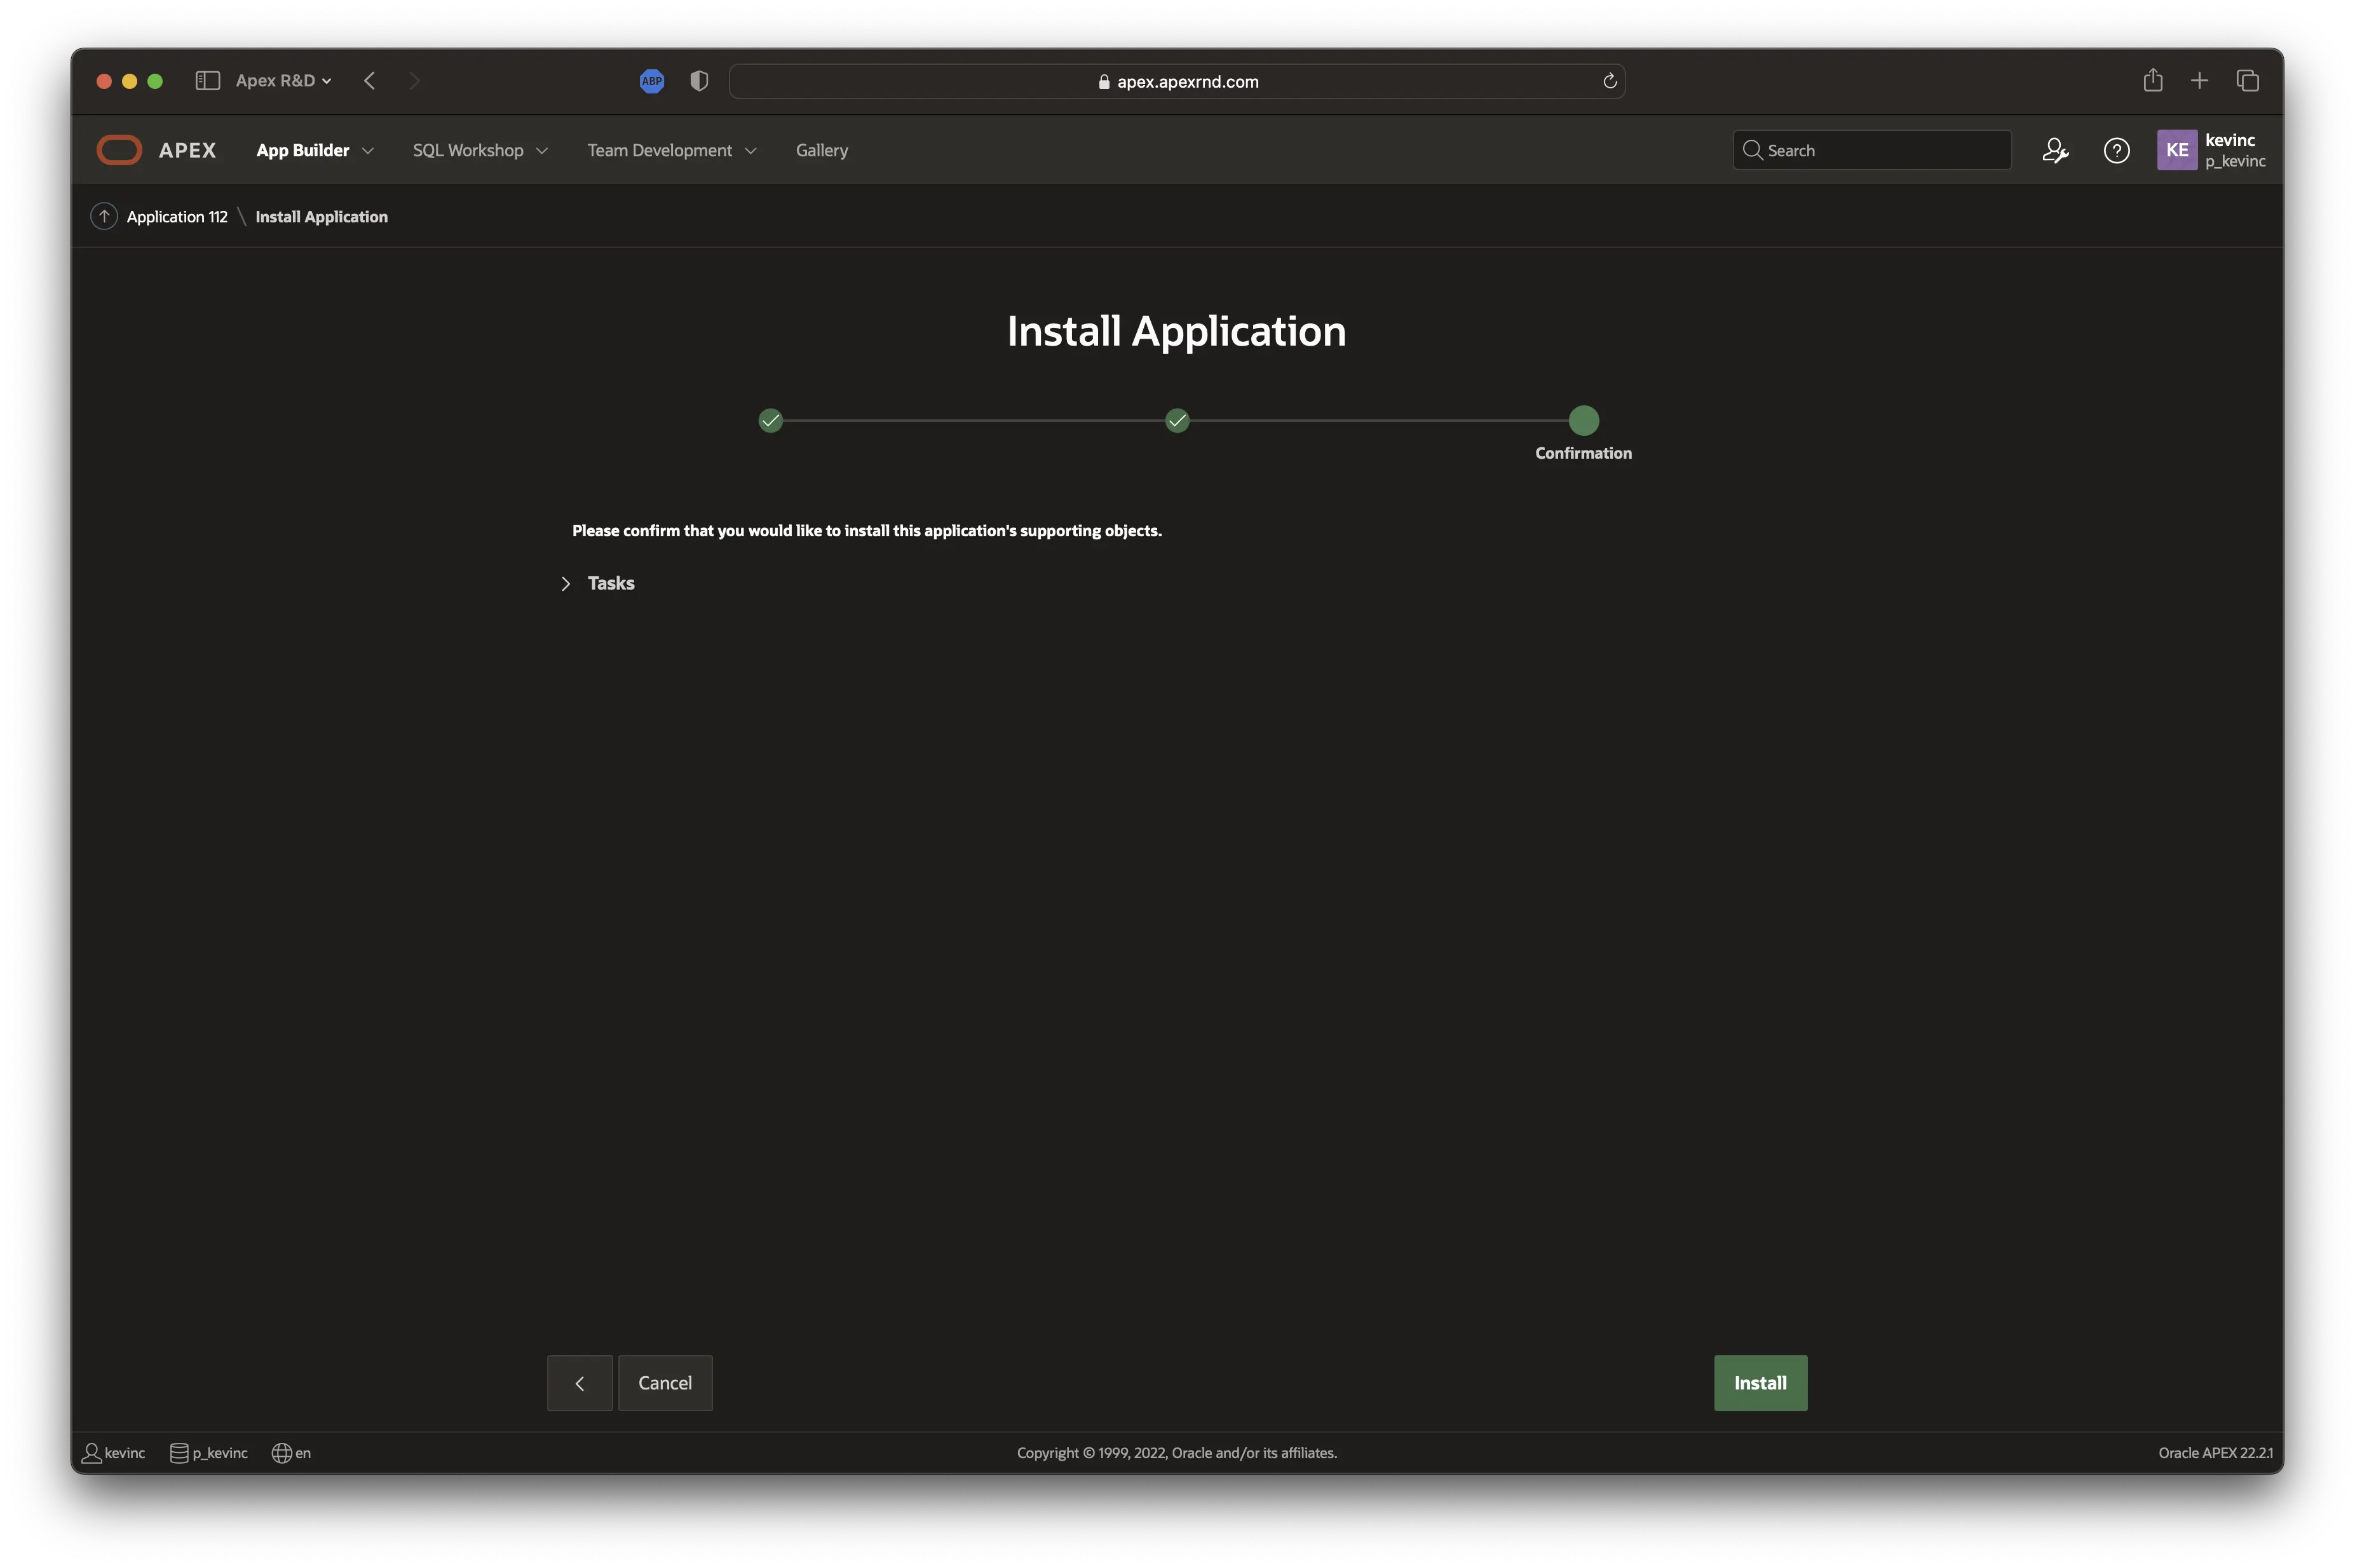
Click the Install button
-
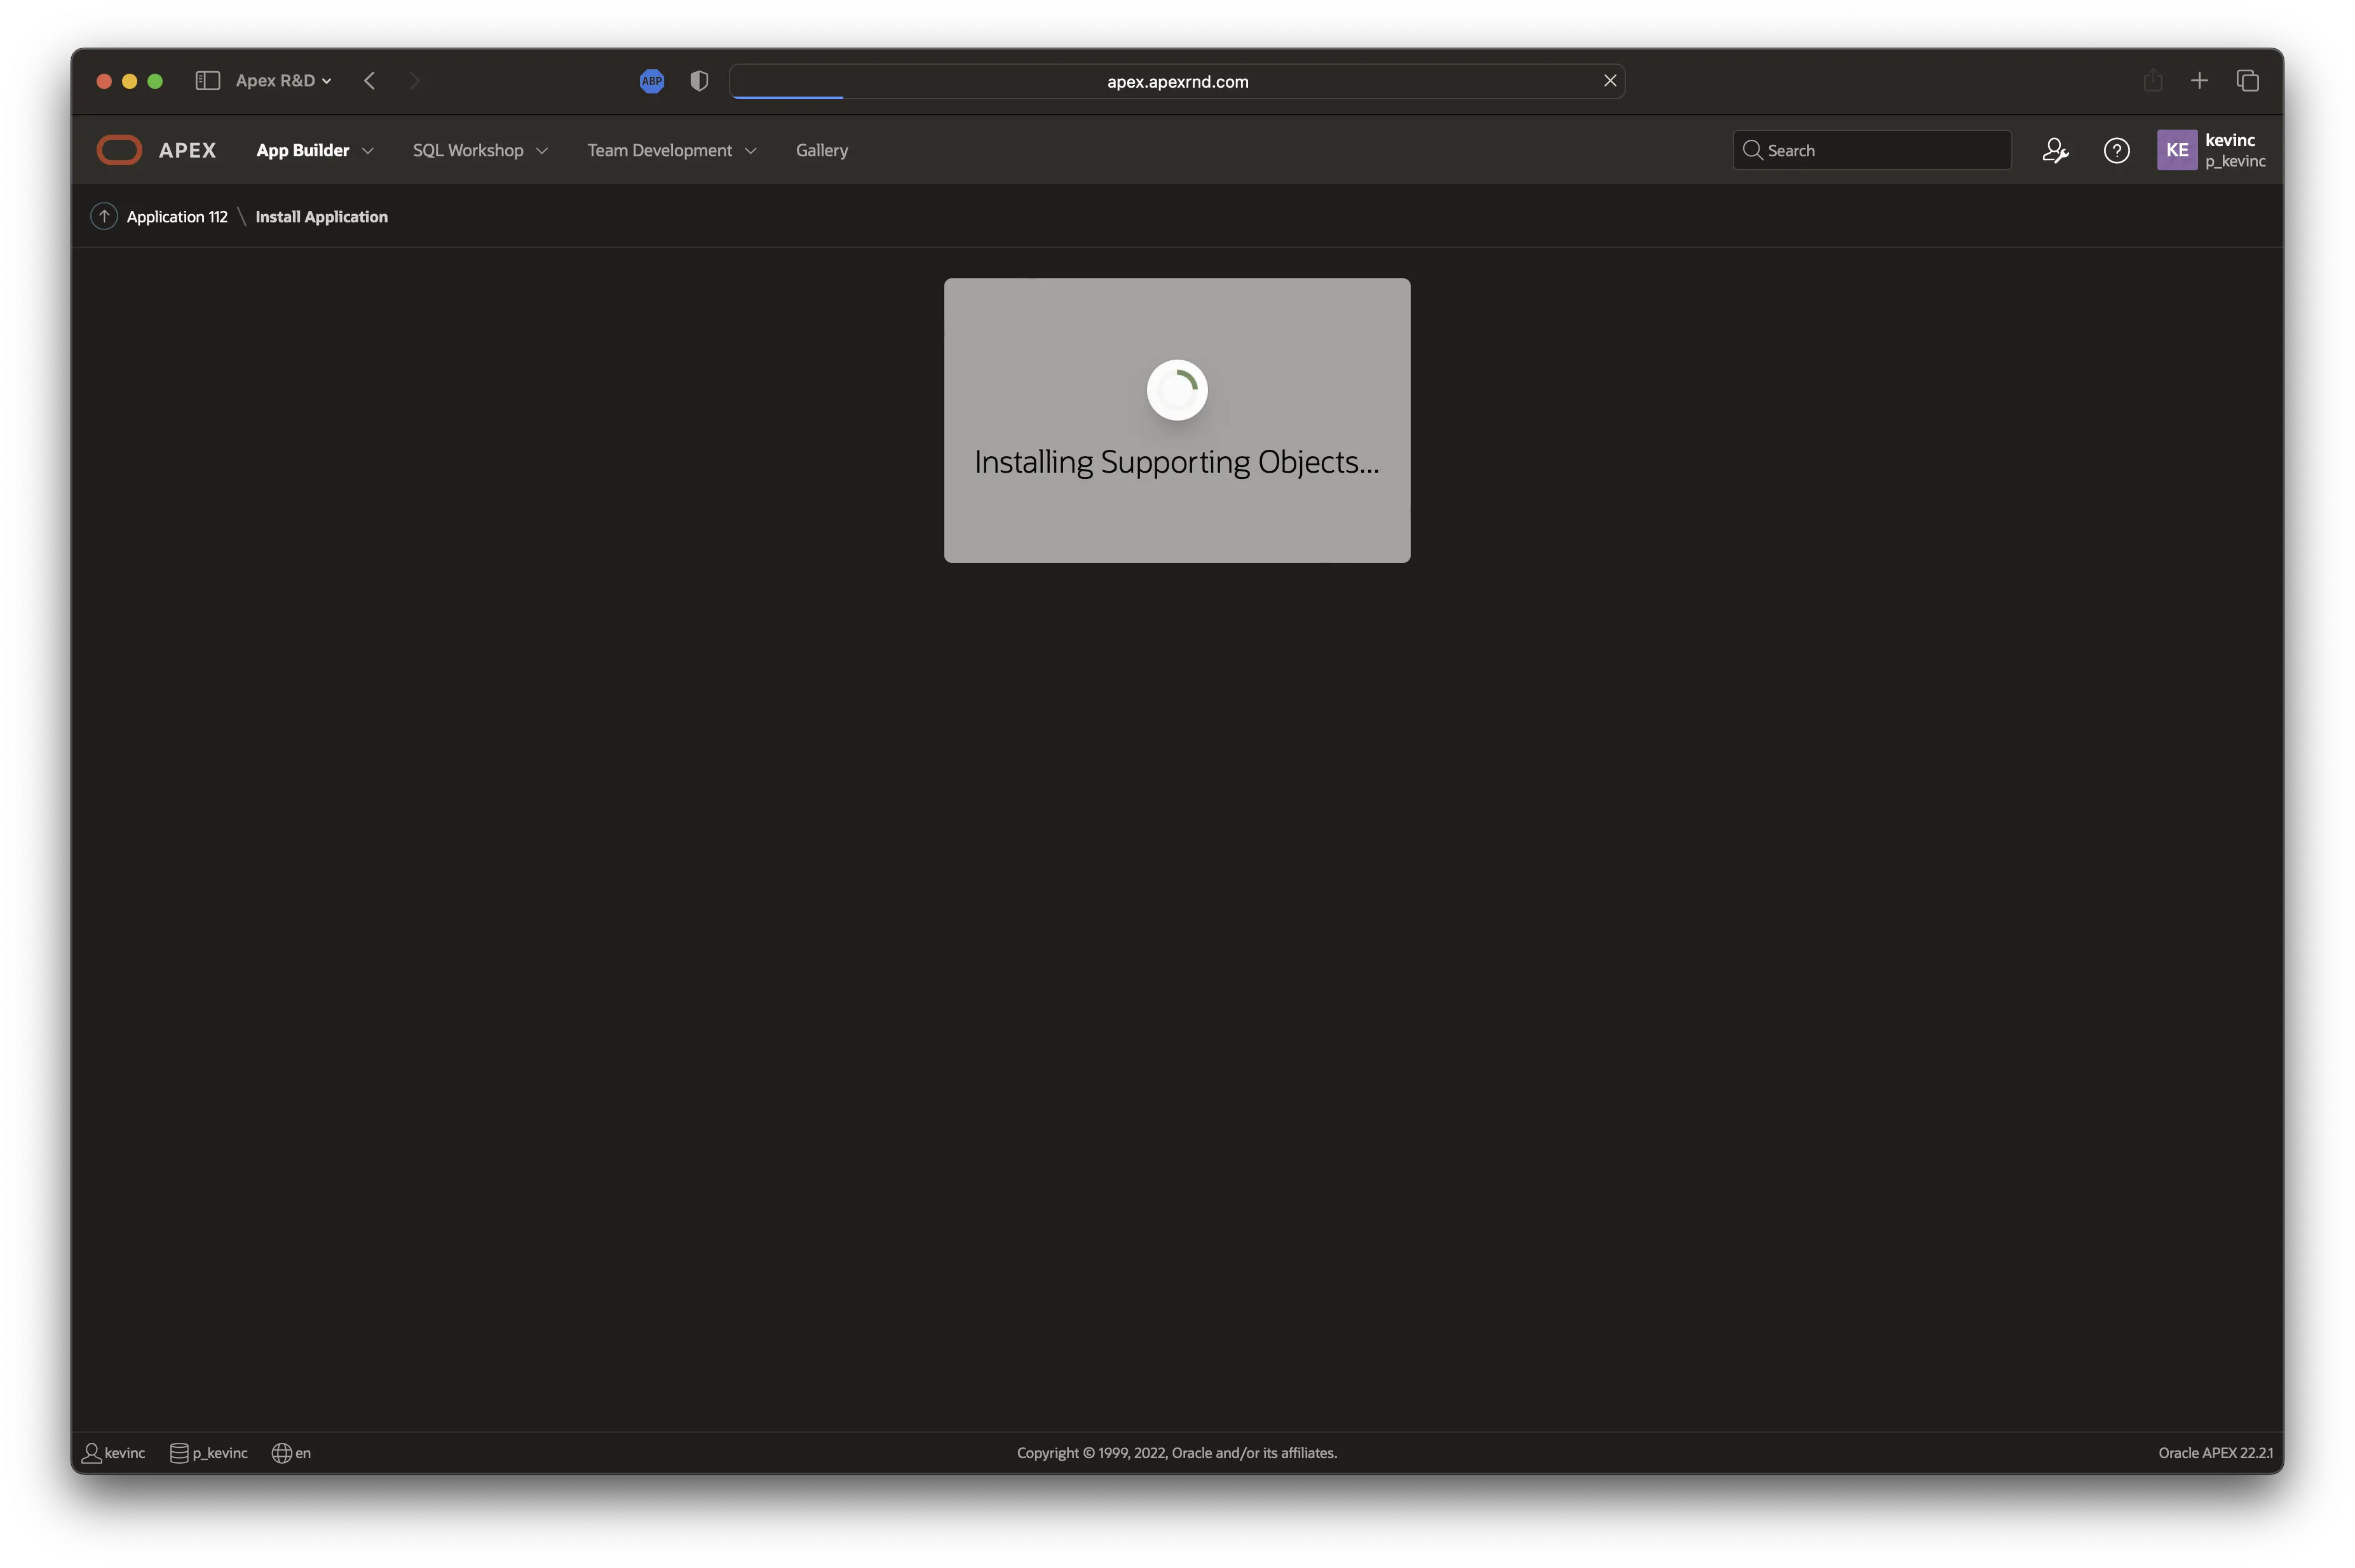
Don’t close the page - wait until APEX finishes installing the supporting objects. When the supporting objects are installed, you will be redirected to the next step.
-
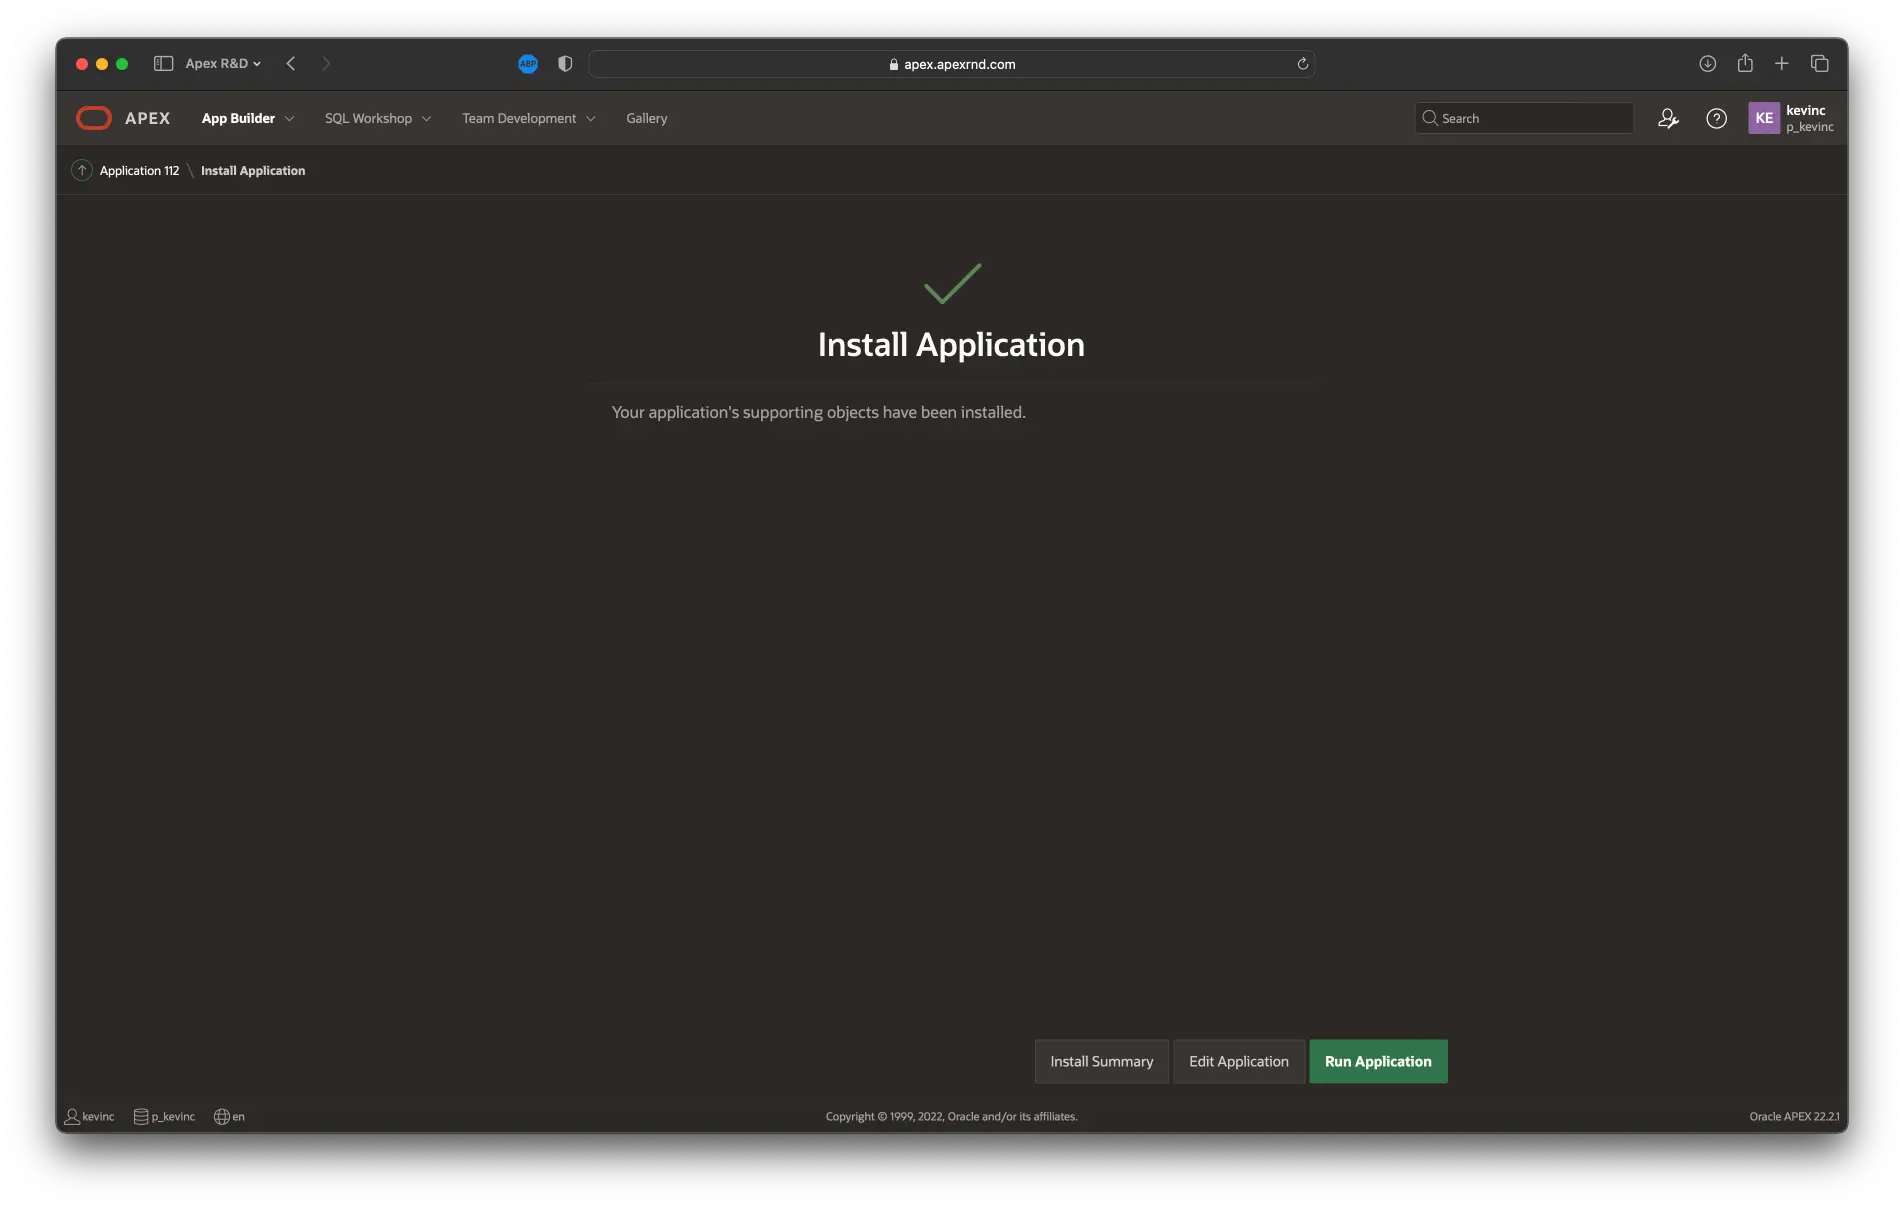
When the installation finishes, you will see a confirmation.
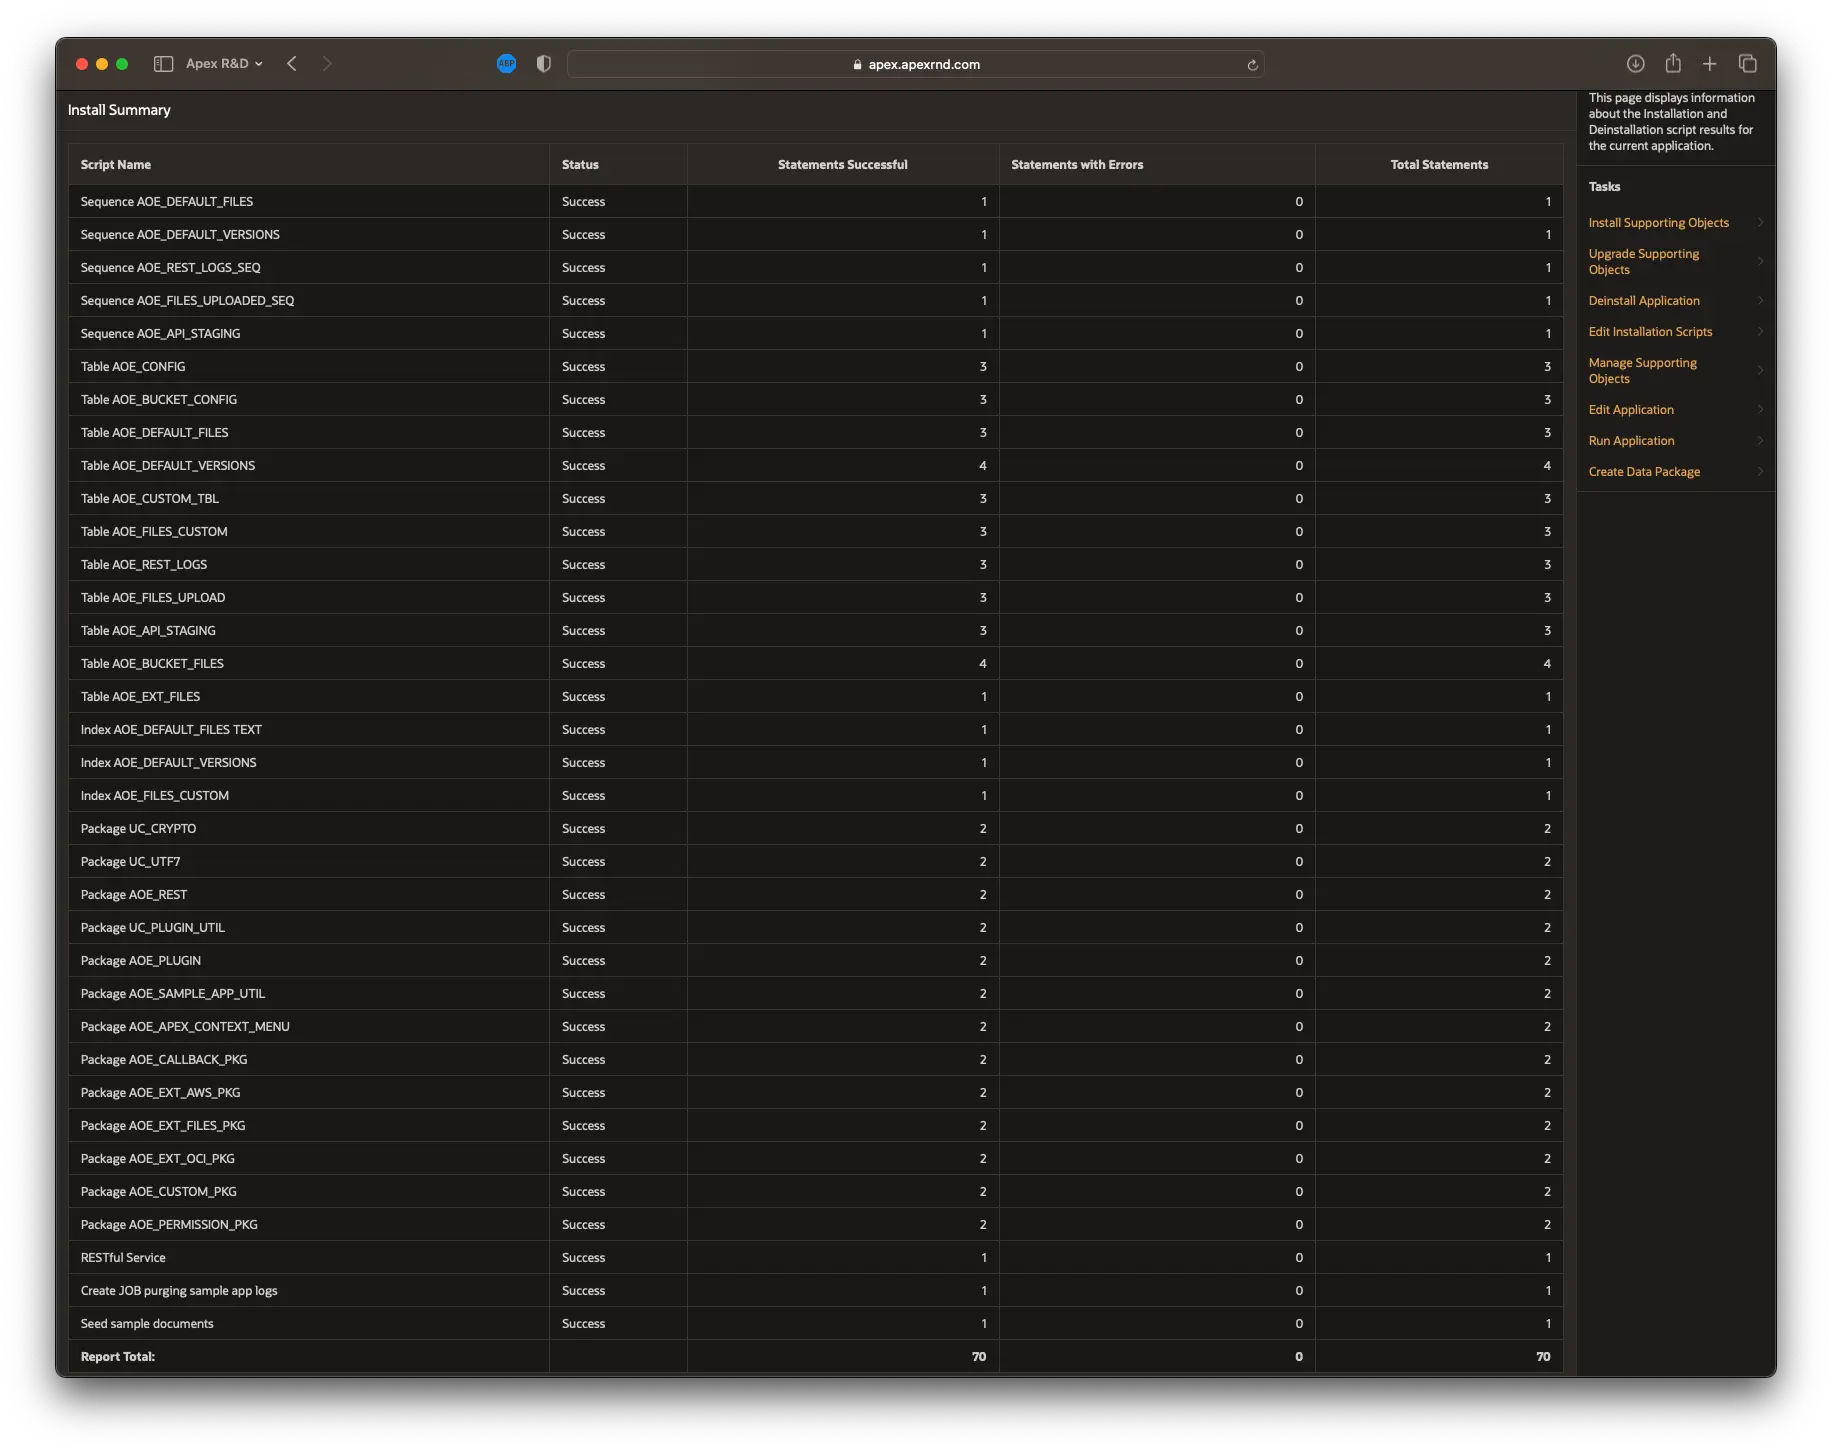
Note: If an error terminates the installation, it can be verified by clicking the Install Summary button - the summary shows the status of all the installed supporting objects.
-
After the sample application installation is successful, the last step is to update the plug-in component settings for the RESTful service installed by the sample application.
Configure the plug-in RESTful service
You must configure the plug-in RESTful service to finish the sample application installation.
- Fill in the details as instructed in The plug-in REST service configuration
- Test the sample application
Testing the Sample Application
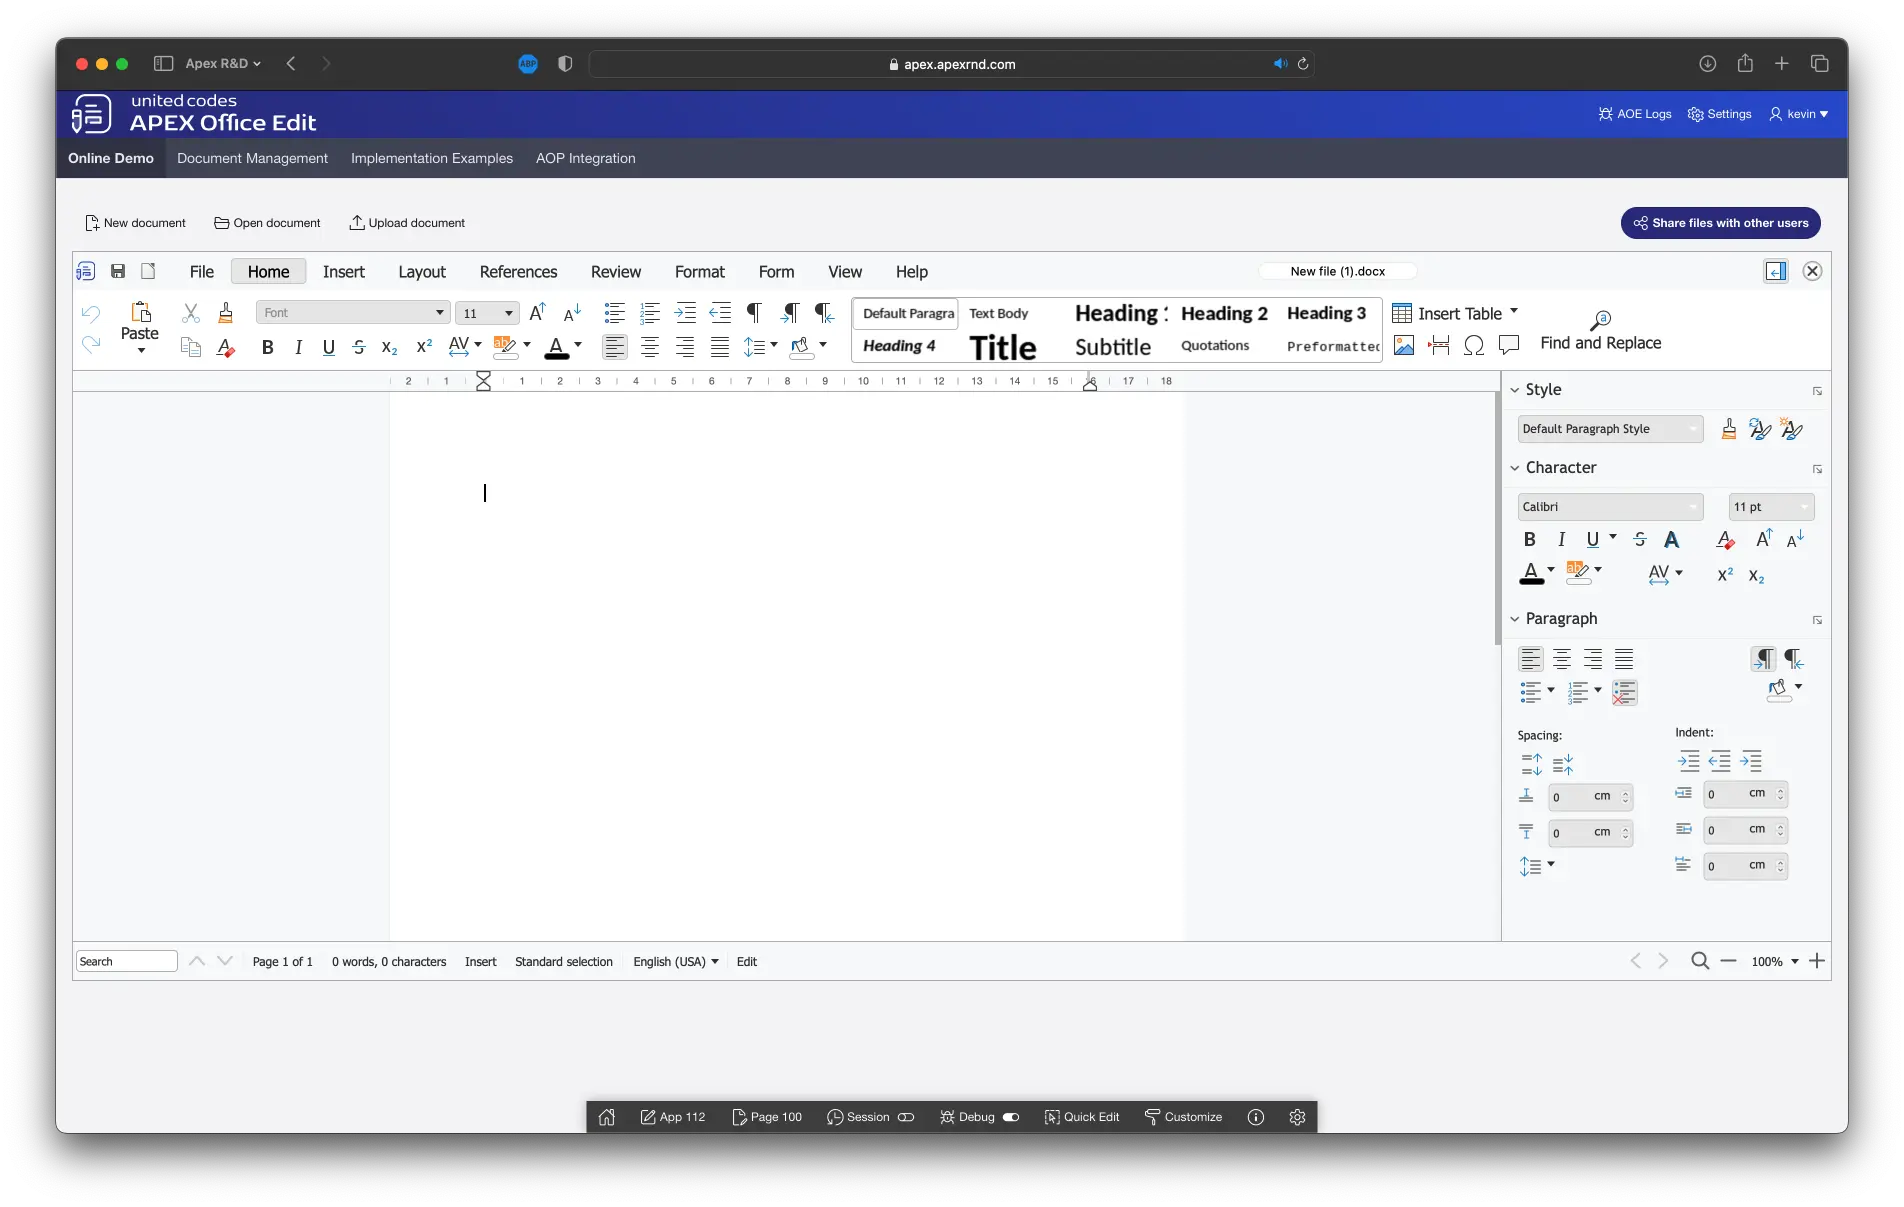
- Run the AOE sample application
- Click on the document type tile you wish to create
- AOE will create a document of the selected type

Manual Installation
Running the DDL Install Script
-
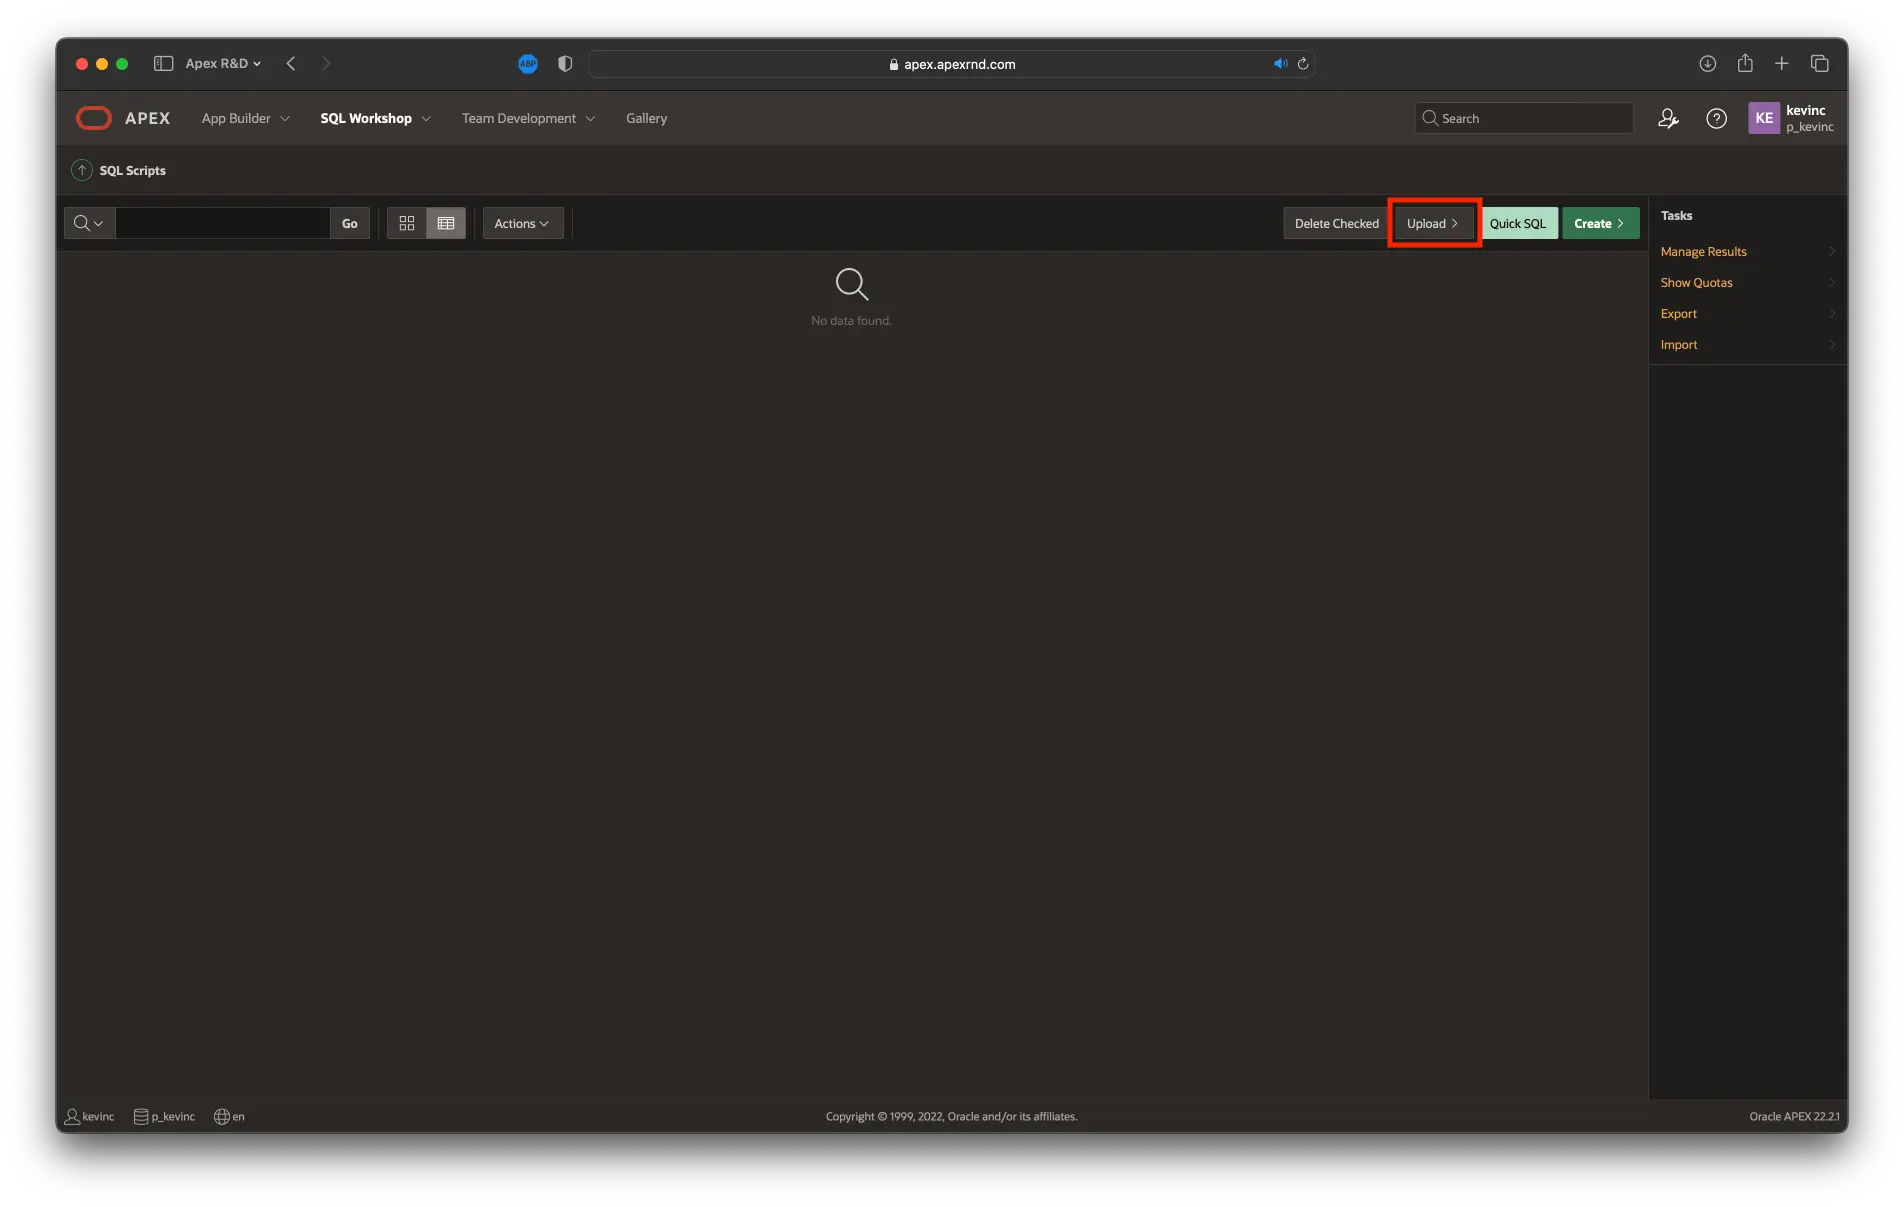
From the APEX Application Builder, in the top menu bar, select SQL Workshop and then SQL Scripts
-
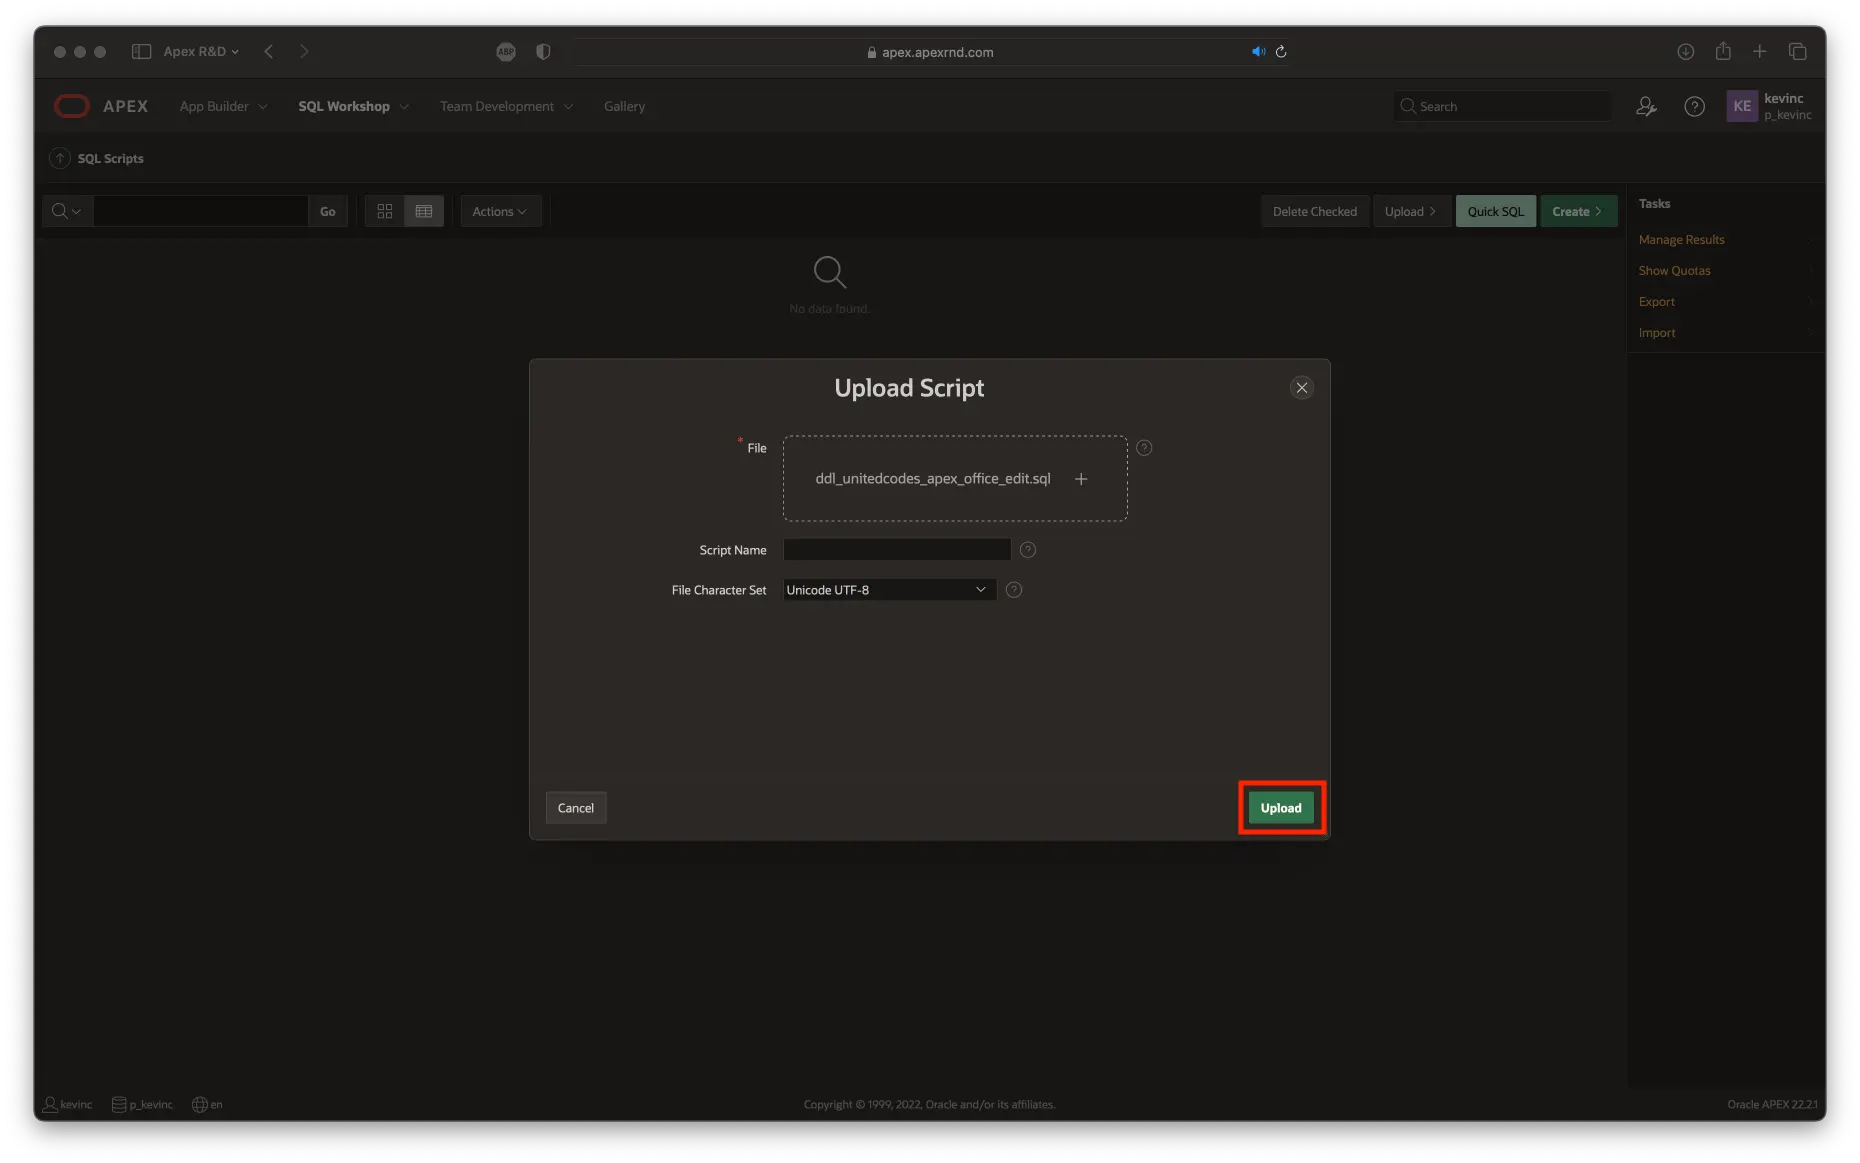
Click the Upload button
-
In the Upload Script dialog, click on Choose File and select the AOE installation file: .
ddl_unitedcodes_apex_office_edit.sql -
Click the Upload button
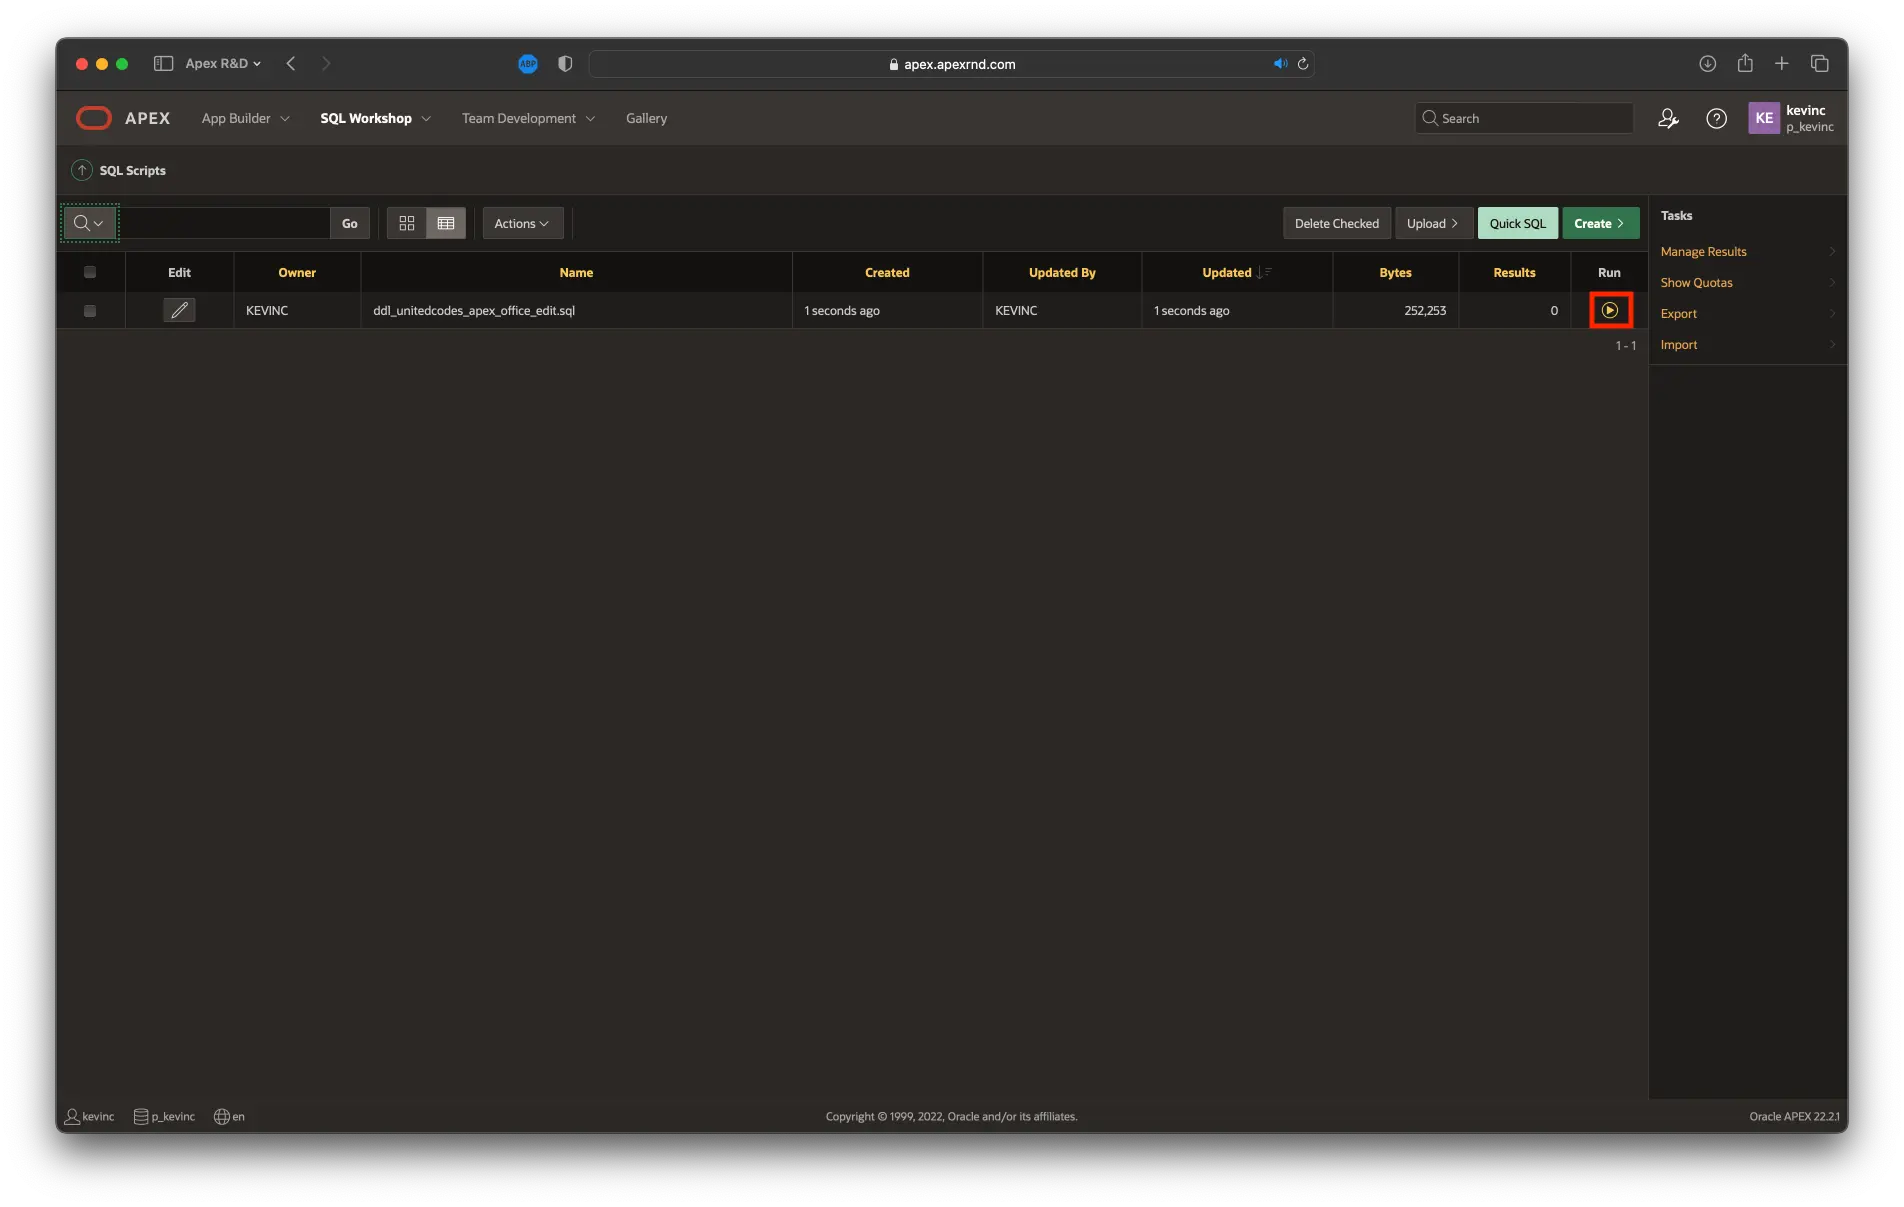
-
After successfully uploading the script, click the Run button.
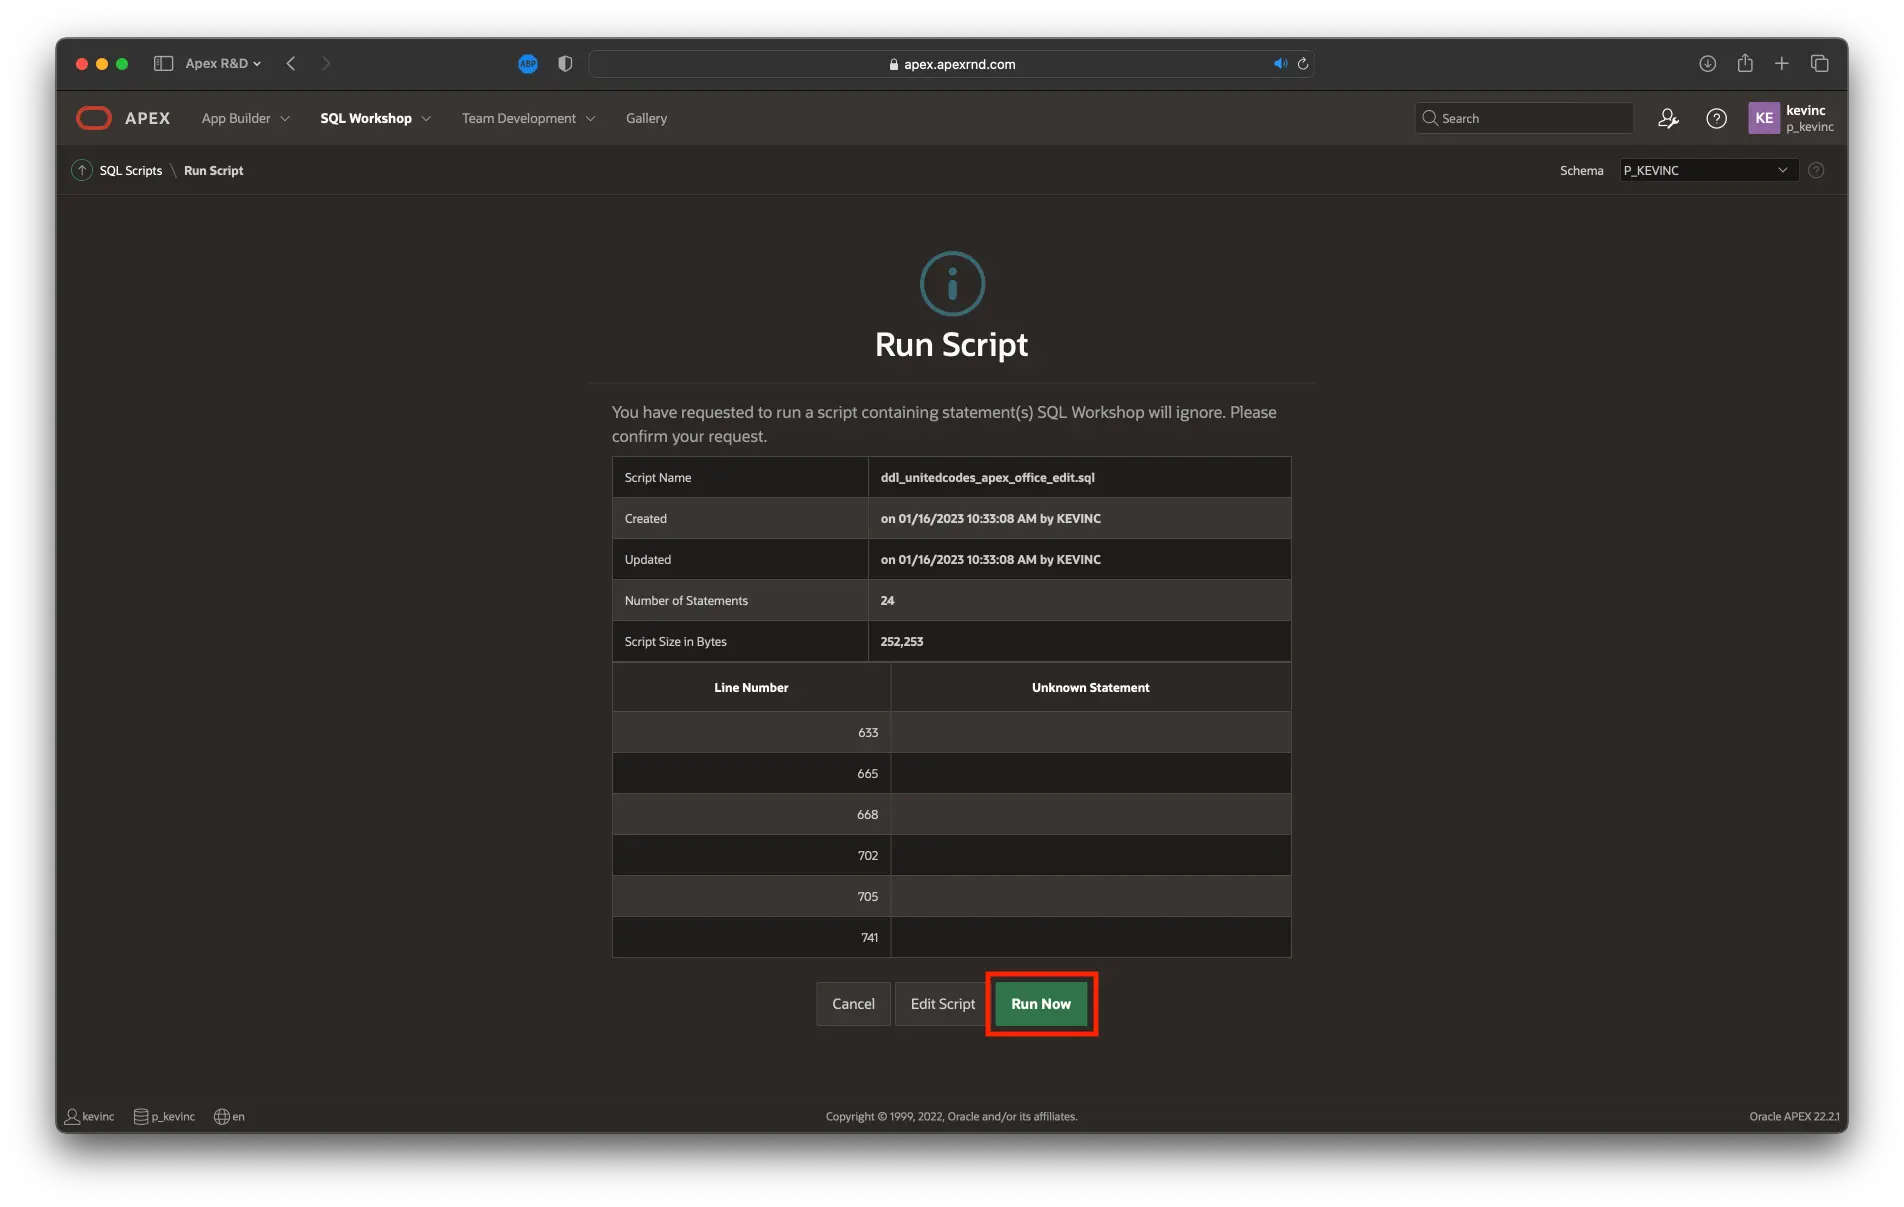
-
Click the Run now button on the confirmation screen.
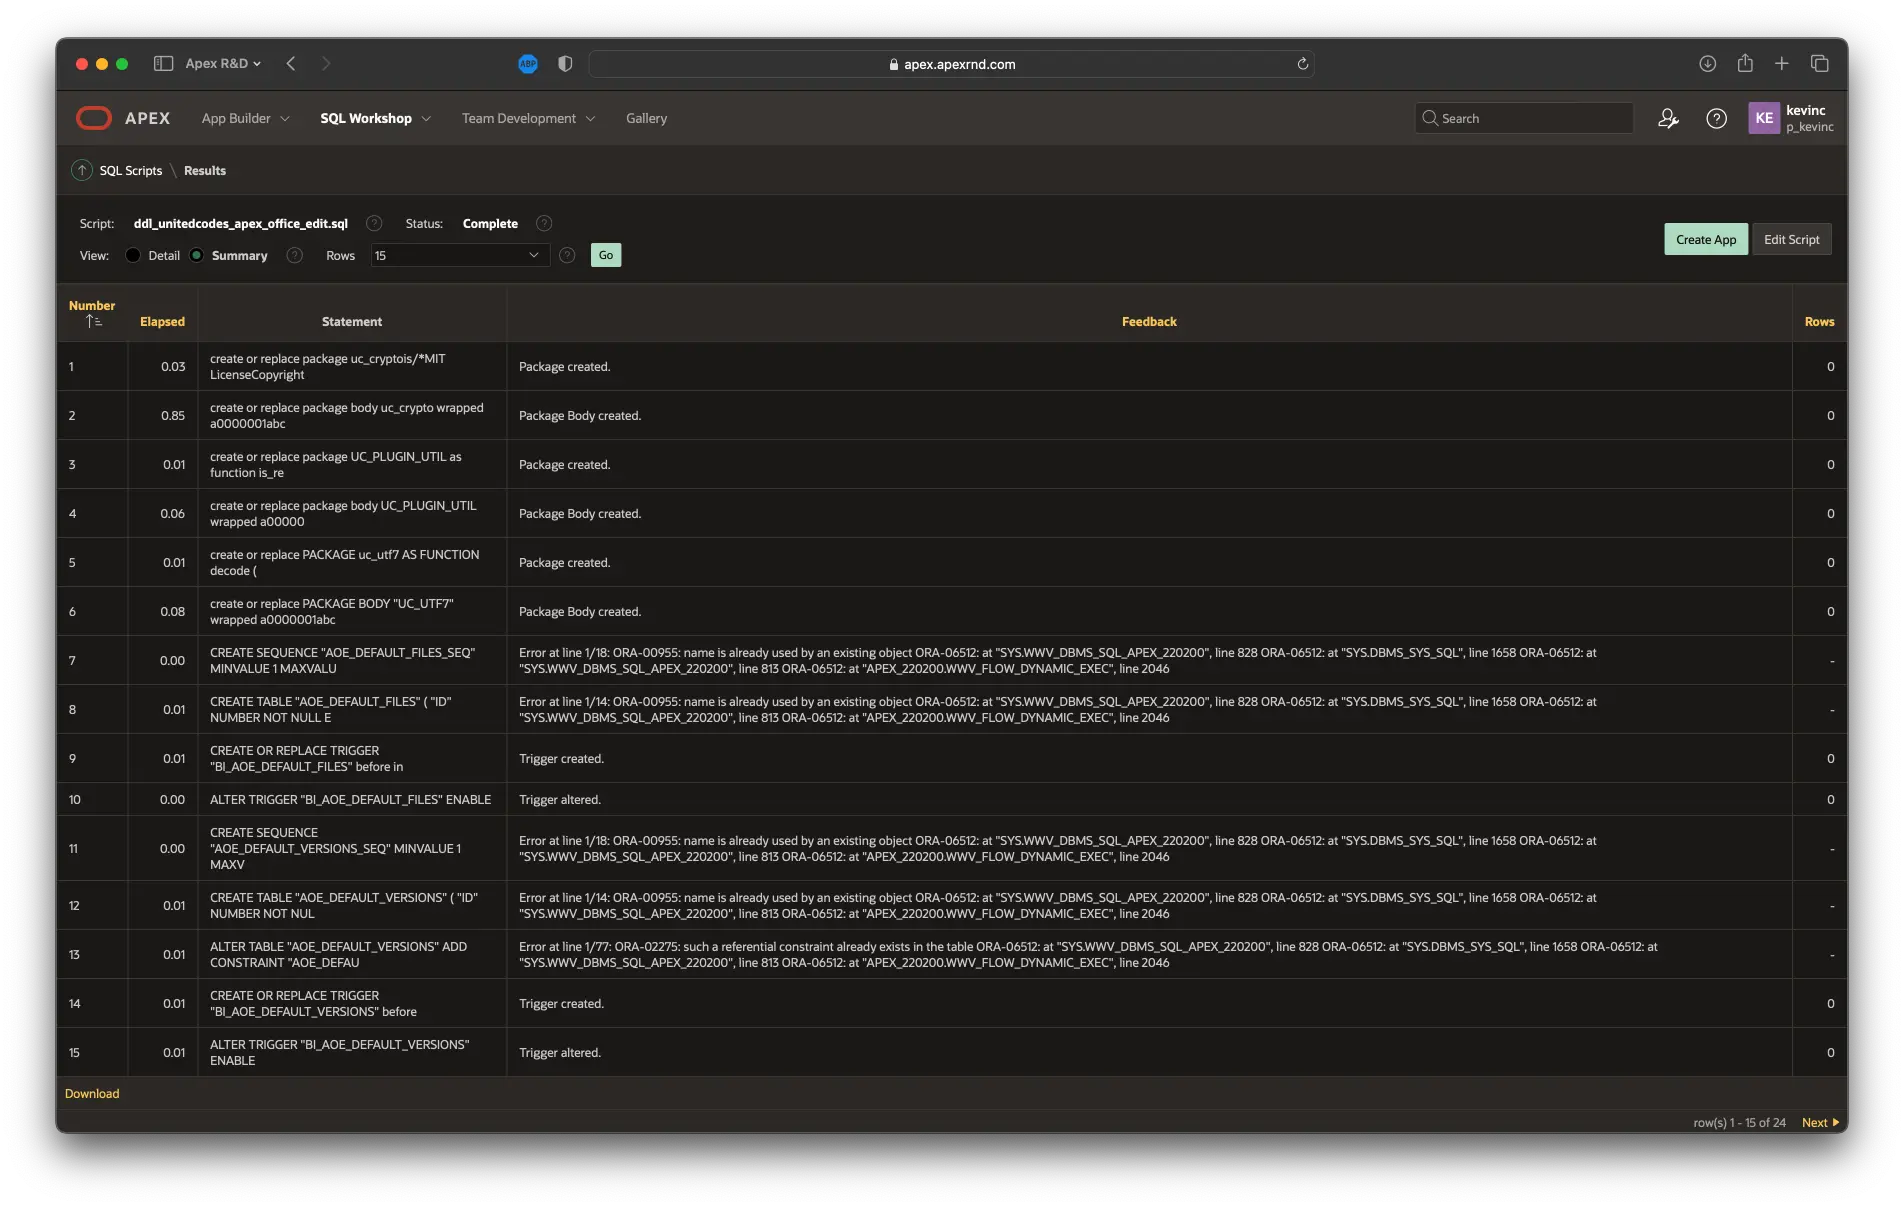
-
Examine the installation summary - the script should not raise any errors
-
Proceed to the next step: Installing the plug-in in an existing example application
Installing the plug-in in an existing application
-
Go to the APEX Application Builder home page.
-
Select the application where you want to use APEX Office Edit
-
Go to Shared Components \ Plug-ins
-
Click the Import button
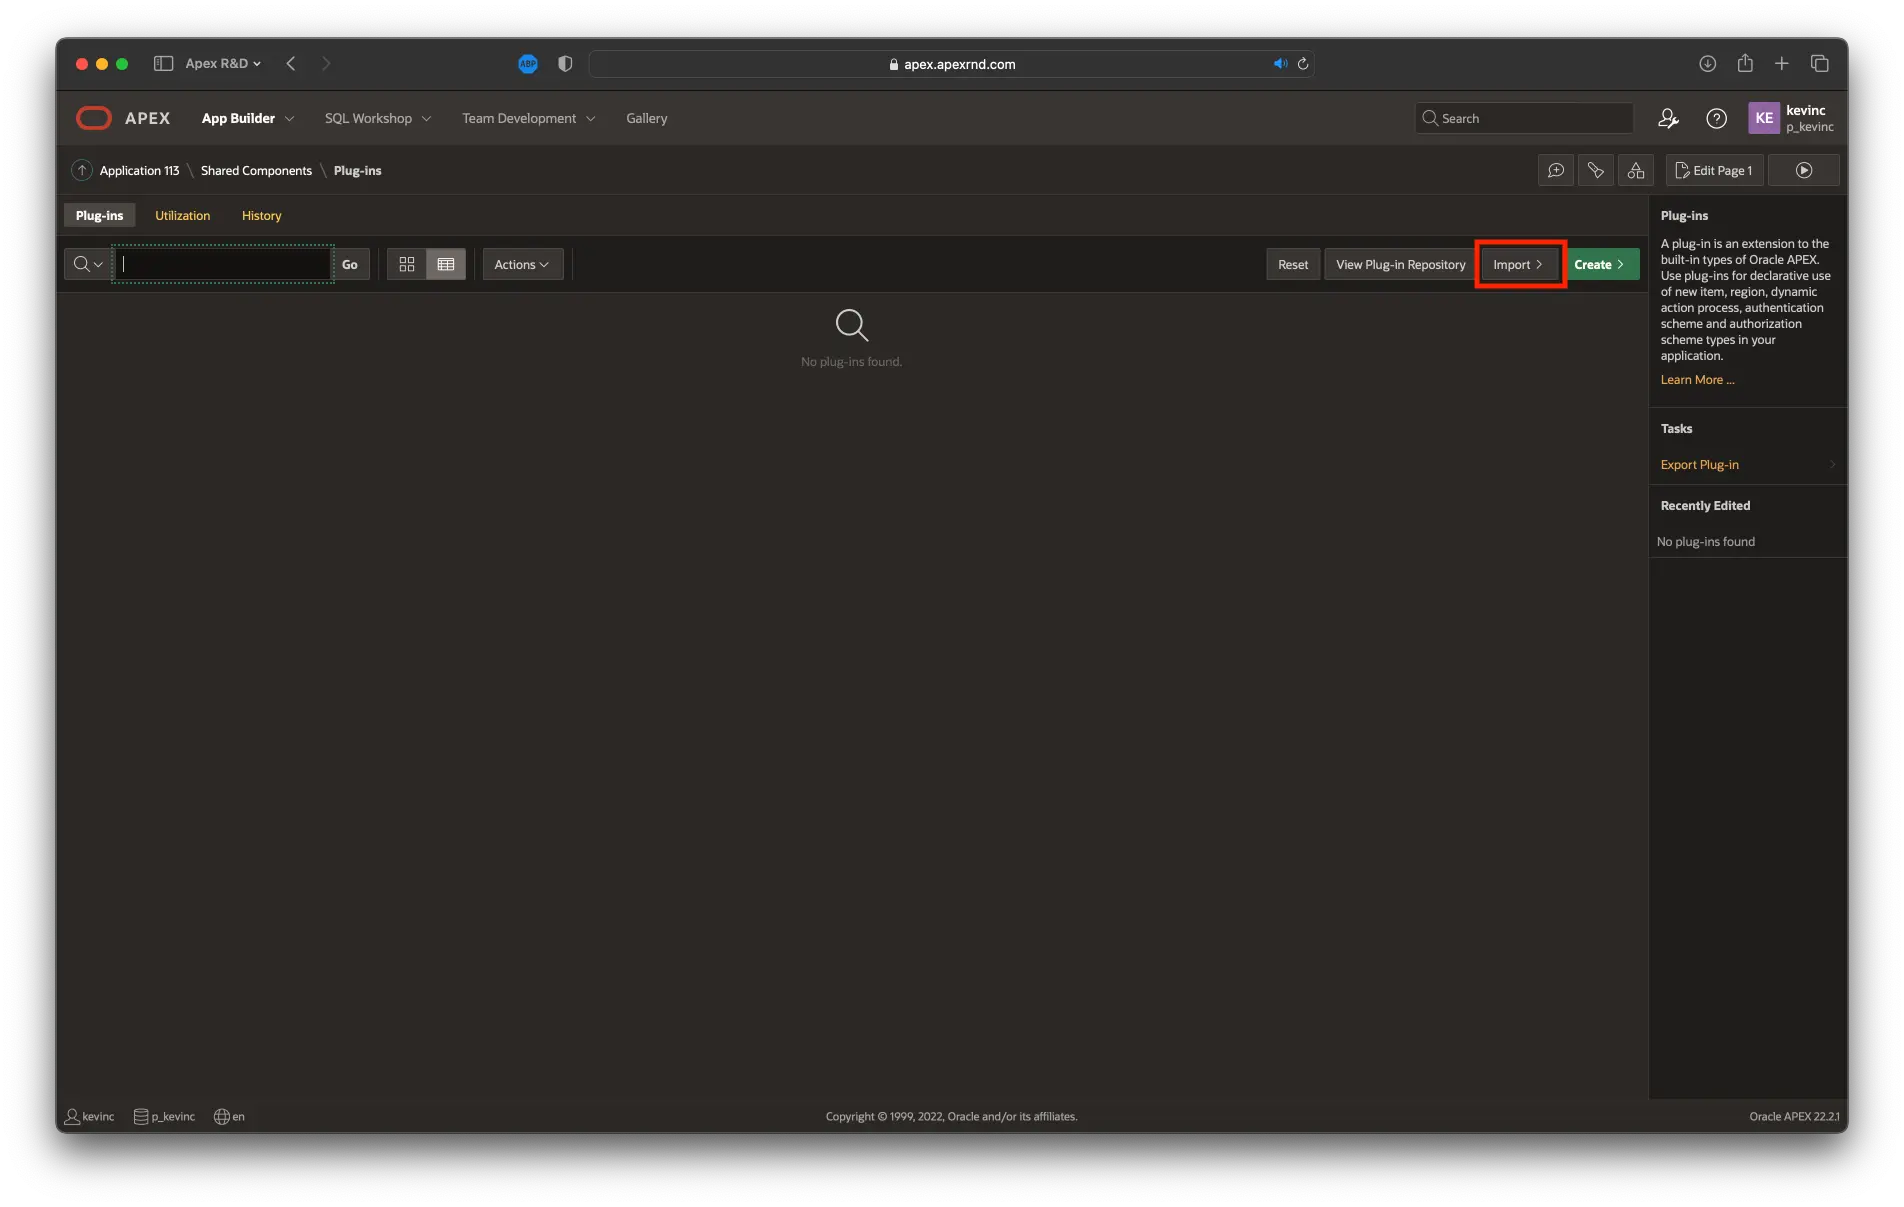
-
Click on the Drag and Drop region to select the AOE region plug-in installation file:
region_type_plugin_unitedcodes_aoe.sql -
Click the Next button
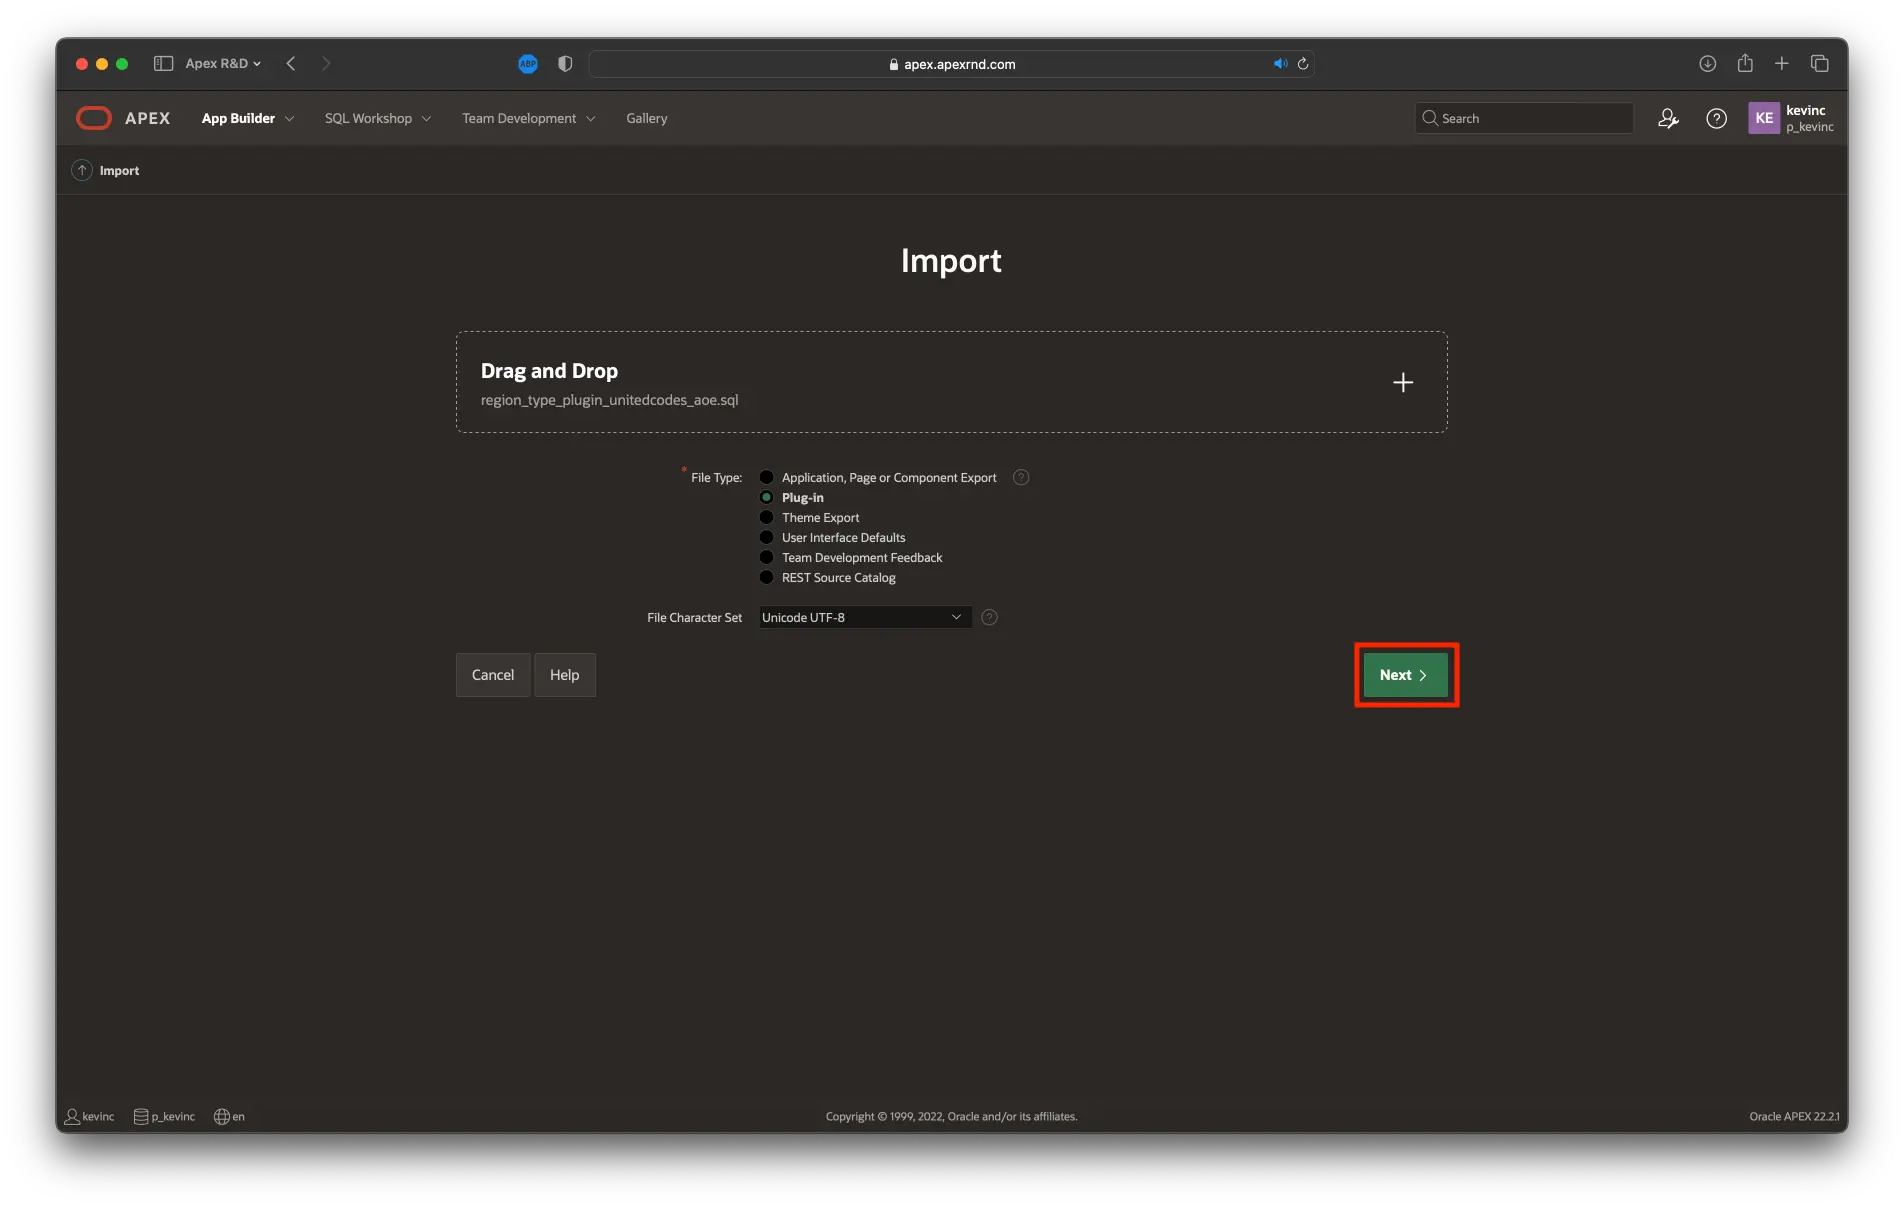
-
On the File Import Confirmation step click the Next button

-
In the Install Plug-in step click the Install Plug-in button
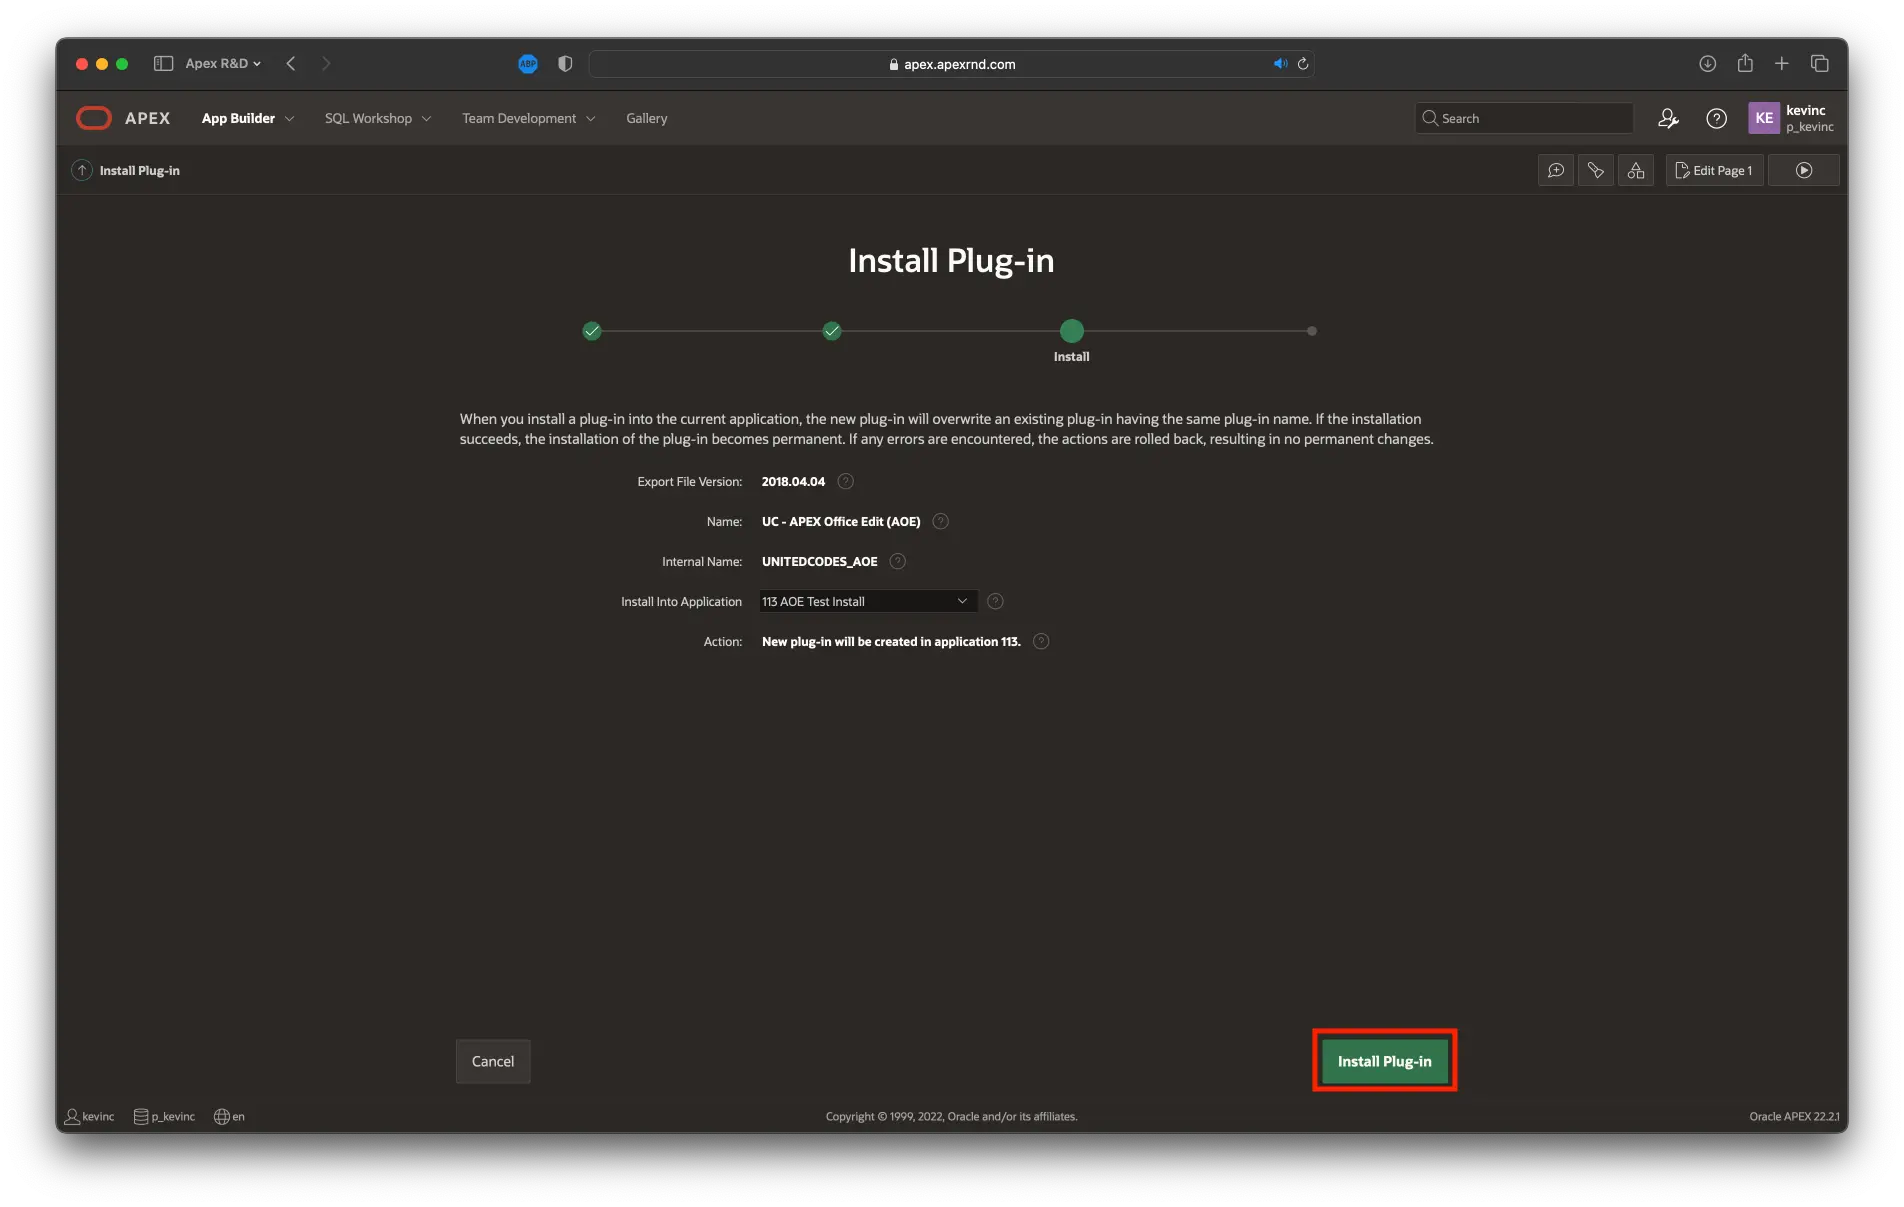
After successful installation, the plug-in component settings must be updated. Fill in the correct values if you know what you are doing. If not, leave the default values and go to the next step, The plug-in REST service configuration, for instructions on finding the correct values.
To create your first AOE instance, please follow Creating the plug-in instance in an existing application instructions.
Using the plug-in in an existing application
To create the first instance of AOE, please go to the instructions in the Getting started \ Creating the plug-in instance in an existing application section.
RESTful service configuration
-
Go to the applications Shared Components.
-
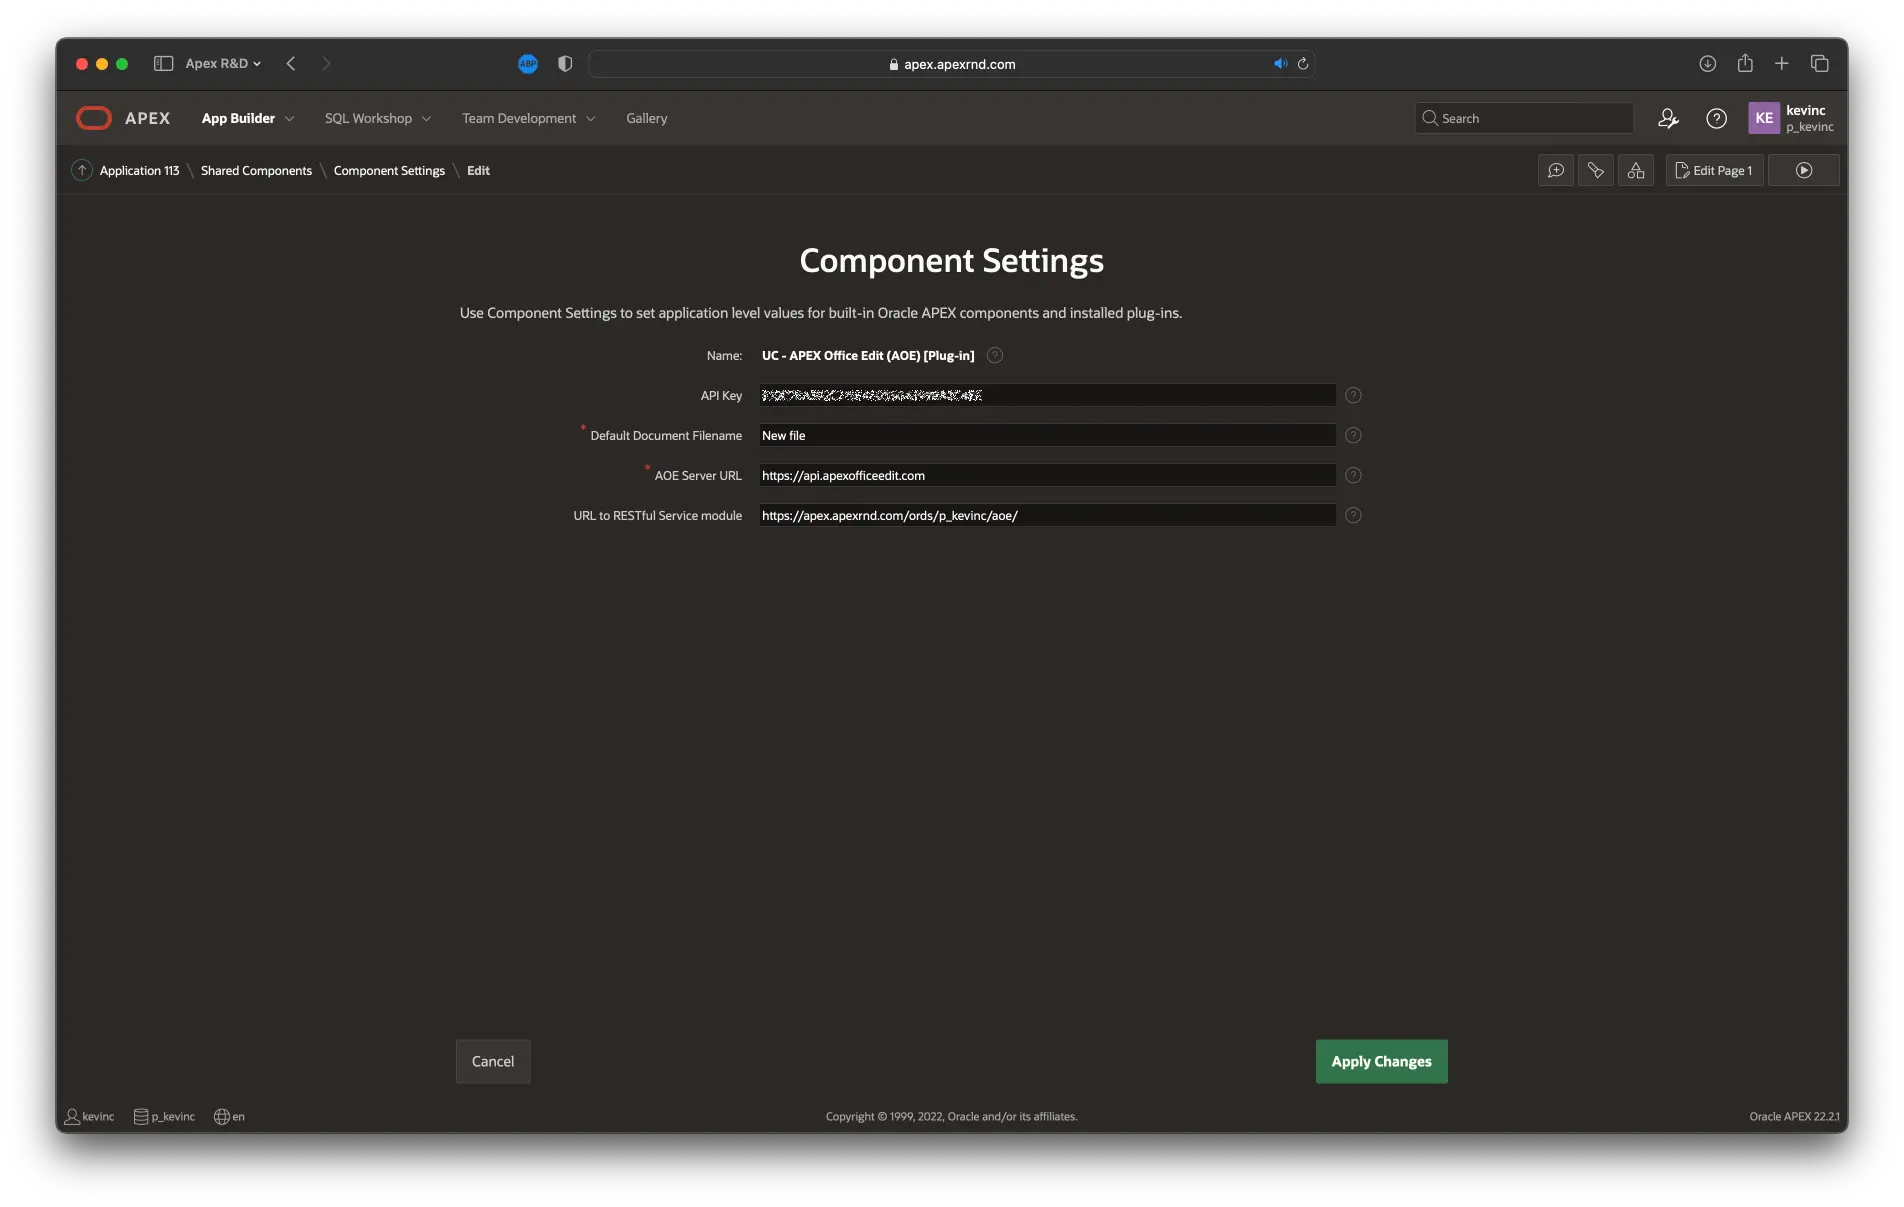
Go to Other Components \ Component Settings.
-
Click on the UC - APEX Office Edit (AOE) region plug-in.
-
Replace the default values with the correct values for your situation.

-
From the APEX Application Builder top menubar, select SQL Workshops and then RESTful services.
-
Select the APEX Office Edit module.
-
Copy the value of the Full URL module attribute.
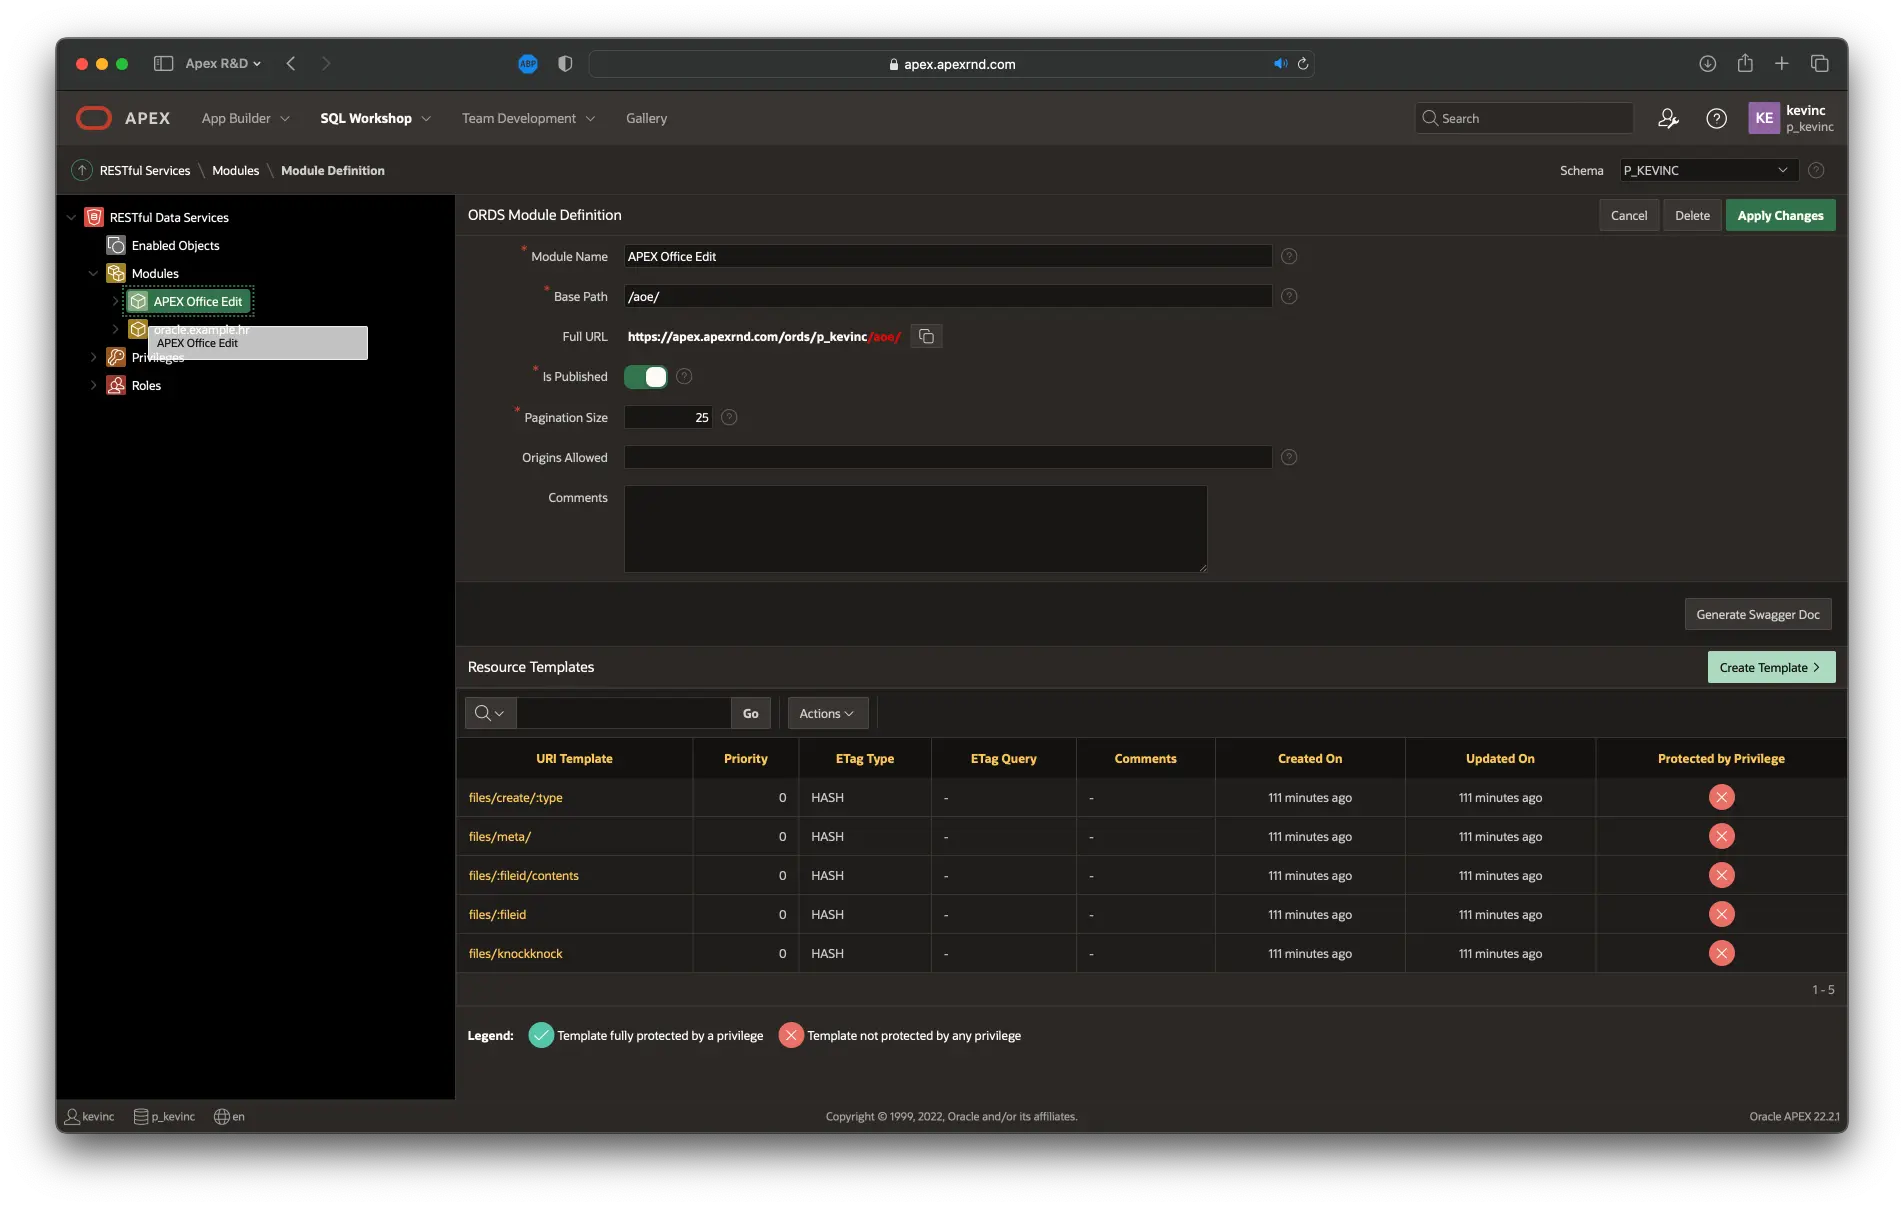
-
Go back to the plug-in component settings.
-
Fill in the URL to RESTful service module attribute with the value copied in step 8 (the Full URL attribute of the AOE RESTful service module).
-
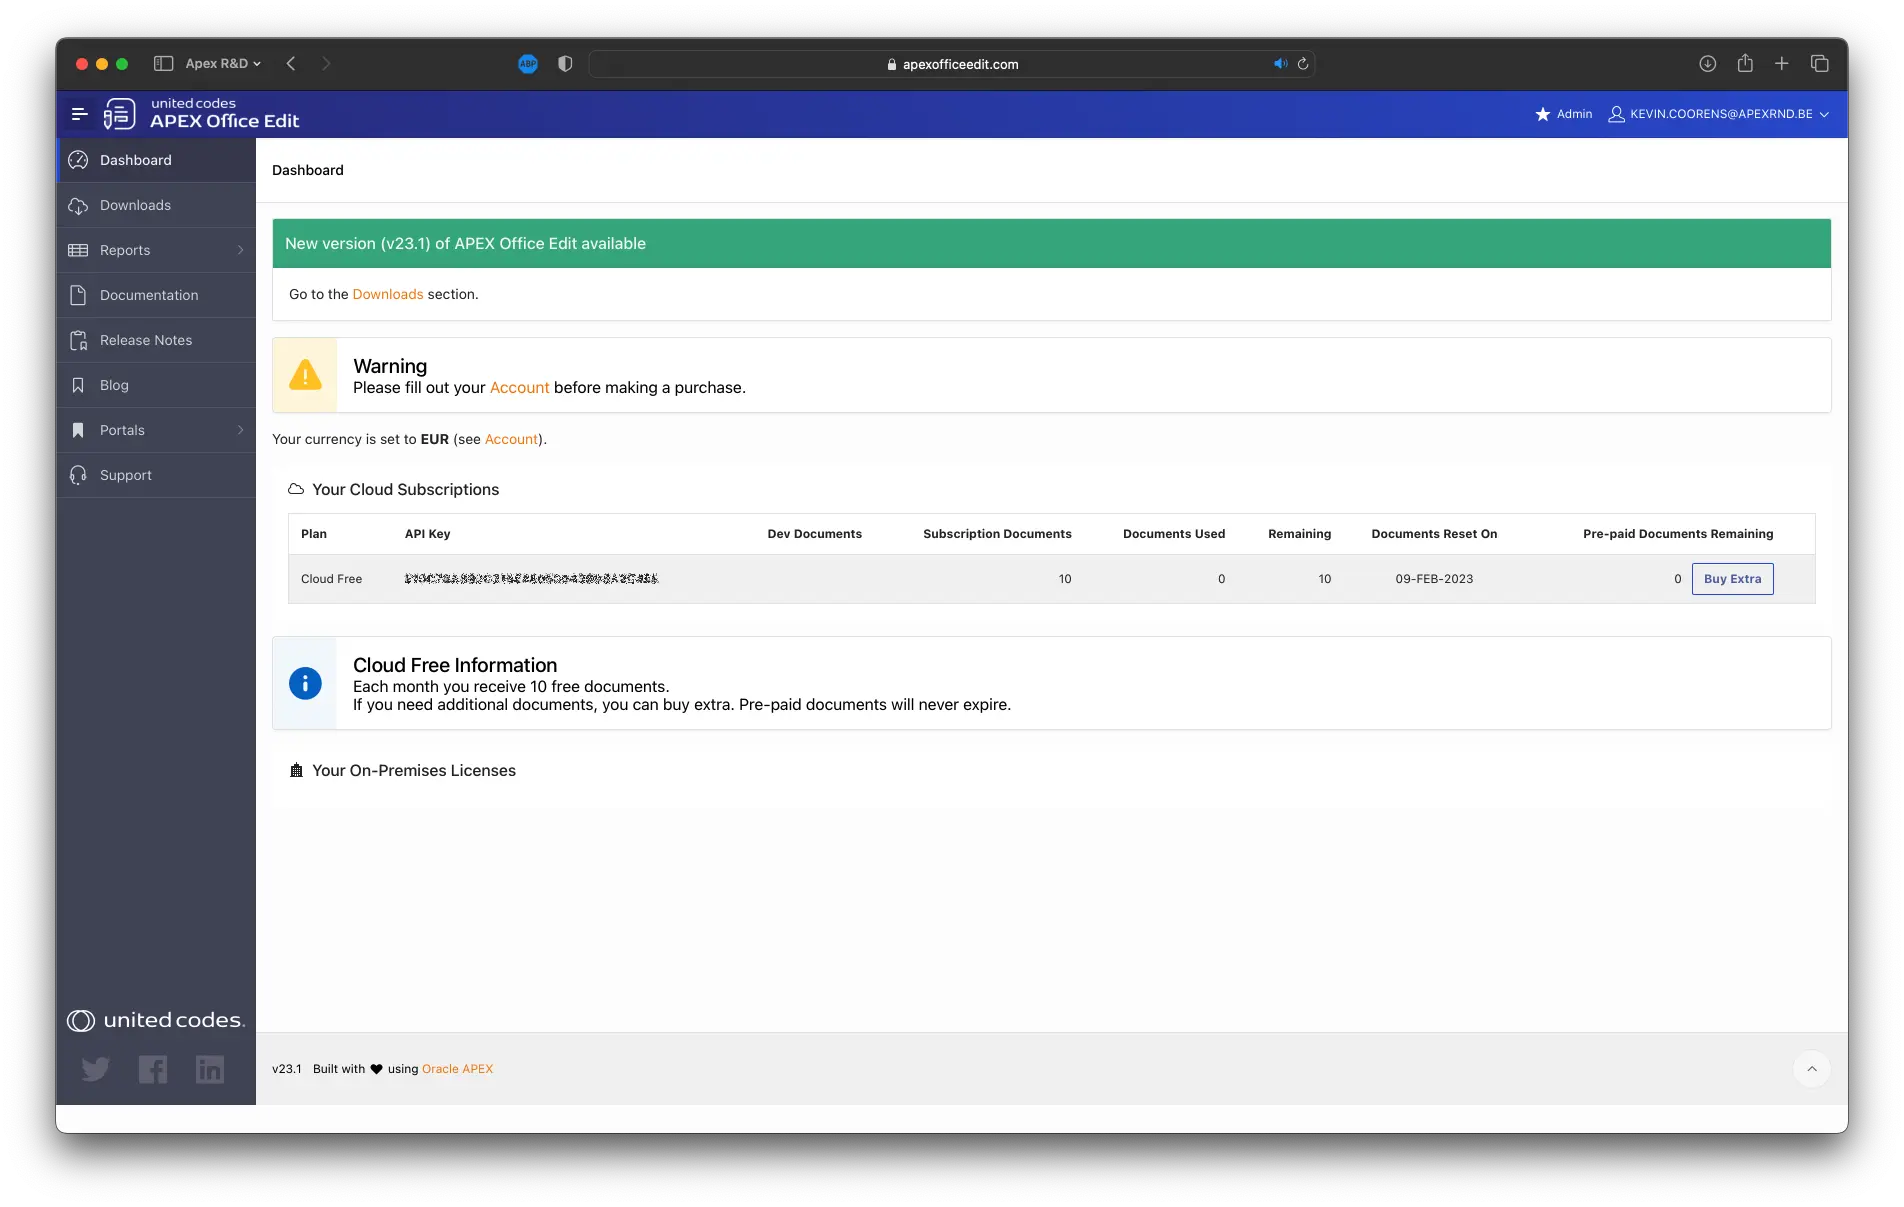
In a new browser tab, login to the APEX Office Edit portal (accessible by clicking on the login button on the AOE website.
-
Copy your API Key, which will be visible next to your current plan under the Your Cloud Subscriptions section
-
Go back to your APEX application and paste the previously copied API Key from the APEX Office Edit portal in the API Key field.
-
Click the Apply Changes button.
-
If you use an on-premises version of AOE, replace the Server-Side Url value with the URL where your server is running. Also, note that an API key is not necessary in this case.