Usage Guide
Adding APEX Office Edit to an existing application
This section describes the first steps to setting up an instance of the APEX Office Edit plug-in. If any plug-in attribute's purpose needs to be clarified, please read the help text available in the Oracle APEX page designer. This implementation uses the default tables that are provided with APEX Office Edit.
Create a new page
- Create a new empty page
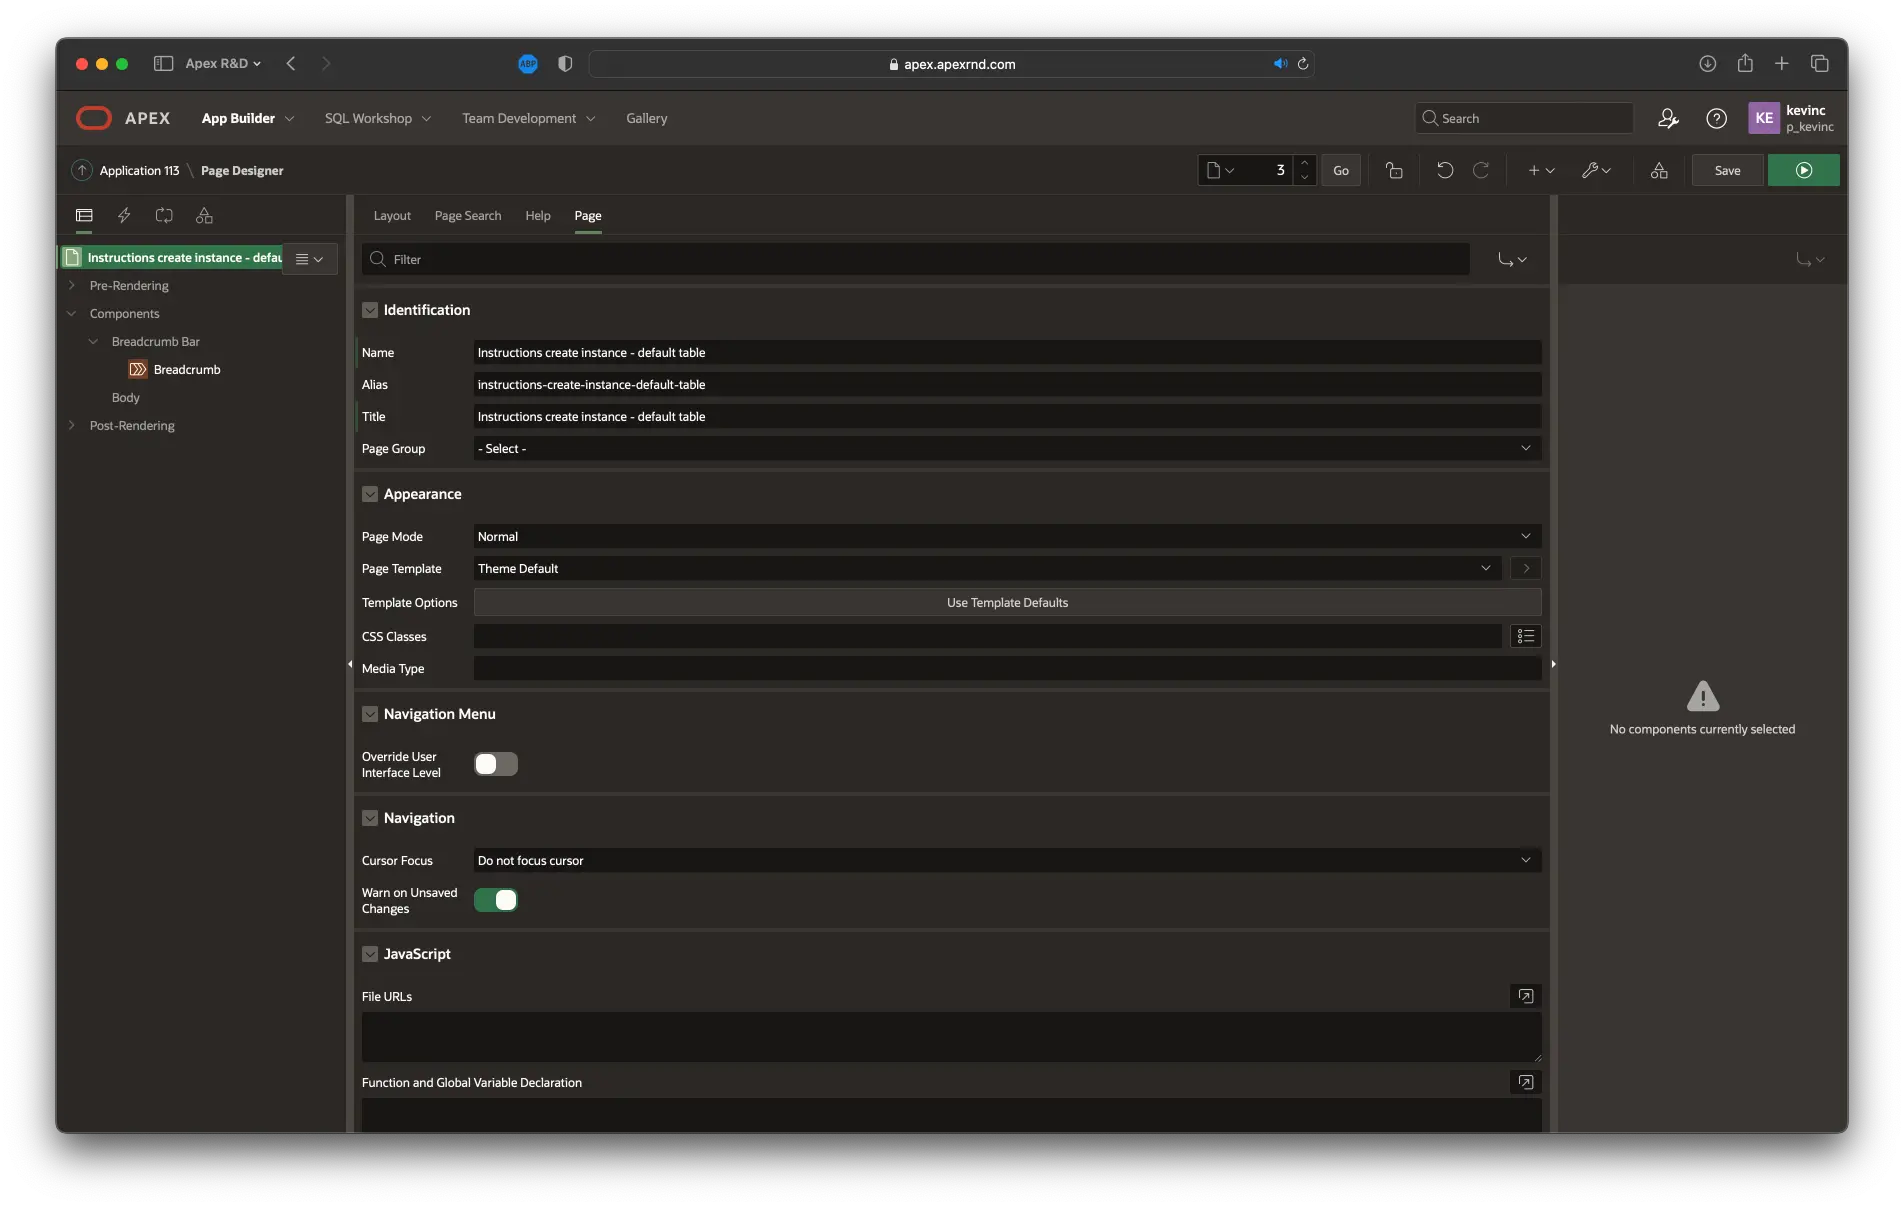
Create the APEX Office Edit region
- Create a new region
- Set Identification \ Title to APEX Office Edit on default table
- Change Identification \ Type to UC - APEX Office Edit (AOE) [Plug-in]

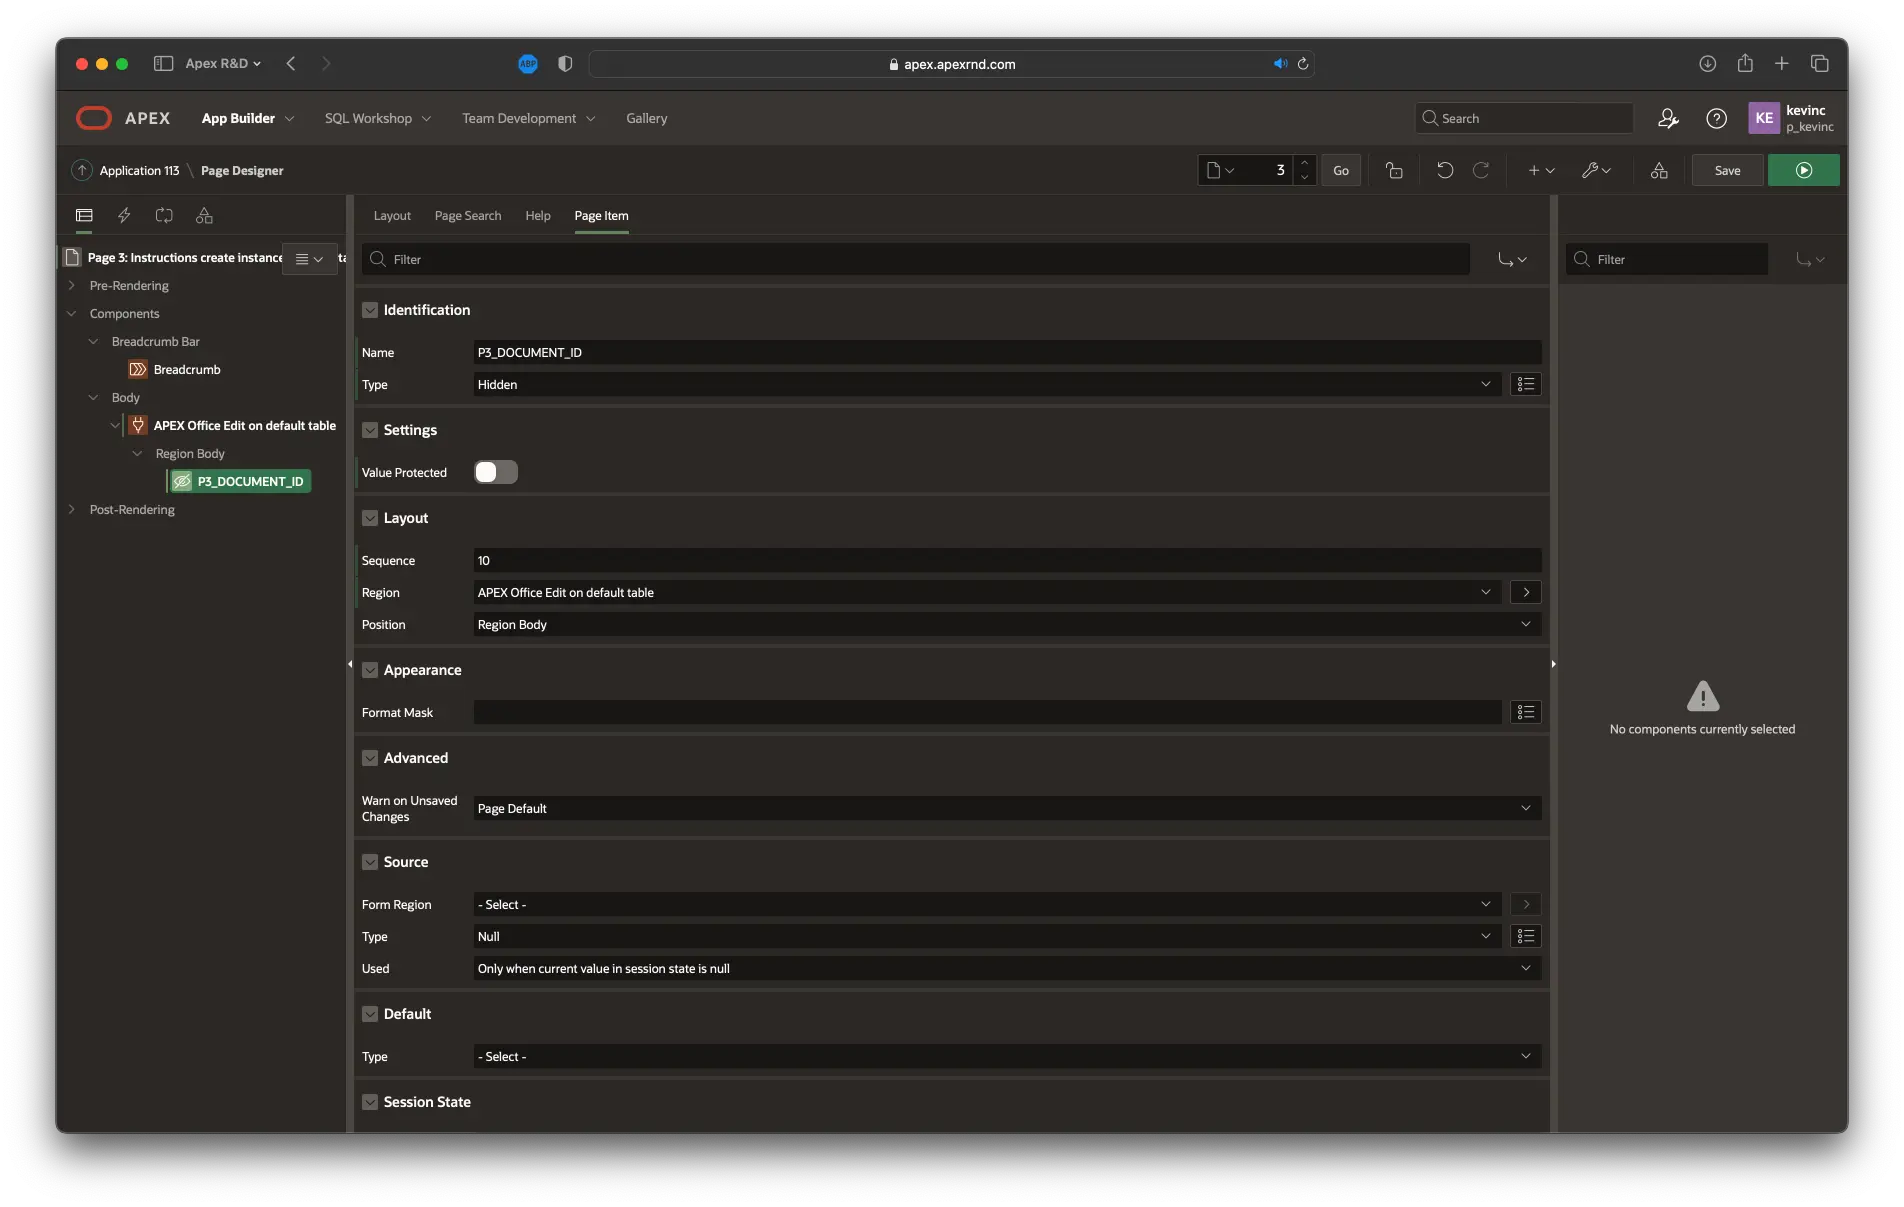
Create an APEX item to store the document id
- Create a page item
- Set Identification \ Name to P3_DOCUMENT_ID (might differ depending on your page id)
- Change Type to Hidden
- Set Settings \ Value Protected to No
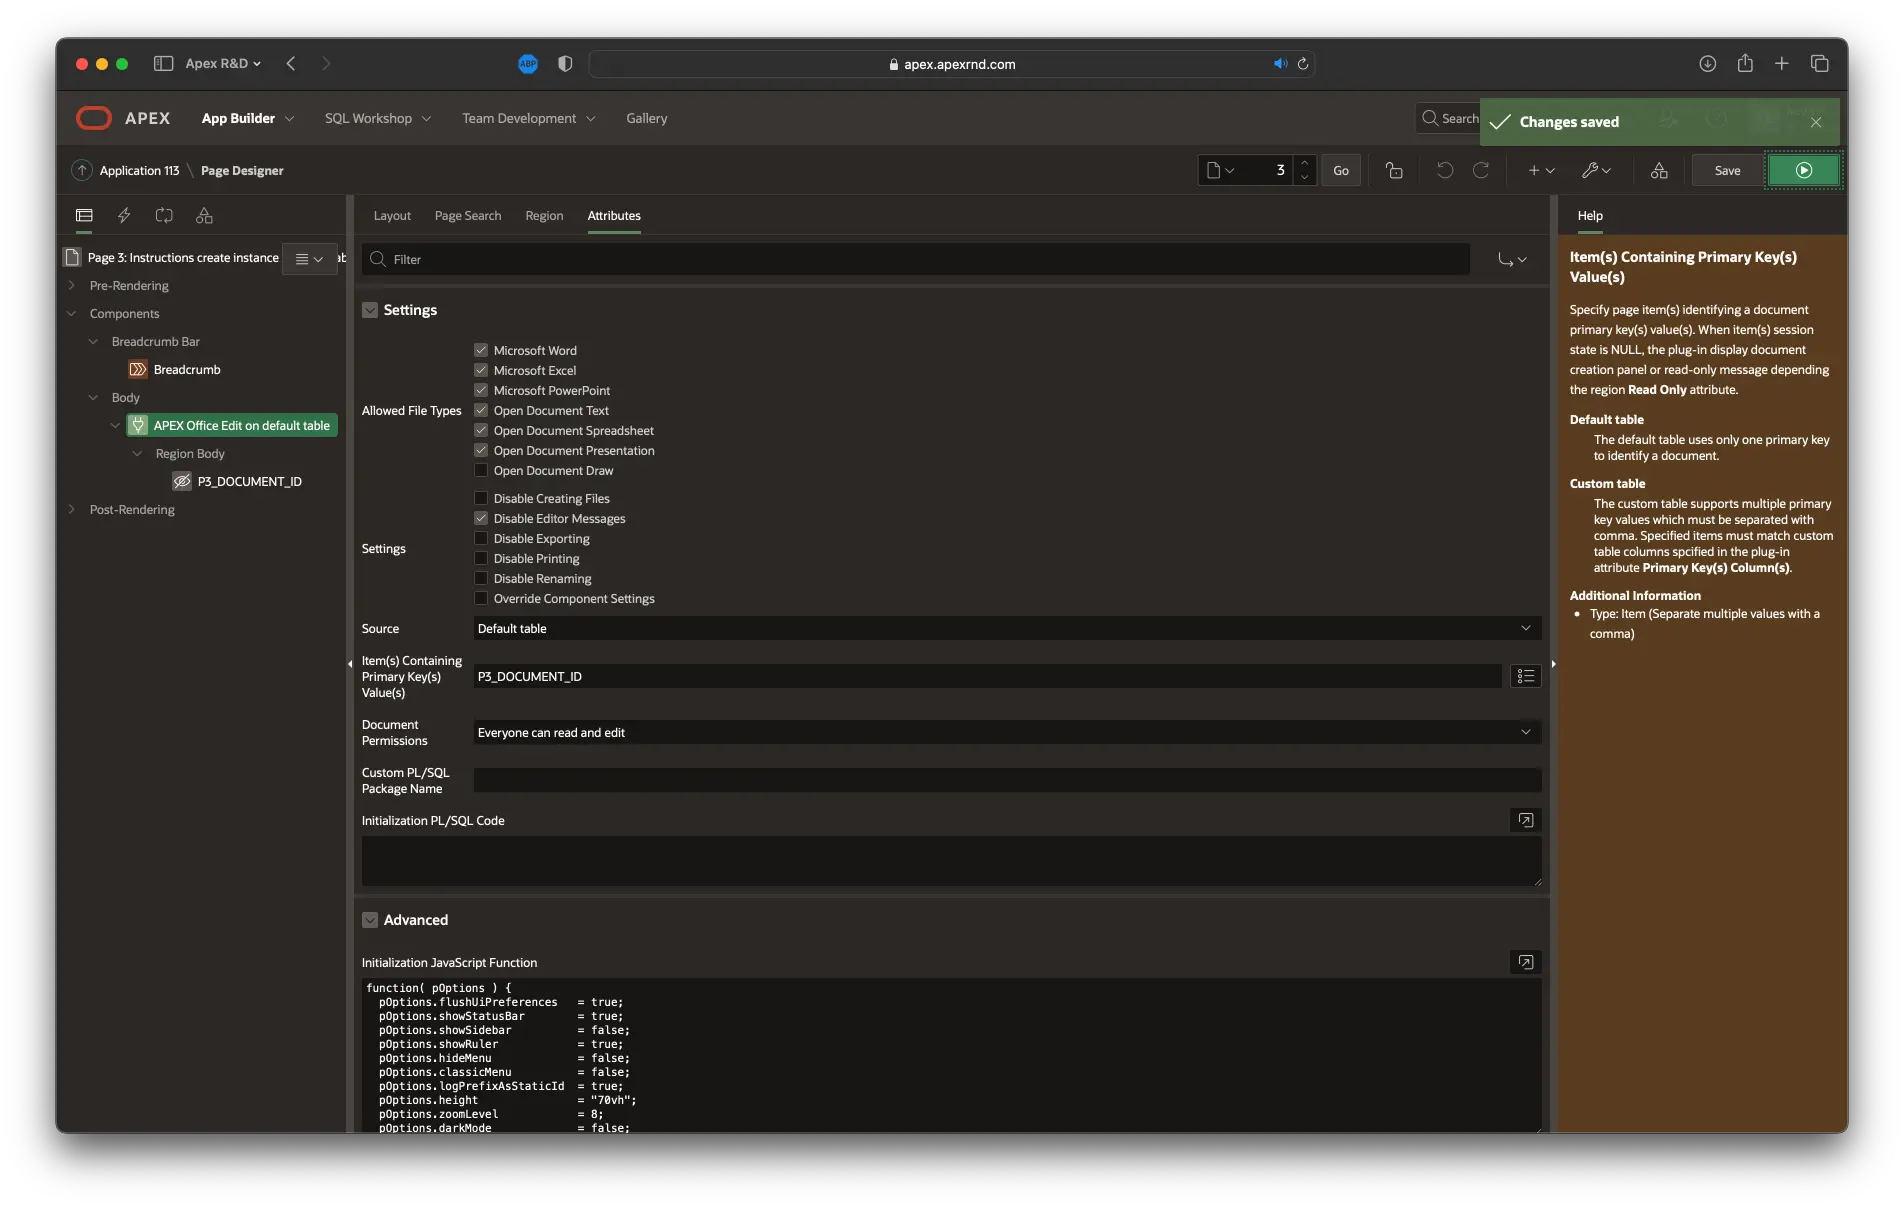
Configuration
- Go to the APEX Office Edit on default table region and select Attributes
- Set Item Containing Primary Key Value to P3_DOCUMENT_ID (might differ depending on your page id)
- Save and run the page
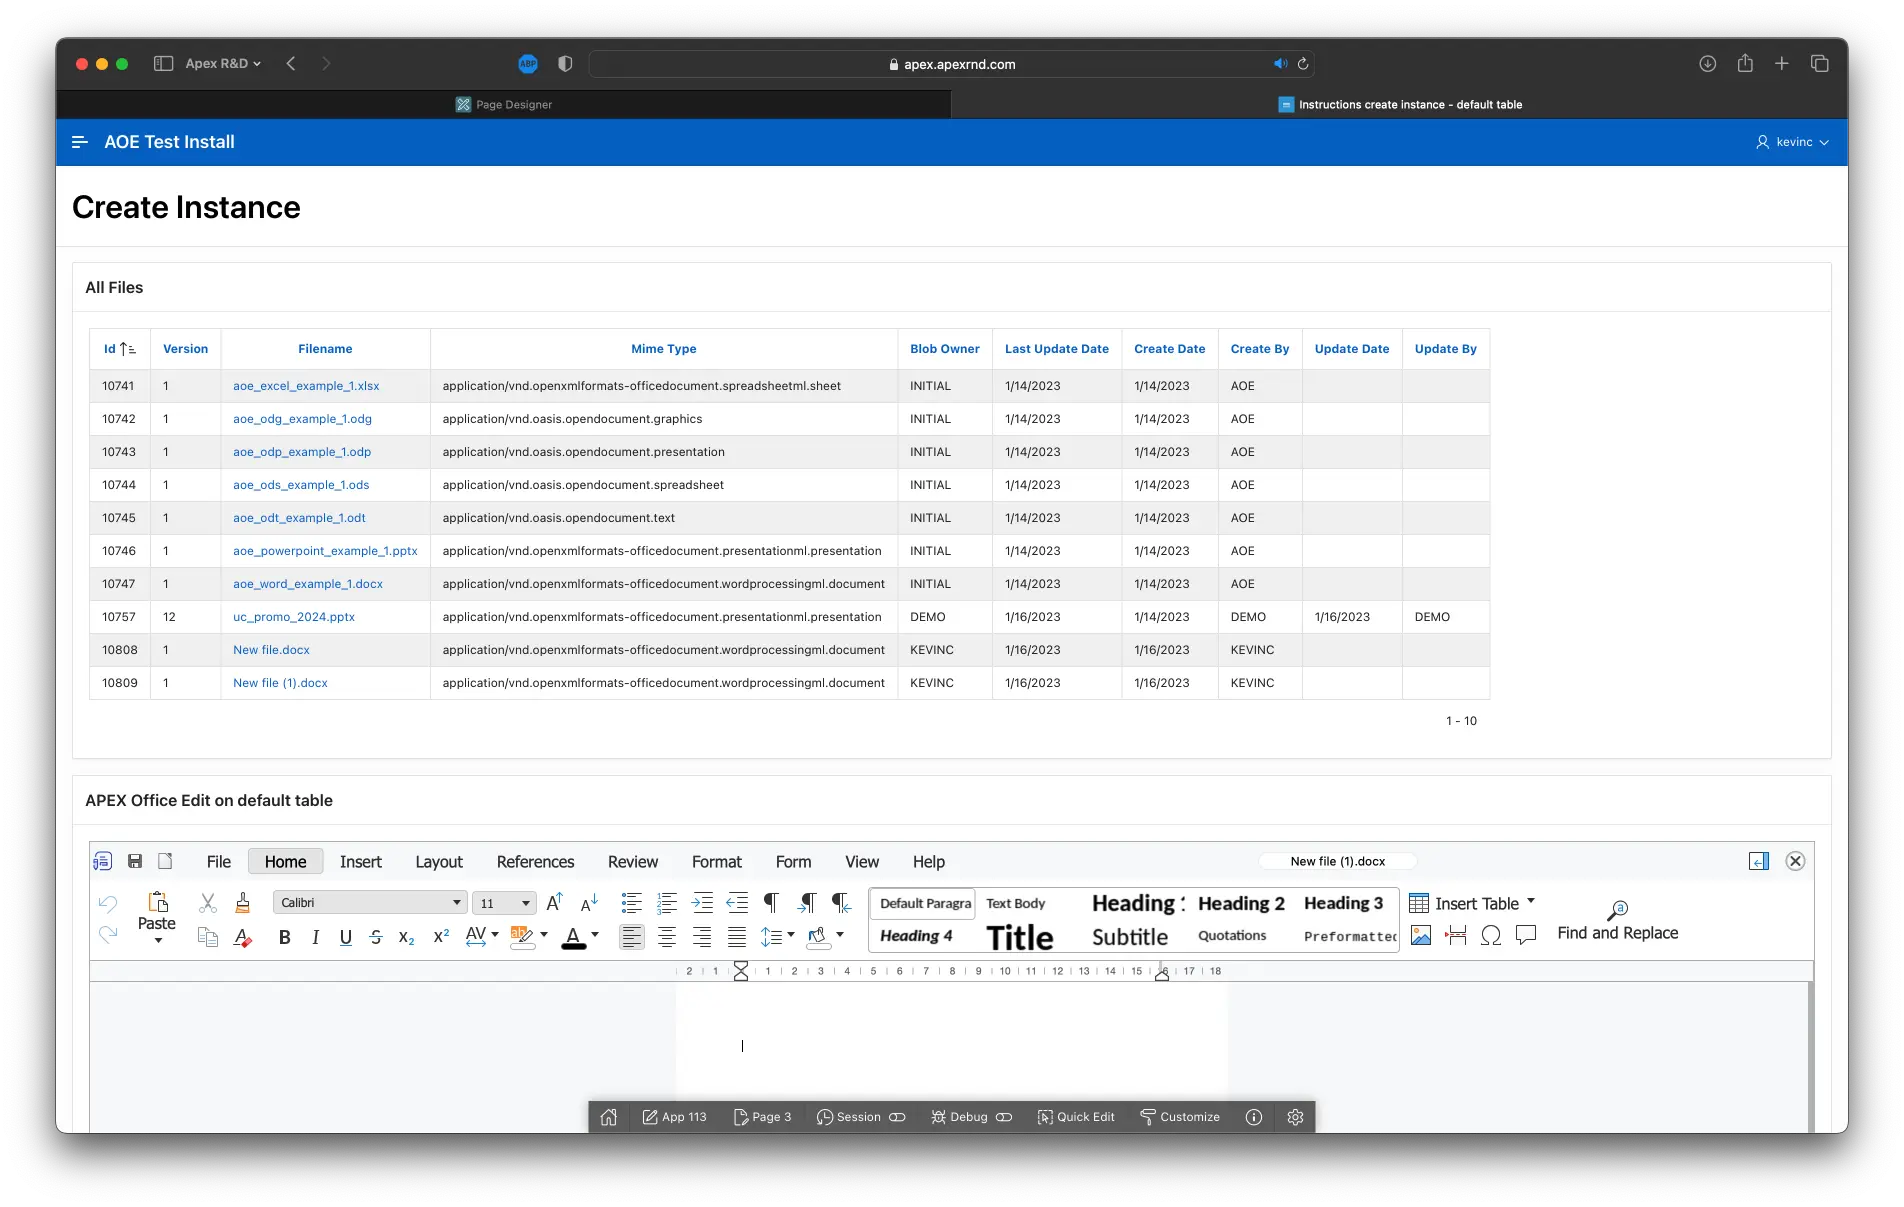
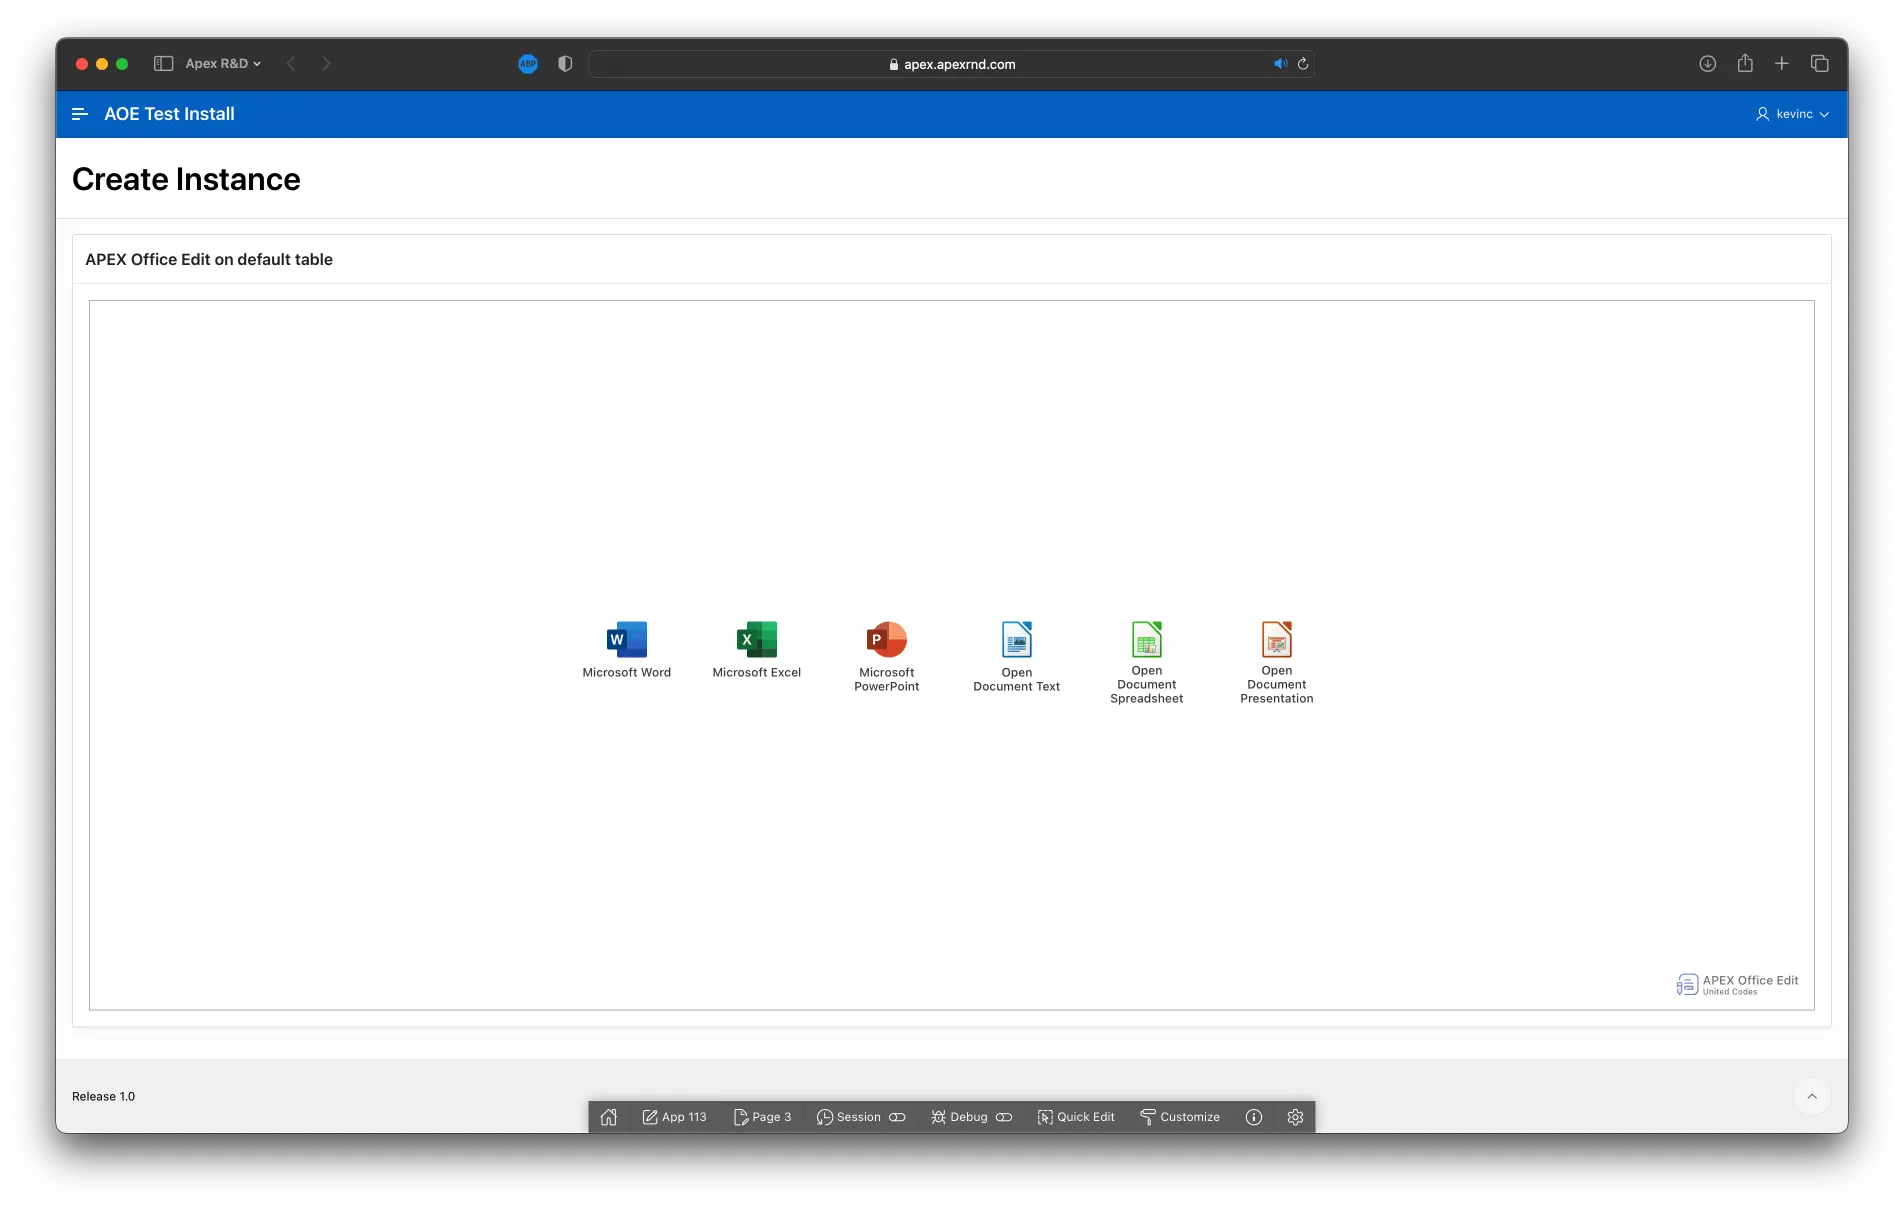
Testing
You should now be able to start creating your first document. Clicking on the document icon creates a blank document of the selected type.

Loading documents into APEX Office Edit
This section outlines the first steps to load documents into APEX Office Edit. AOE's state is based on the APEX Session State for any page items defined as primary key(s). If the given item(s) is/are NULL, AOE shows a panel allowing the end-user to create a new document. To load a document into AOE, the item(s) must not be NULL, and the plug-in configuration must be valid.
The instructions presented below are a continuation of Adding APEX Office Edit to an existing application.
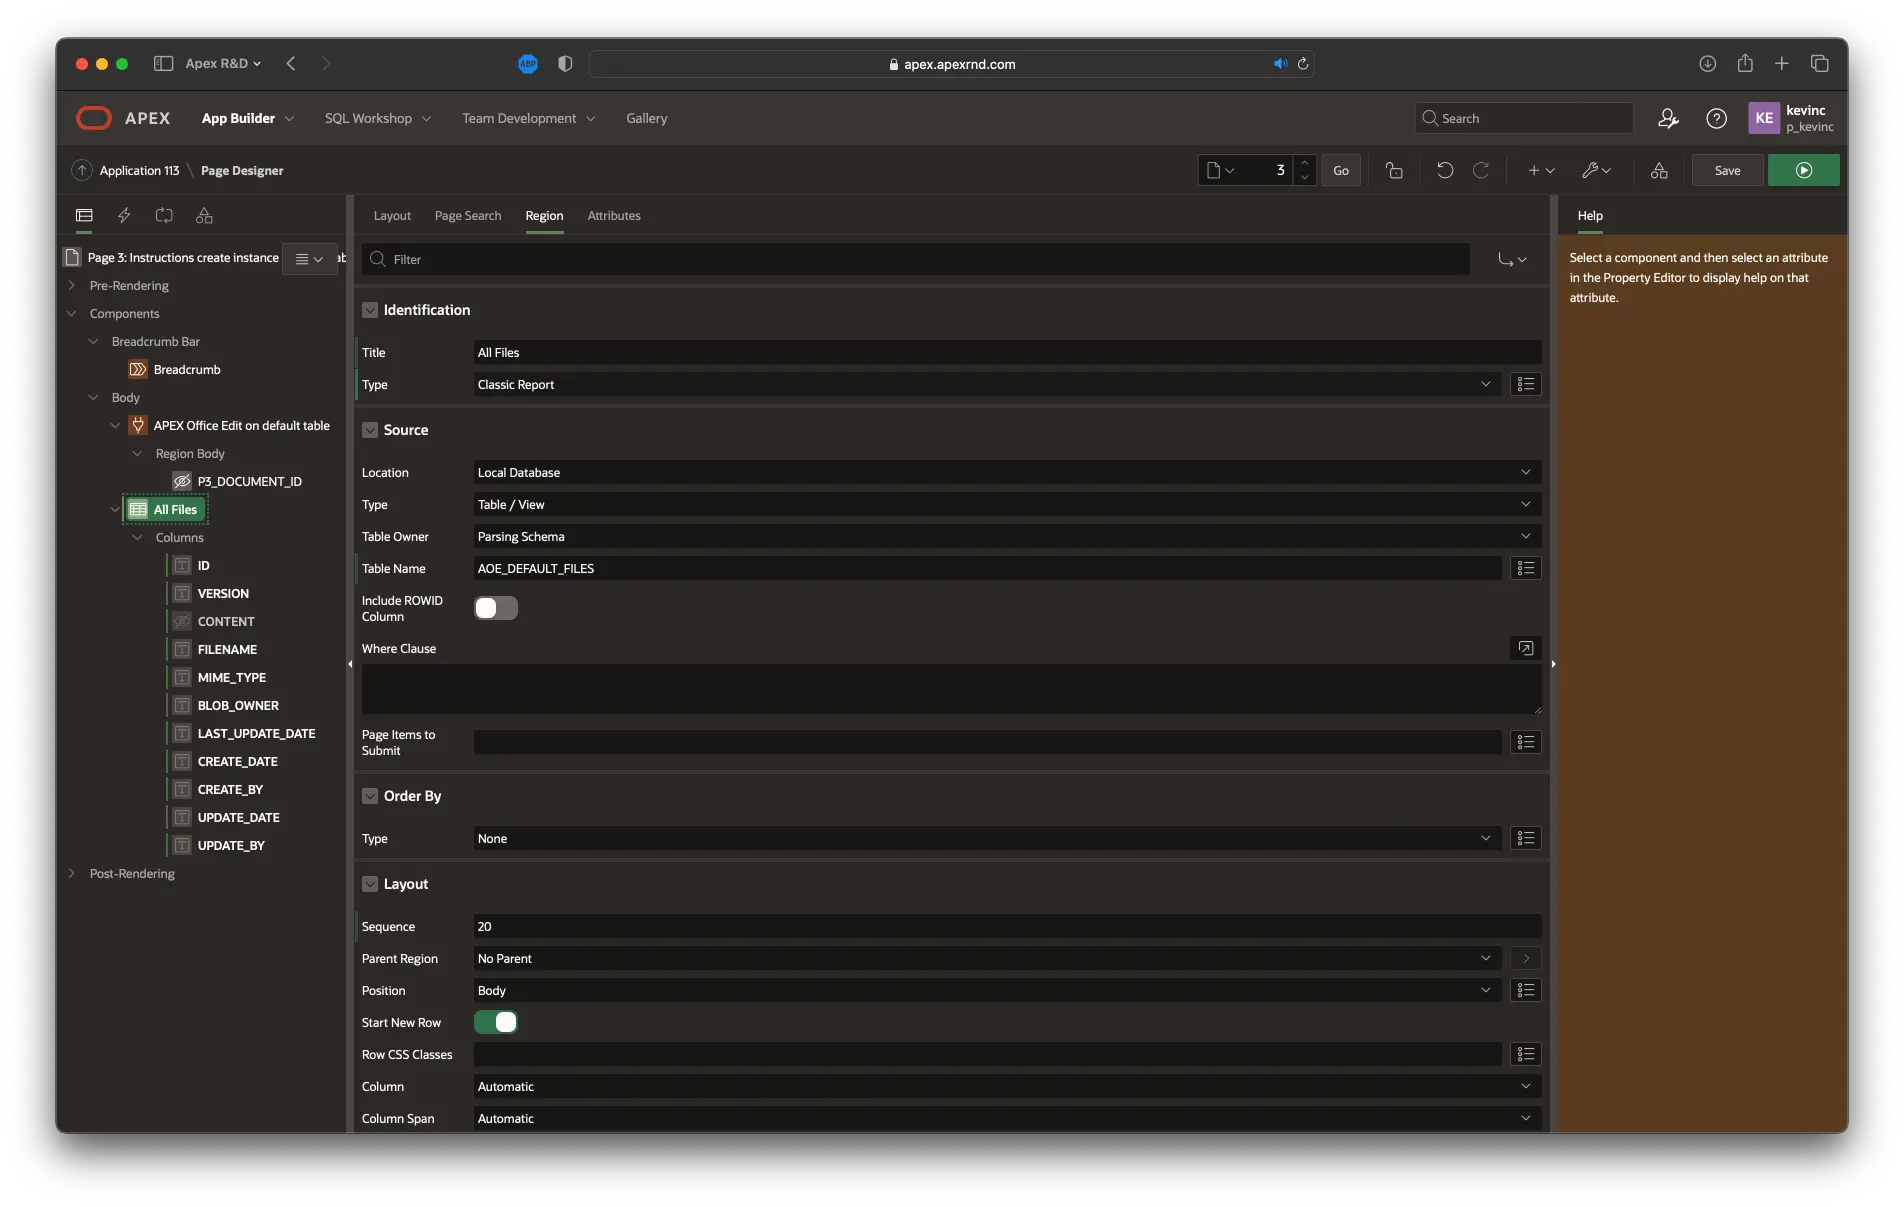
Create a classic report that shows all created files
- Create a new page region
- Set Identification \ Title to All files
- Set Identification \ Type to Classic Report
- Set Source \ Table Name to AOE_DEFAULT_FILES
- Select the CONTENT column in the All files \ Columns tree
- Set Identification \ Type to Hidden Column
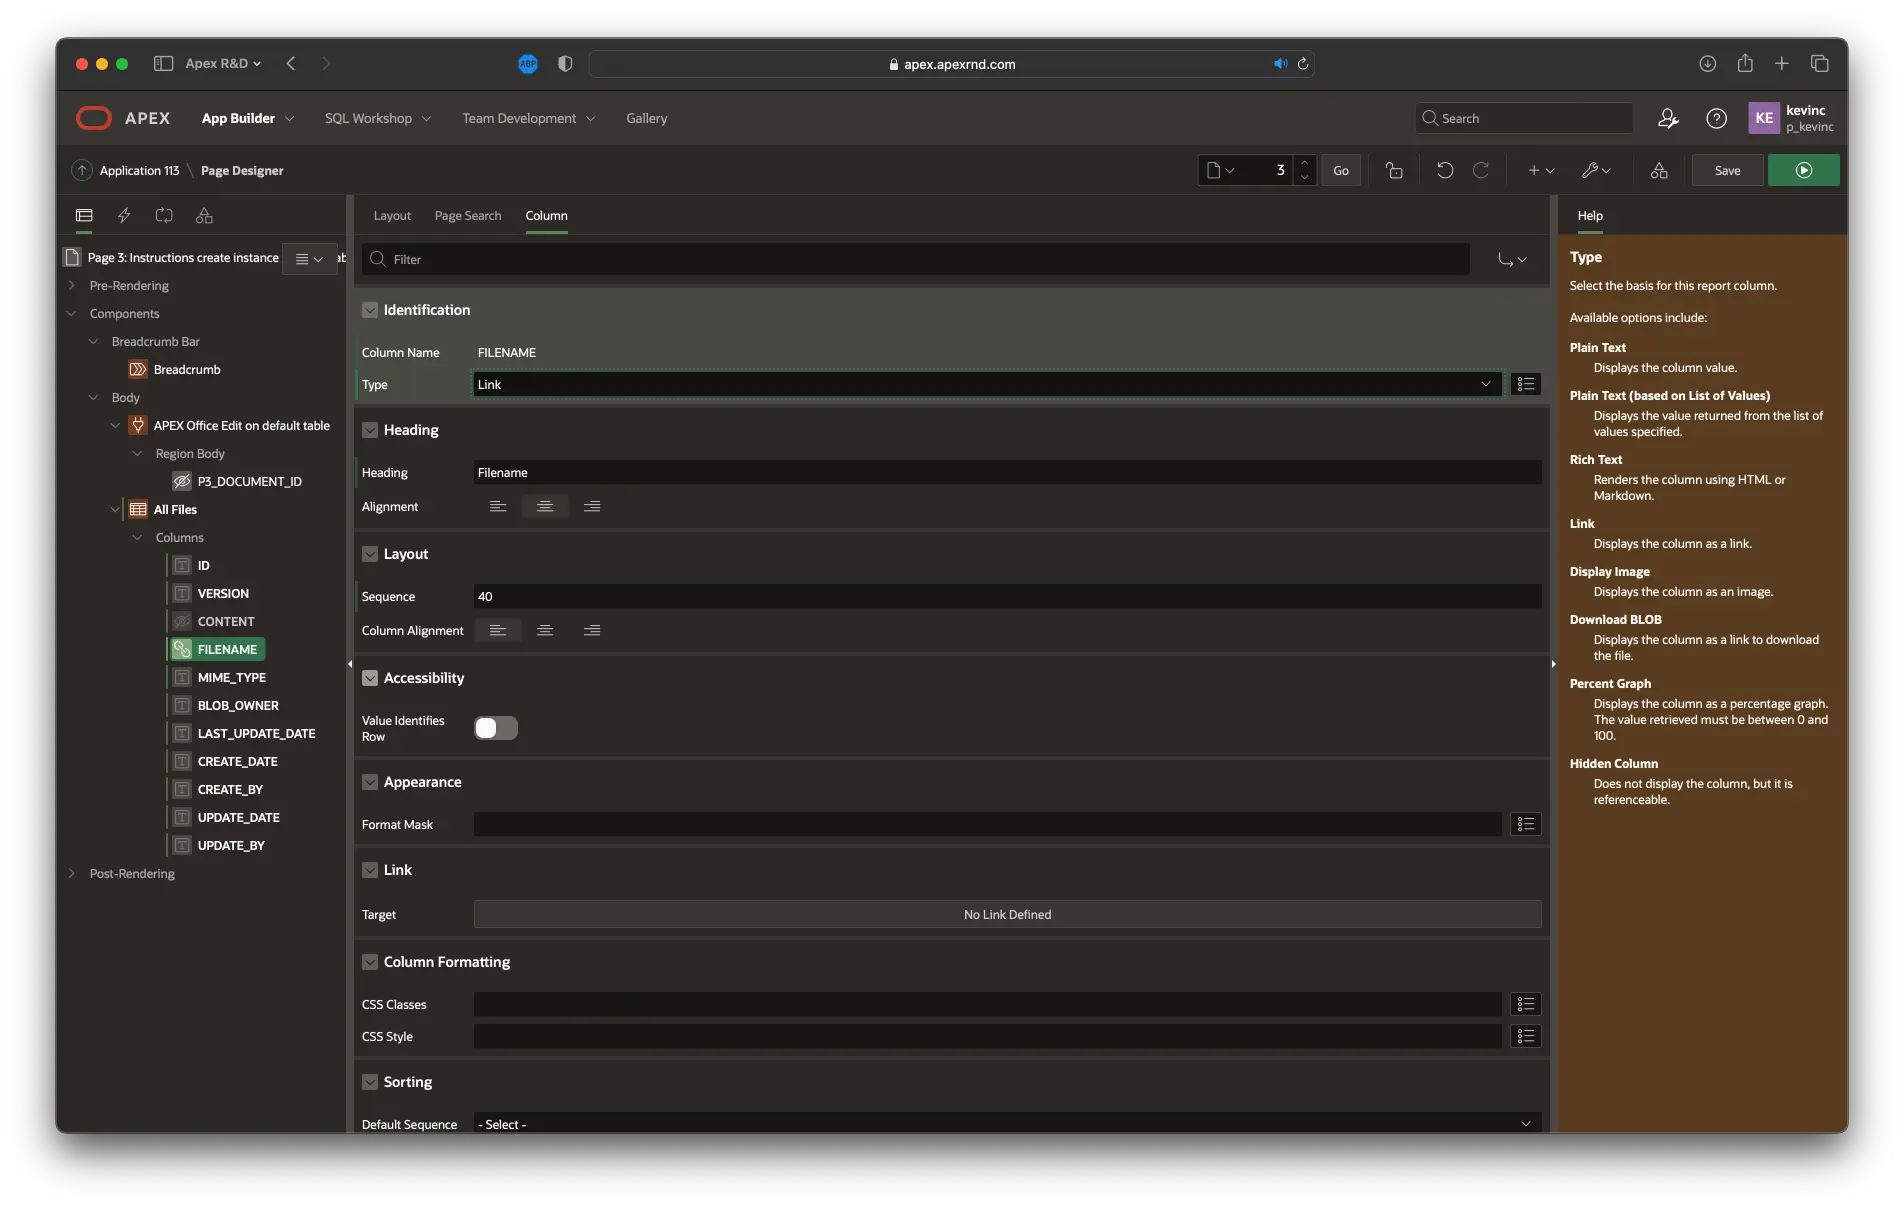
Define a link on the FILENAME column
-
Select the FILENAME column in All files \ Columns tree
-
Set Identification \ Type to Link
-
Click the No Link Defined button in Link \ Target
-
Set Target \ Type to URL
-
Set URL to the following JavaScript:
javascript: apex.event.trigger(document, 'loaddocument', #ID#);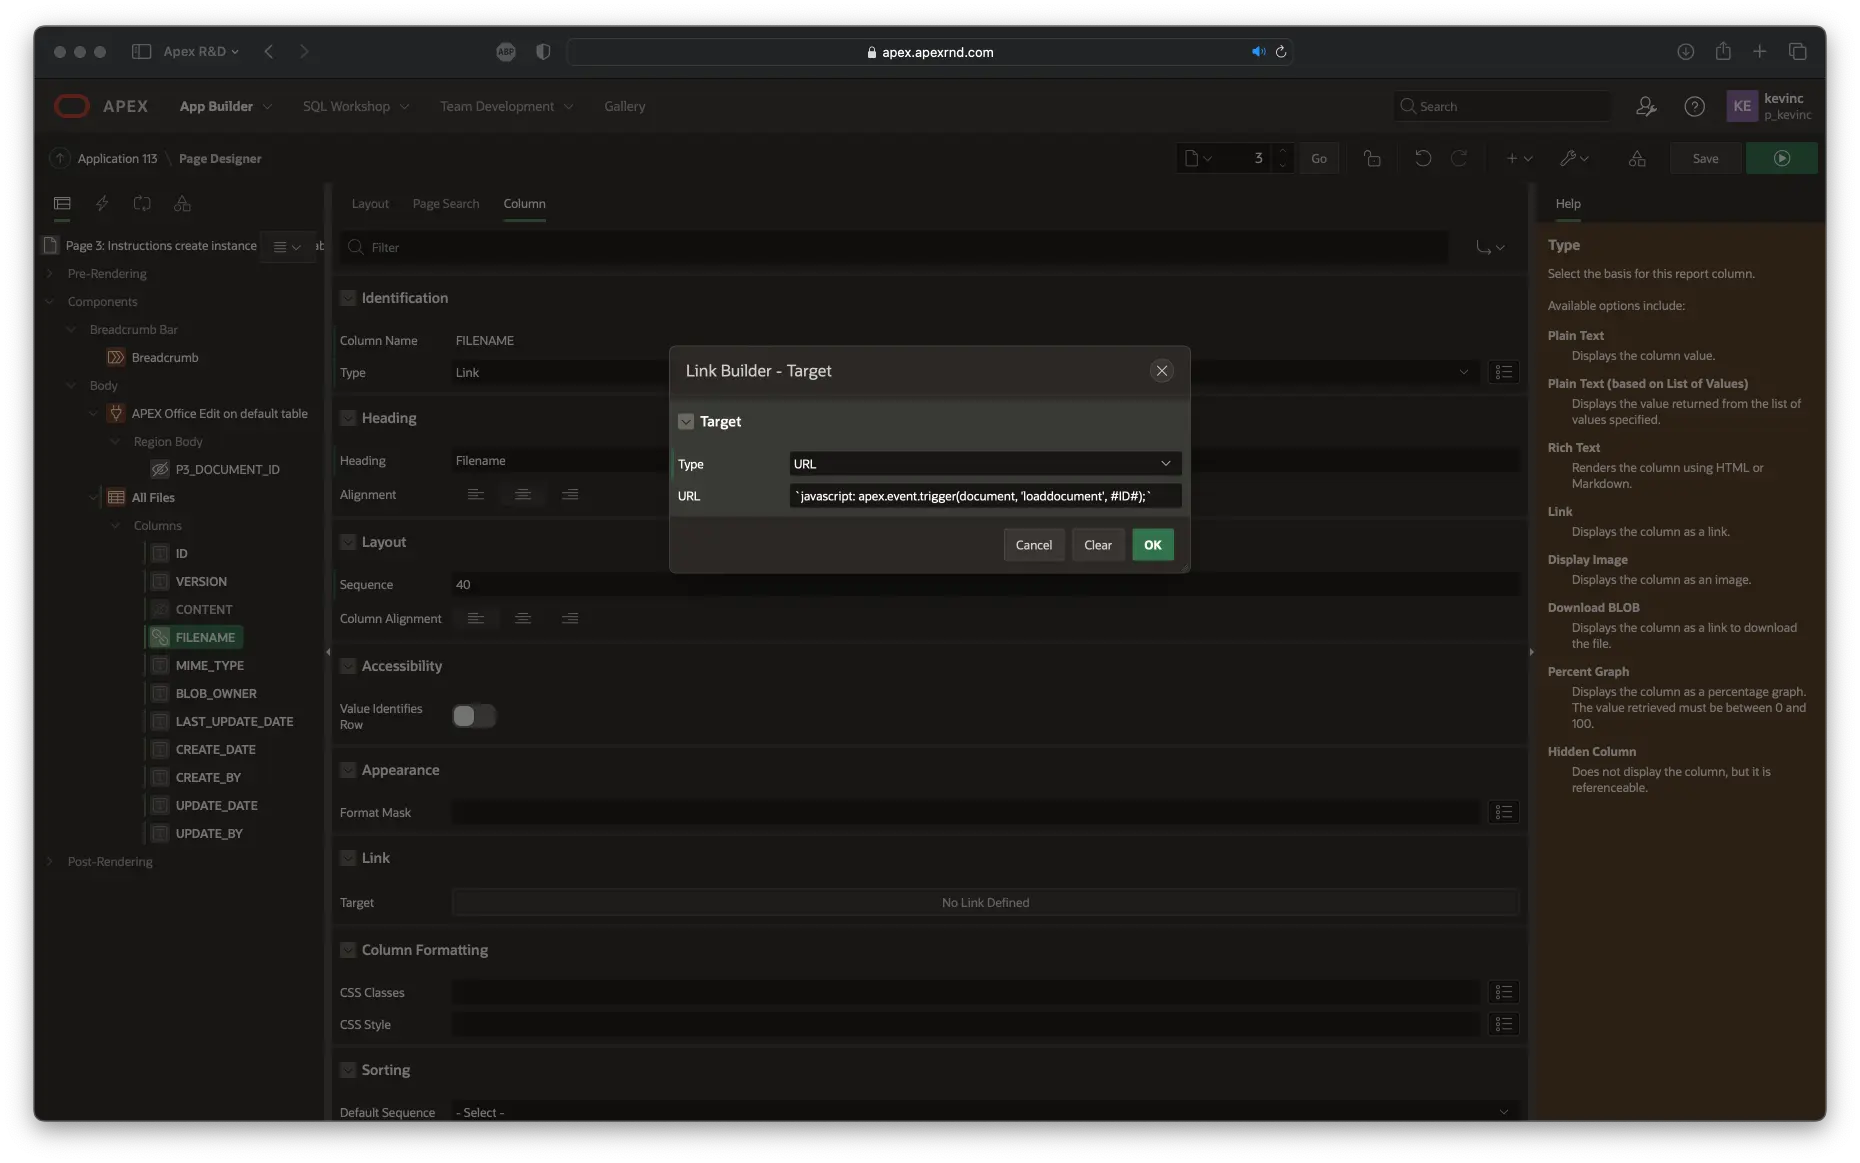
-
Click the OK button
-
Go to the next step to create a dynamic action
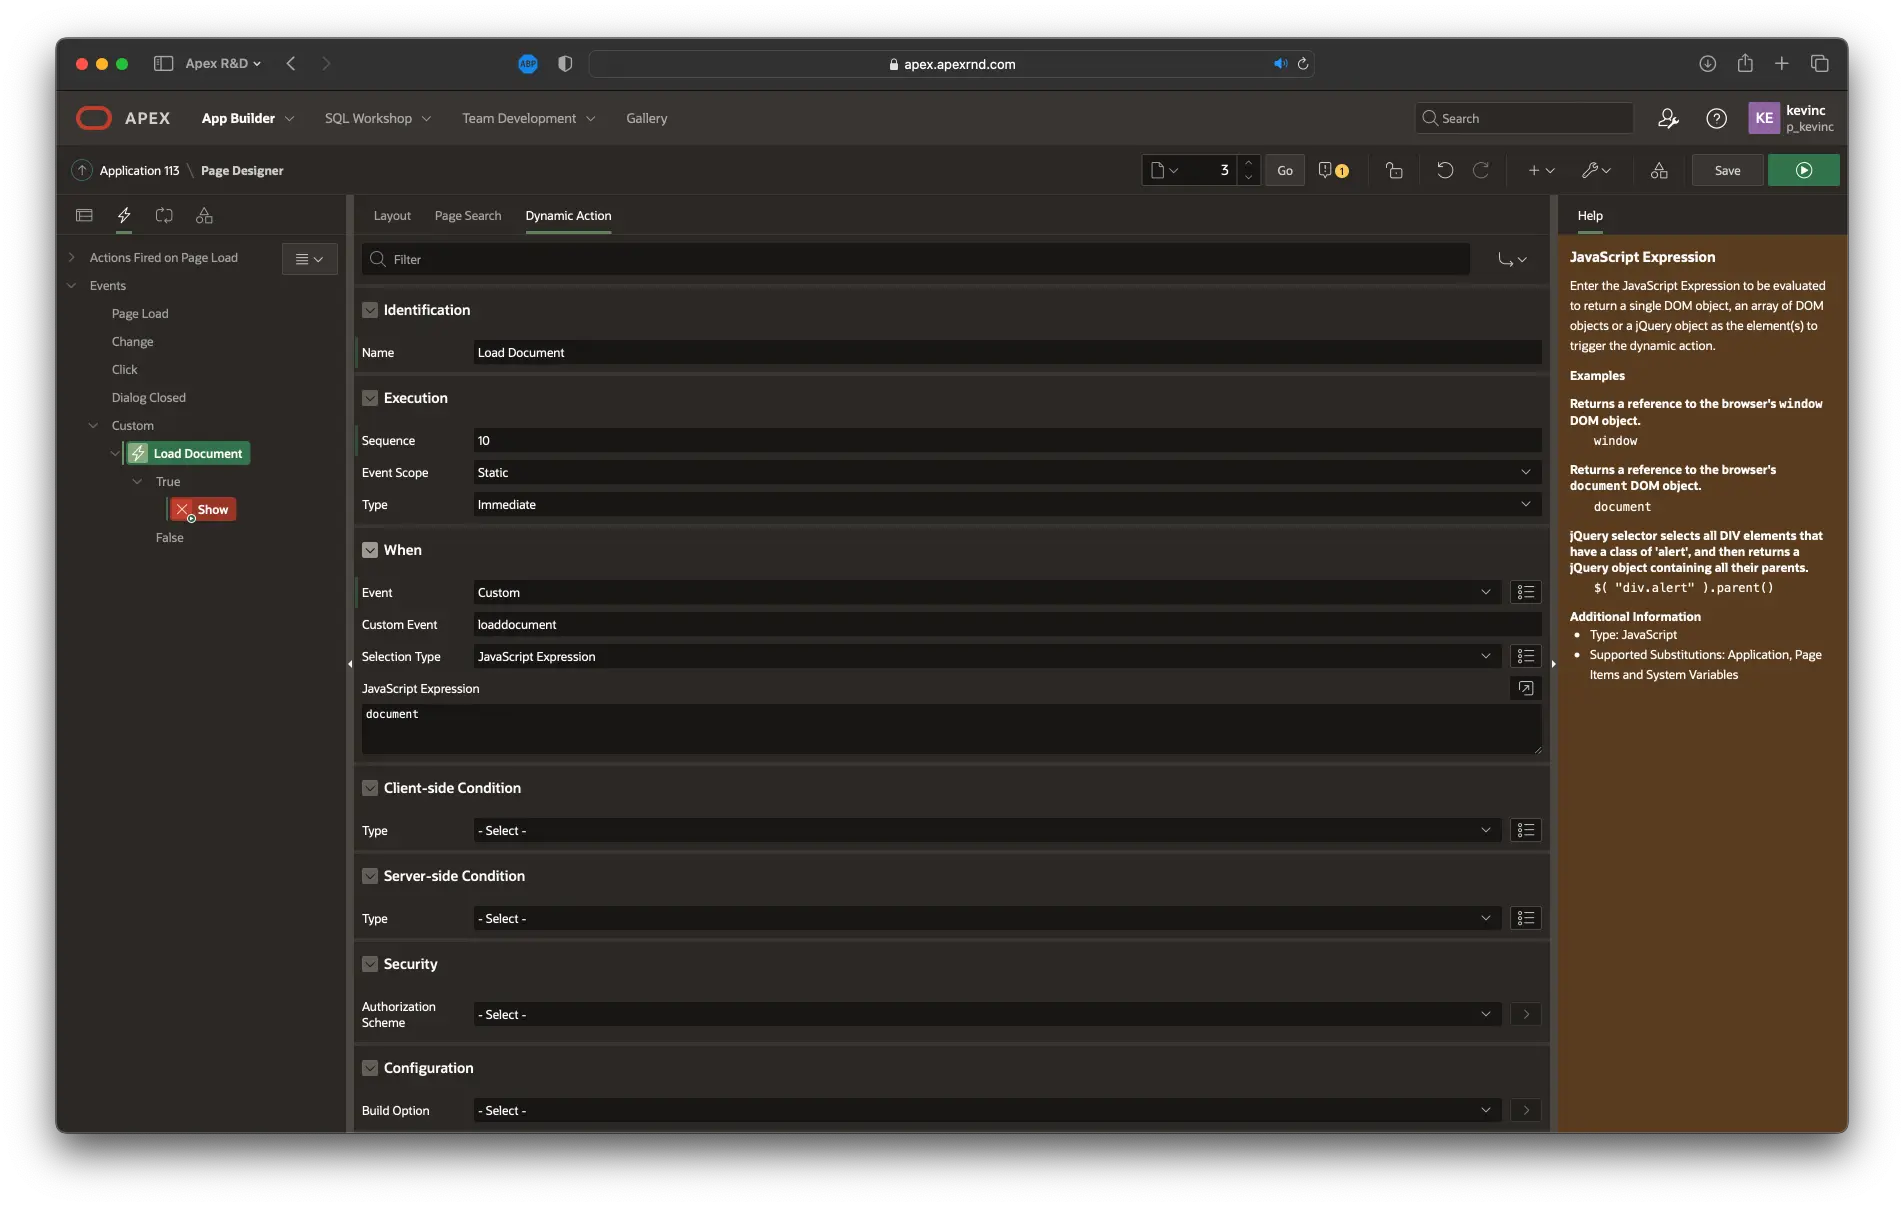
Create a load file dynamic action
- Create a new dynamic action
- Set Identification \ Name to Load document
- Set When \ Event to Custom
- Set When \ Custom Event to loaddocument
- Set When \ Selection Type to JavaScript Expression
- Set When \ JavaScript Expression to document
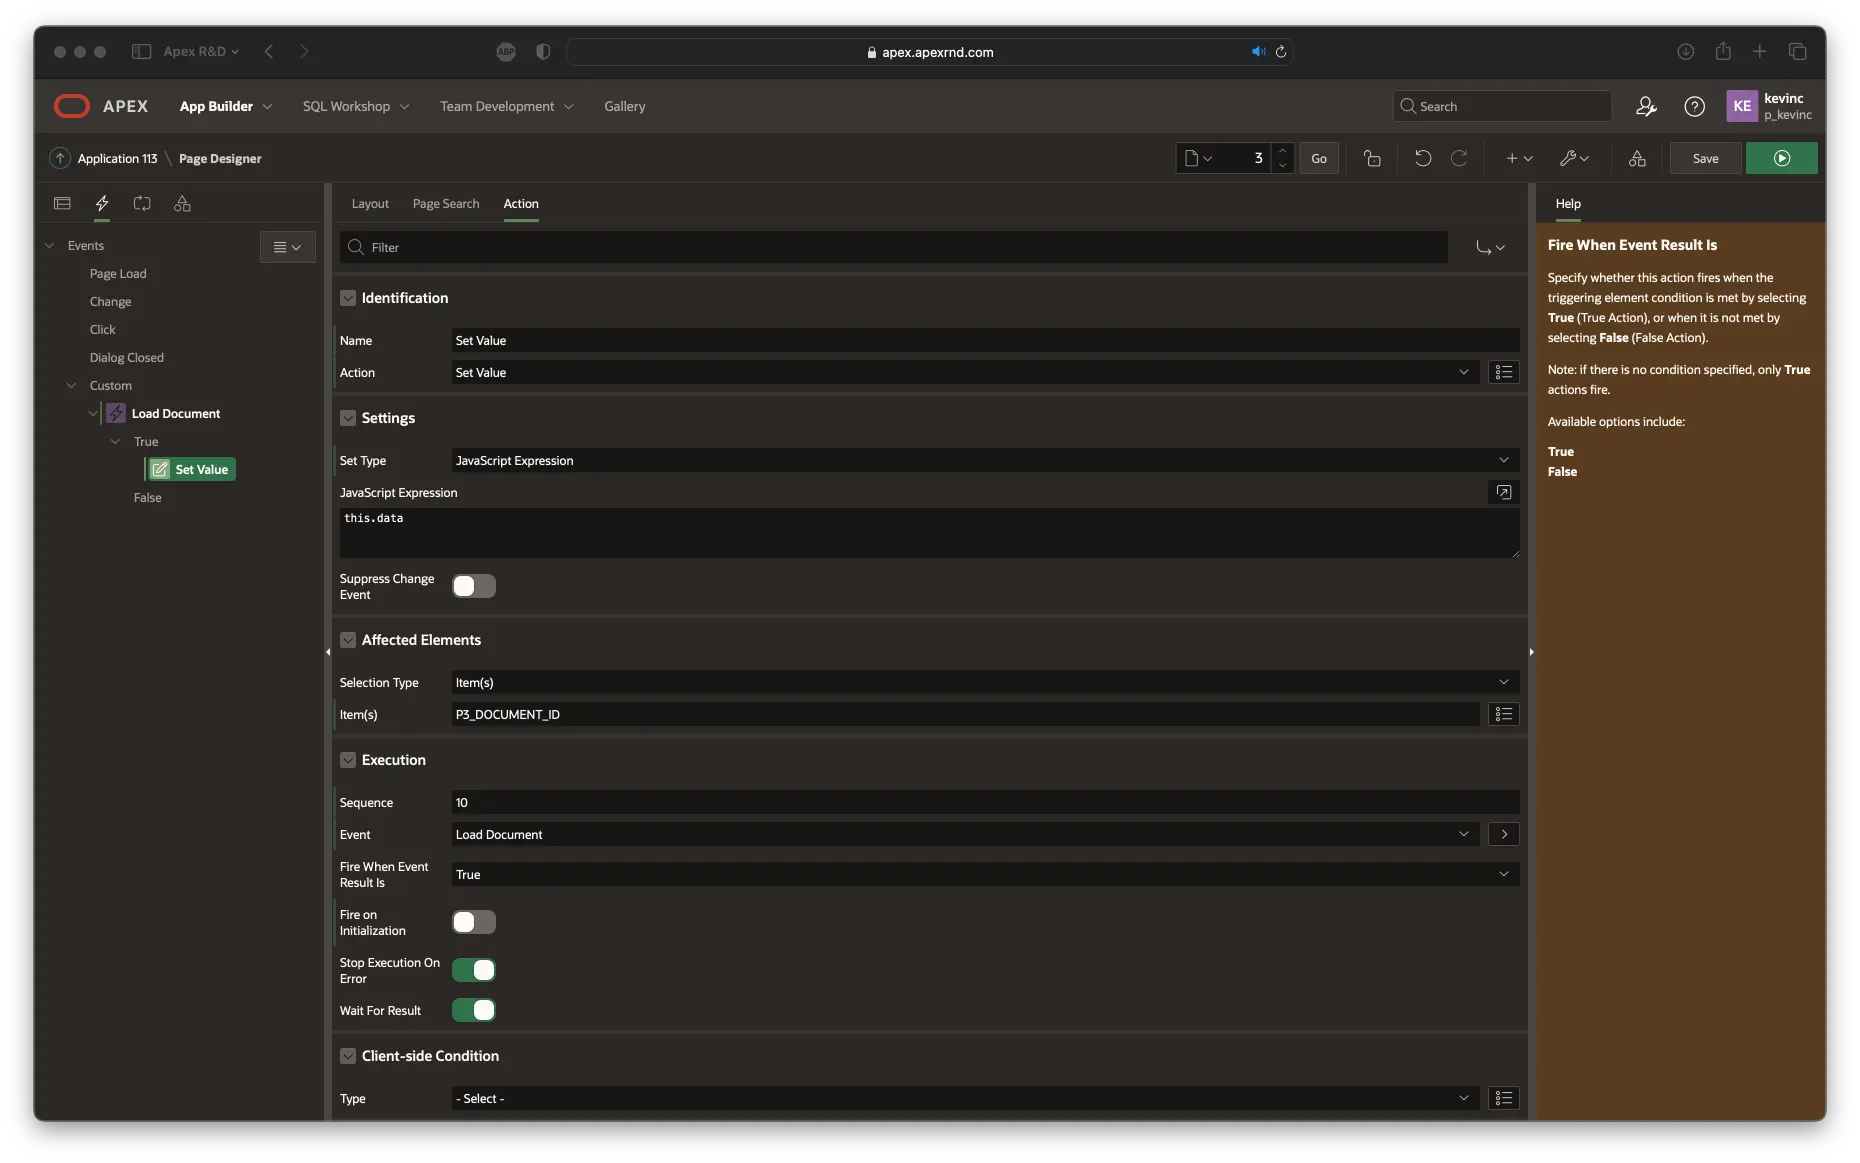
Define the true actions
-
Select the default Show action
-
Set Identification \ Name to Set Value
-
Set Identification \ Action to Set Value
-
Set Settings \ Set Type to JavaScript Expression
-
Set Settings \ JavaScript Expression to this.data
-
Set Affected Elements \ Item(s) to P3_DOCUMENT_ID (might differ depending on your page id)
-
Under Execution Options switch off the Fire on Initialization toggle.
-
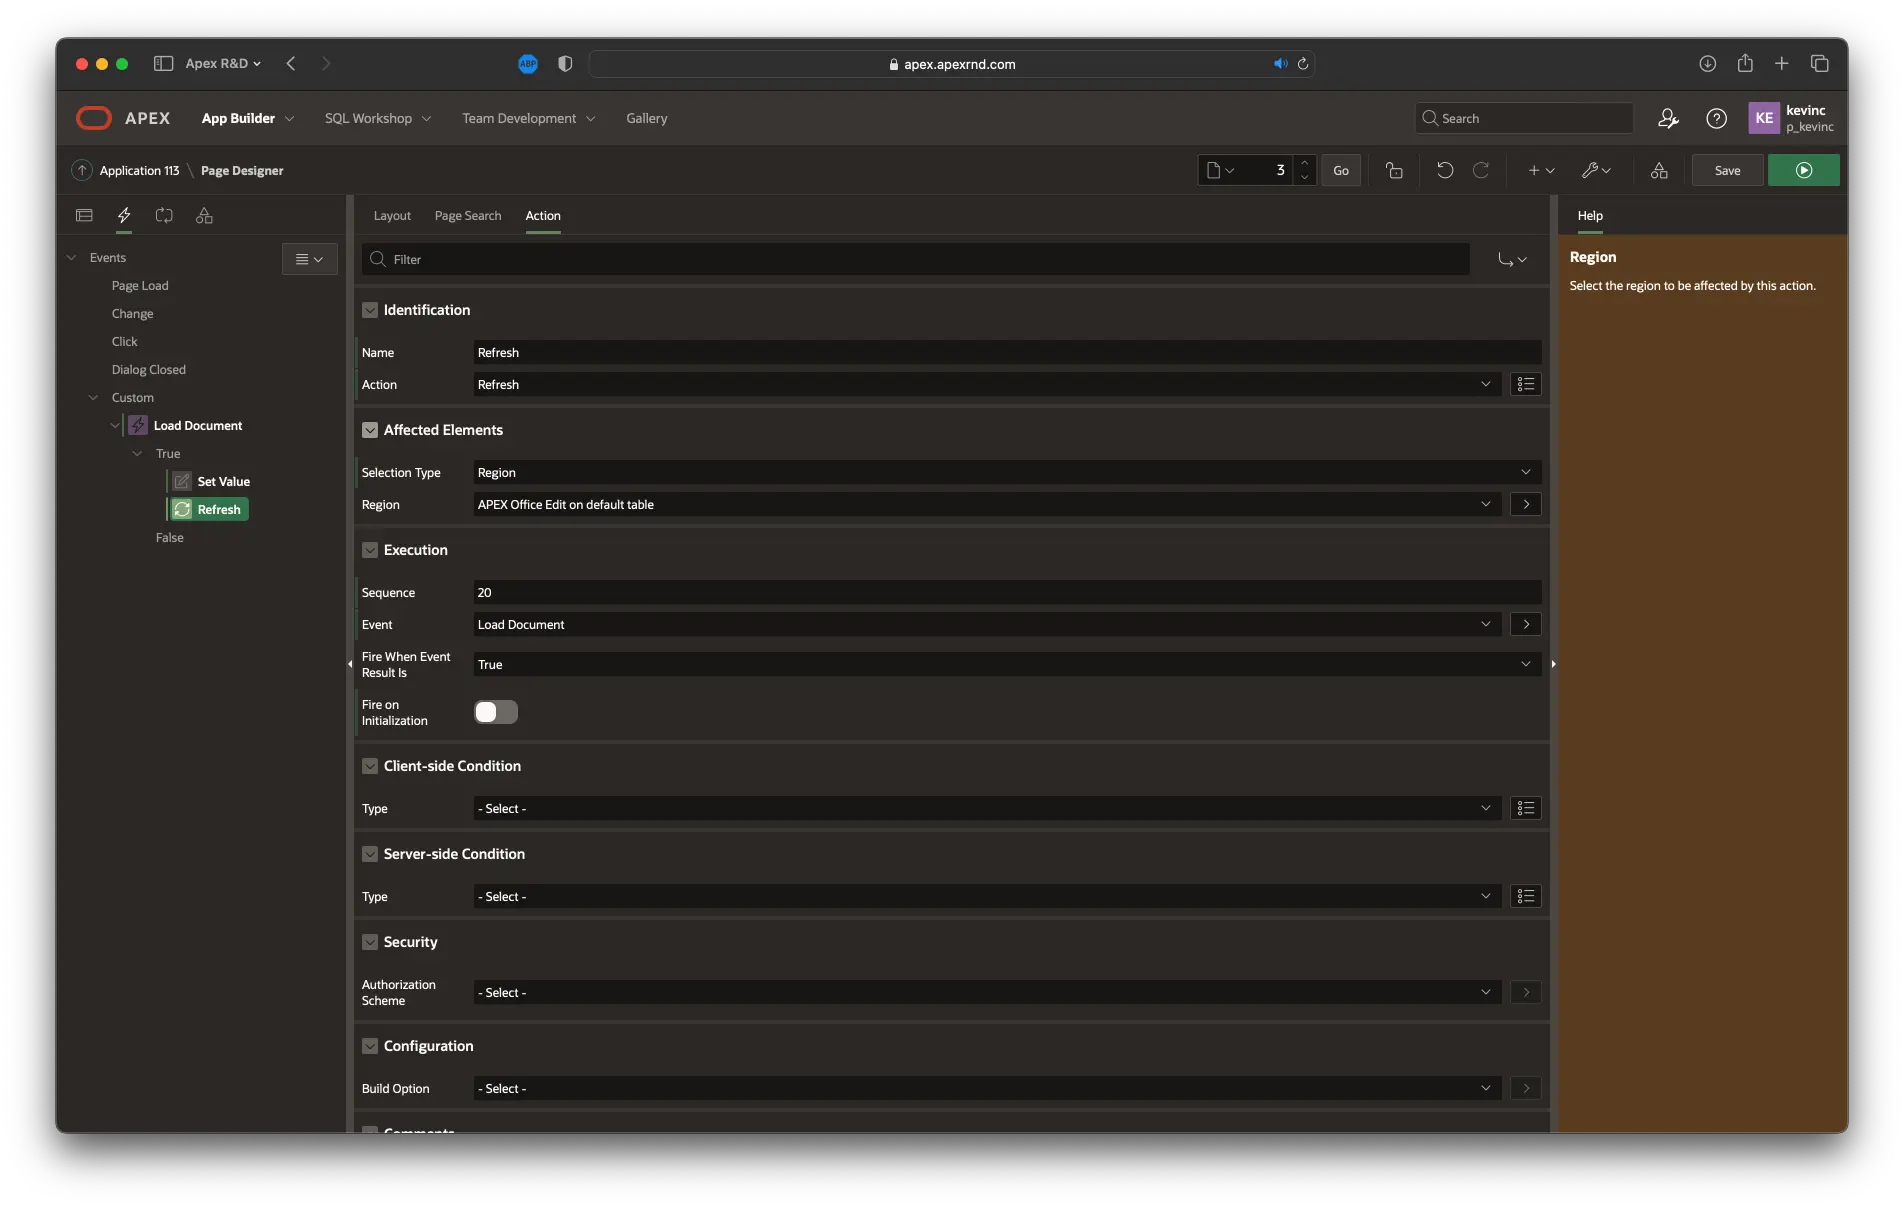
Create a new true action
-
Set Identification \ Name to Refresh
-
Set Identification \ Action to Refresh
-
Set Affected Elements \ Selection Type to Region
-
Set Affected Elements \ Region to APEX Office Edit on default table
-
Move the All files region above the APEX Office Edit on default table region
-
Save and run the page
The filename column contains links. Clicking on a link will force APEX Office Edit to load the selected document by setting the primary key item and refreshing the AOE region.